MAINTENANCE LAC/LFC Series Oven Owner’s Manual
48 Version 1.12
Copyright © 2018 by Despatch Industries.
All rights reserved. No part of the contents of this manual may be reproduced, copied or transmitted in any form or by any
means including graphic, electronic, or mechanical methods or photocopying, recording, or information storage and
retrieval systems without the written permission of Despatch Industries, unless for purchaser's personal use.
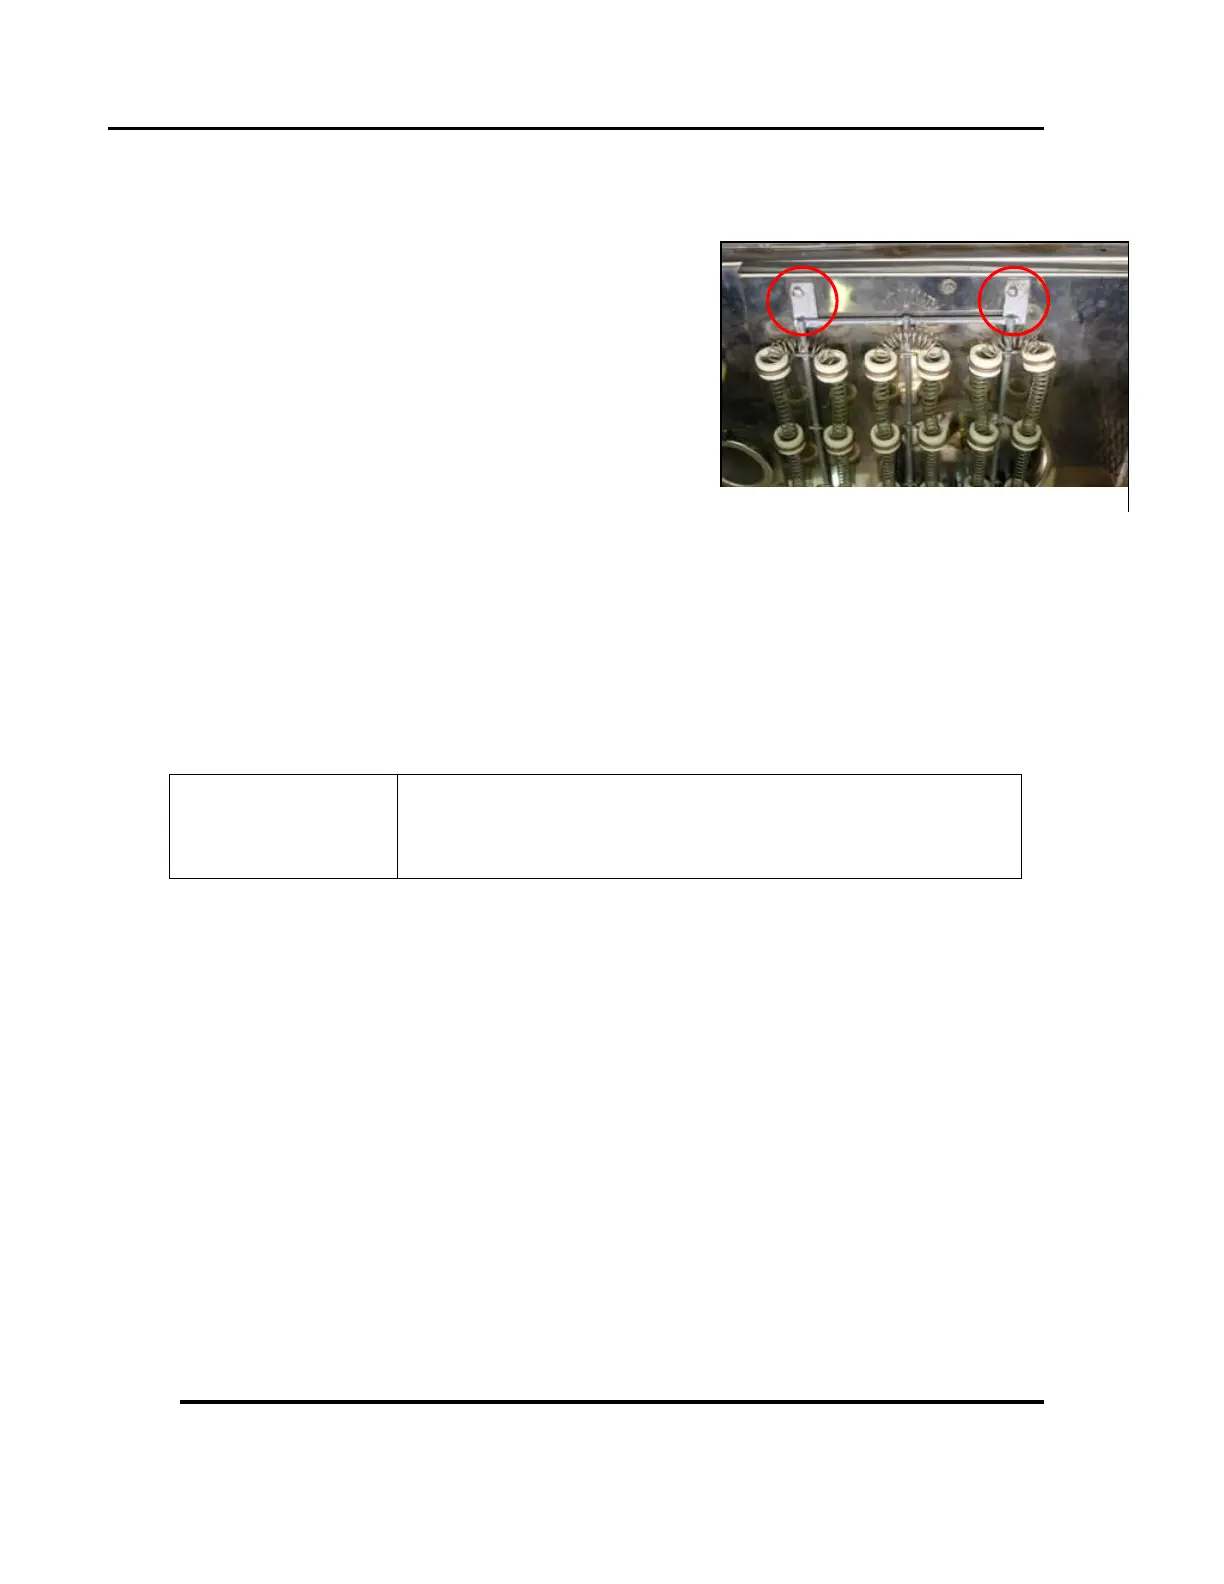
3. Unscrew the screws holding the heater frame to the oven body (Figure 22).
4. Remove heater and discard.
5. Screw down the new heater frame.
6. Attach the heater leads to appropriate terminals.
7. Replace and screw in interior ceiling panels.
6.7.3. Replace Fan Motor
Tools needed: T20 Torx bit driver, 5/32 inch Allen wrench, one quarter (¼) inch socket set
1. Open top panel to expose electrical cabinet.
2. Disconnect the motor leads from motor element with wrench.
3. Unscrew the screws holding the motor frame to the oven body
4. Unplug the motor harness from the circuit board and remove motor ground wires from
ground stud.
5. Remove the fan motor.
6. Install the fan motor.
a. Insert shaft seal onto shaft.
b. Insert the shaft into shaft collar.
c. Fasten motor to plug assembly.
7. Install fan wheel onto motor shaft.
8. Replace and fasten the fan inlet cover.
9. Adjust the fan wheel for 3/16 inch clearance between the wheel and the inlet ring and
tighten the set screws on the fan wheel. Check that the set screws hit the flats machined
into the motor shaft.
10. Replace fan and heater plug assembly in oven body.
11. Connect motor wire harness and fasten motor ground wires to ground stud.
12. Replace panel and top cover.
Before disconnecting leads, carefully diagram (or note) which
wires connect to which terminals.
Figure 22. Remove Heater Panel by Removing
Screw in Front Edge of Each Panel.