Installation 18
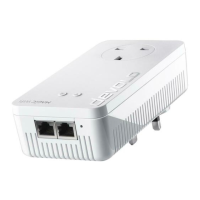
devolo WiFi pro 1750e
To ensure full functionality, the WiFi pro 1750e must
be supplied with IEEE 802.3at.
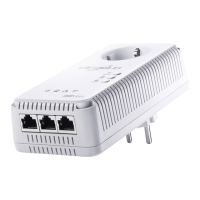
LAN 2
This is where you use an Ethernet cable to connect the
WiFi pro 1750e to a network device that can be sup-
plied with power using the PoE functionality.
When using the mains adapter provided, devices can
be supplied with IEEE 802.3af (~12.9 W) using the
LAN2.
The USB and console connections as
well as the Eject and WPS buttons are
planned for future use.
3.2.3 Buttons
Reset
The Reset button has two different functions:
쎲 The device restarts if you press the Reset button
for approximately 3 seconds.
쎲 To change the configuration of the
WiFi pro 1750e back to the factory defaults,
press the Reset button for more than 10
seconds. Keep in mind that all settings that have
already been configured will be lost!
You can use a pointed object (such as a paper
clip) to press the reset button.
Power On/Off
Here you can switch the WiFi pro 1750e on/off.
3.2.4 Wi-Fi antennas
The external Wi-Fi antennas are for connecting to other
network devices wirelessly.
The connections are designed using reverse polarity
SMA (RP-SMA).
3.3 Installing the WiFi pro 1750e
햲 Screw the 3 antennas handtight into the threads
provided.
If mounting onto a wall using screws,
make sure that no gas, water or po-
wer lines in the wall get damaged.
There is a danger of electric shock!
햳 Using the holder as a template, drill holes into the
desired location and insert wallplugs.
햴 Screw in the provided (longer) screws leaving a
space of 3-4 mm between the head of the screw
and the wall.
 Loading...