ENGLISH
7
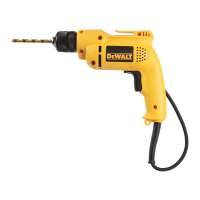
Two Gear Selector (fi g. 5)
Your tool is fitted with a two gear selector (d) to vary
the speed/torque ratio.
Release the variable speed switch and select the
required position. This can be done either with the
tool switched off or running under no load condition.
Always align the selector with the arrow on the gear
housing:
1 low speed/high torque
(drilling large holes, driving large screws)
2 high speed/low torque
(drilling smaller holes, drilling in wood)
For information on speed rates, refer to the
technical data.
Do not change gears at full speed or during use.
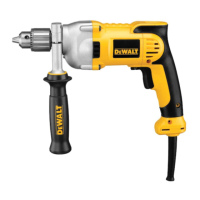
Chuck Removal (fi g. 6, 7)
1. Open the chuck jaws as far as possible.
2. Insert a screwdriver into the chuck and
remove the chuck retaining screw (l) by turning
clockwise.
3. Tighten an hex key into the chuck and strike it
with a hammer as shown.
Prior to Operation
• Insert the appropriate bit.
• Mark the spot where the hole is to be drilled.
securely clamped by turning clockwise until
tight.
OPERATION
Instructions for Use
WARNING: To reduce the risk
of serious personal injury, turn
tool off and disconnect tool from
power source before making any
adjustments or removing/installing
attachments or accessories.
WARNING: Always observe the safety
instructions and applicable regulations.
• Be aware of the location of pipework
and wiring.
• Apply only a gentle pressure to
the tool. Excessive force does not
speed up drilling but decreases tool
performance and may shorten tool life.
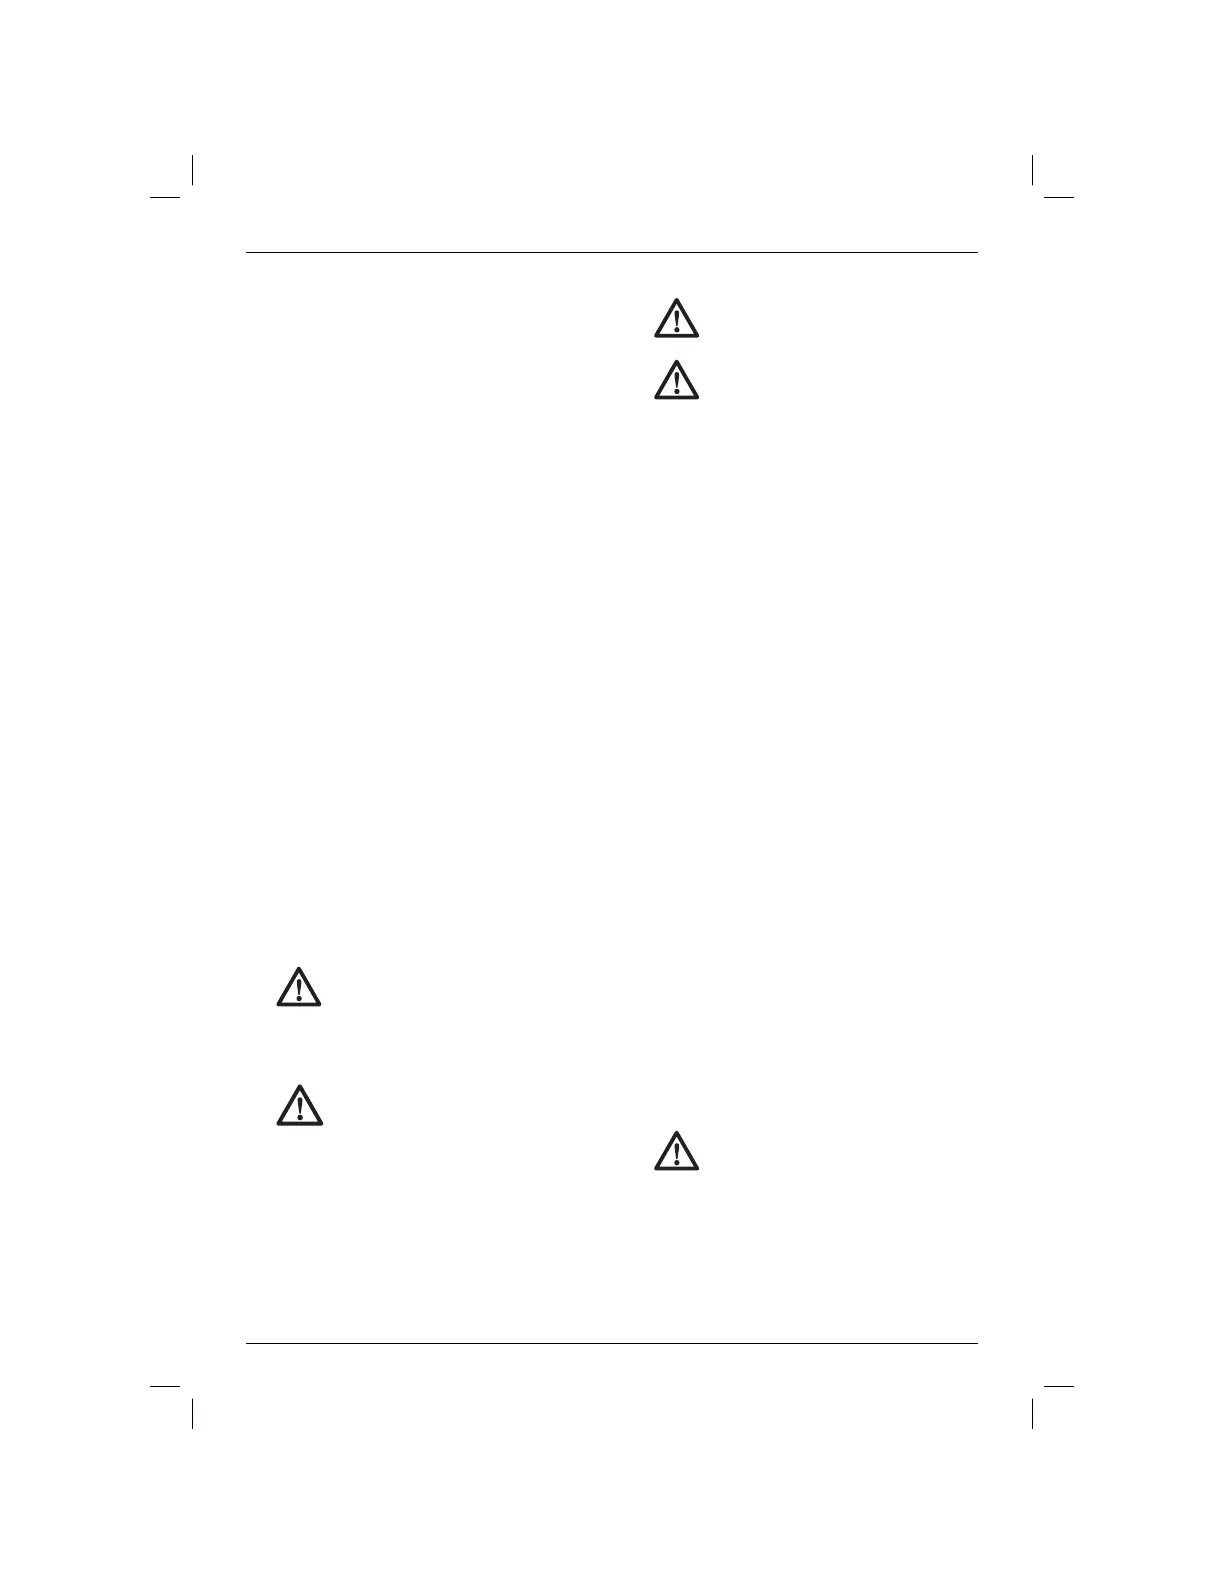
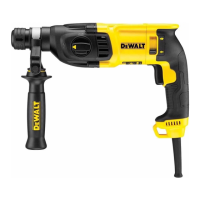
Proper Hand Position (fi g. 1, 2)
WARNING: To reduce the risk of
serious personal injury, ALWAYS use
proper hand position as shown.
WARNING: To reduce the risk of
serious personal injury, ALWAYS hold
securely in anticipation of a sudden
reaction.
Proper hand position requires one hand on the
side handle (f), with the other hand on the main
handle(k).
Switching On and Off (fi g. 1)
1. To run the tool, press the variable speed switch
(a). The pressure exerted on the variable speed
switch determines the tool speed.
2. If necessary, press the lock-on button (b) for
continuous operation and release the switch.
The lock-on button works only in full speed,
forward rotation.
3. To stop the tool, release the switch.
4. To stop the tool in continuous operation, press
the switch briefly and release it. Always switch
off the tool when work is finished and before
unplugging.
Percussion Drilling (fi g. 1)
1. Select the percussion mode.
2. Press the switch (a).
Rotary Drilling (fi g. 1)
1. Select the rotary drilling mode.
2. Press the switch (a).
Screwdriving (fi g. 1)
1. Select forward or reverse rotation.
2. Select the rotary drilling mode.
3. Press the switch (a).
Drilling
WARNING: To reduce the risk
of serious personal injury, turn
tool off and disconnect tool from
power source before making any
adjustments or removing/installing
attachments or accessories.