ENGLISH
27
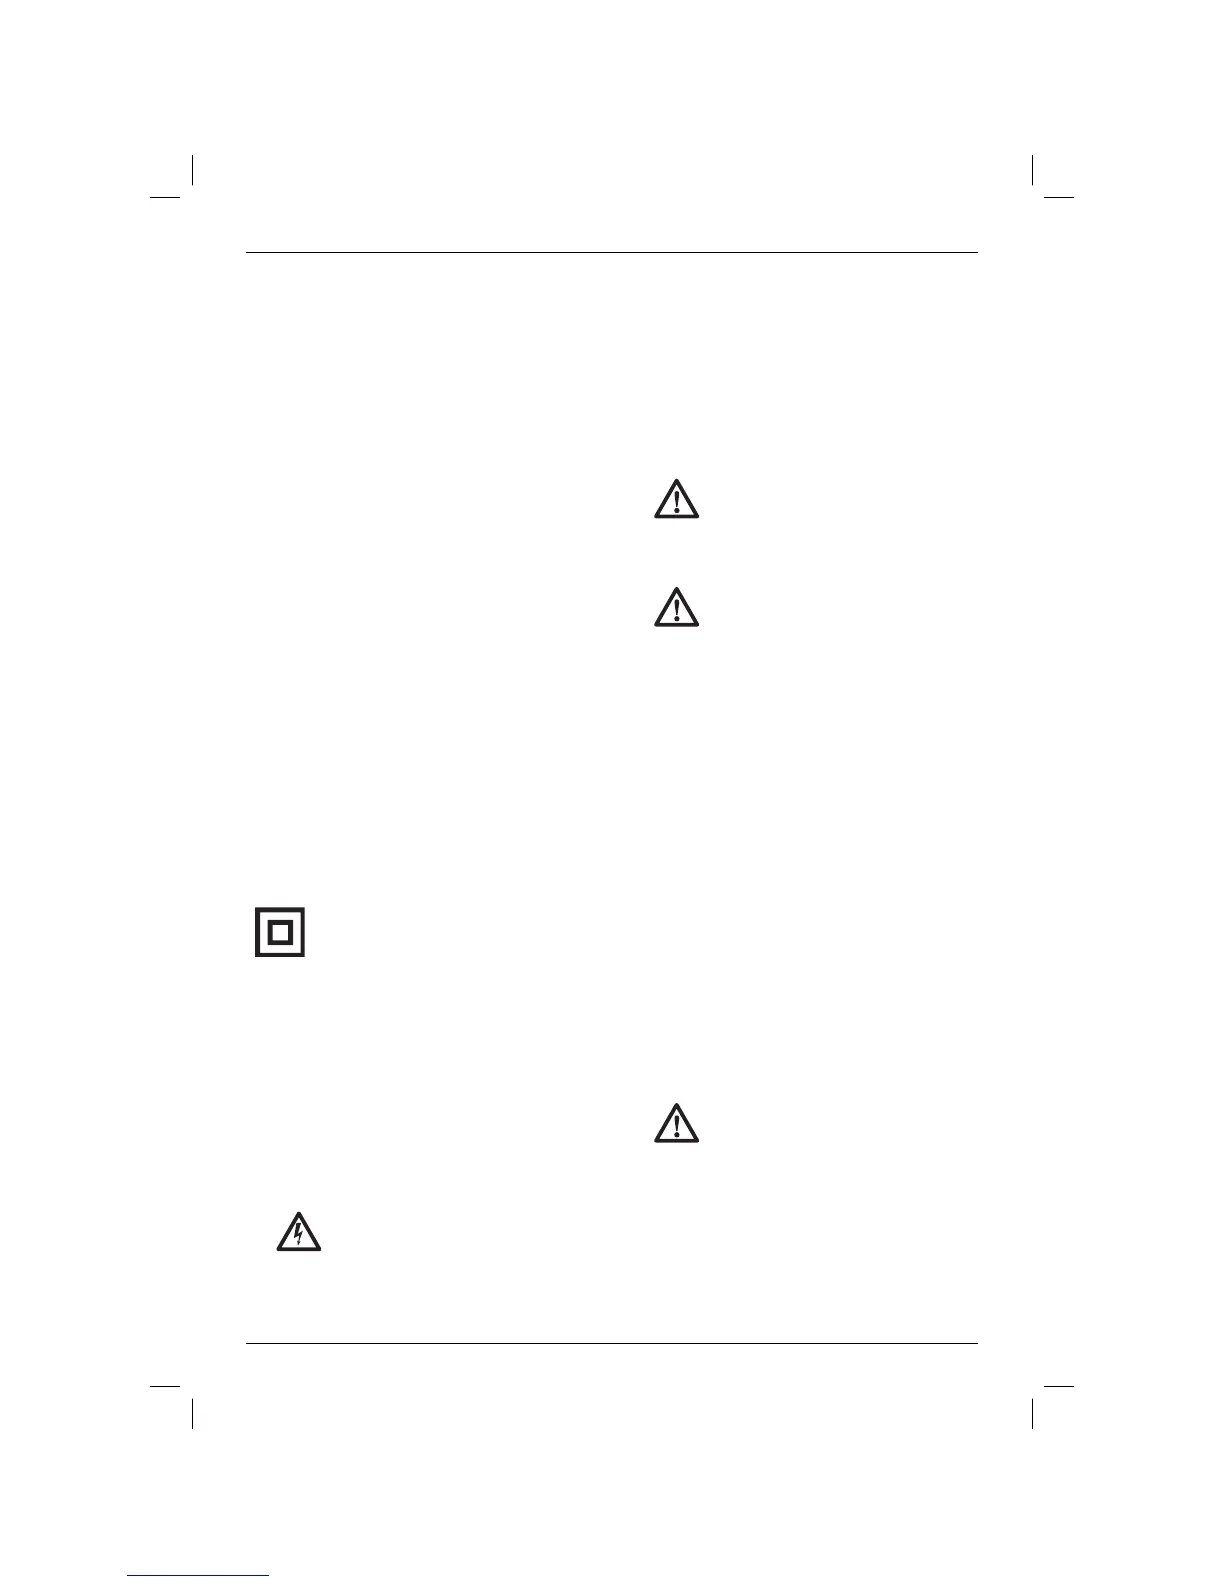
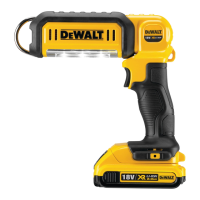
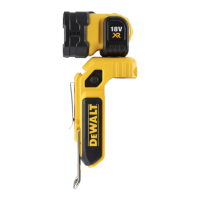
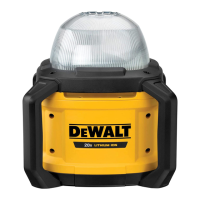
a. Switch
b. Hang hook
c. Pivoting head
d. Battery pack
e. Battery release button
f. Lens cover assembly
g. Belt hook screw
h. Belt hook (optional accessory)
INTENDED USE
These worklights are professional tools.
DO NOT use under wet conditions or in presence of
flammable liquids or gases.
DO NOT let children come into contact with the
tool. Supervision is required when inexperienced
operators use this tool.
• This product is not intended for use by persons
(including children) suffering from diminished
physical, sensory or mental abilities; lack of
experience, knowledge or skills unless they are
supervised by a person responsible for their
safety. Children should never be left alone with
this product.
Electrical Safety
The electric motor has been designed for one
voltage only. Always check that the battery pack
voltage corresponds to the voltage on the rating
plate. Also make sure that the voltage of your
charger corresponds to that of your mains.
Your DEWALT charger is double insulated
in accordance with EN 60335; therefore
no earth wire is required.
If the supply cord is damaged, it must be replaced
by a specially prepared cord available through the
DEWALT service organisation.
Mains Plug Replacement
(U.K. & Ireland Only)
If a new mains plug needs to be fitted:
• Safely dispose of the old plug.
• Connect the brown lead to the live terminal in
the plug.
• Connect the blue lead to the neutral terminal.
WARNING: No connection is to be
made to the earth terminal.
Follow the fitting instructions supplied with good
quality plugs. Recommended fuse: 3 A.
Using an Extension Cable
An extension cord should not be used unless
absolutely necessary. Use an approved extension
cable suitable for the power input of your charger
(see Technical Data). The minimum conductor size
is 1 mm
2
; the maximum length is 30 m.
When using a cable reel, always unwind the cable
completely.
ASSEMBLY AND ADJUSTMENTS
WARNING: Use only DEWALT battery
packs and chargers.
Inserting and Removing the
Battery Pack from the Tool (fi g. 3)
WARNING: To reduce the risk of injury,
never depress the battery release button
without removing the battery pack.
Depressing the battery release button
without removing the battery pack can
result in the battery pack falling out
unexpectedly.
NOTE: For best results, make sure your battery
pack is fully charged. The light will shut off without
warning when the battery is fully discharged.
TO INSTALL THE BATTERY PACK INTO THE TOOL HANDLE
1. Align the battery pack with the rails inside the
tool’s handle (fig. 3).
2. Slide it into the handle until the battery pack is
firmly seated in the tool and ensure that it does
not disengage.
TO REMOVE THE BATTERY PACK FROM THE TOOL
1. Press the battery release button (e) and firmly
pull the battery pack out of the tool handle.
2. Insert battery pack into the charger as
described in the charger section of this manual.
OPERATION
Instructions for Use
WARNING: Always observe the safety
instructions and applicable regulations.
Switch (fi g. 1)
The worklight has a high beam and low beam
setting. Press the switch (a) once for high beam,
twice for low beam, and a third time to turn the
worklight off.