8
English
WARNING: NEVER
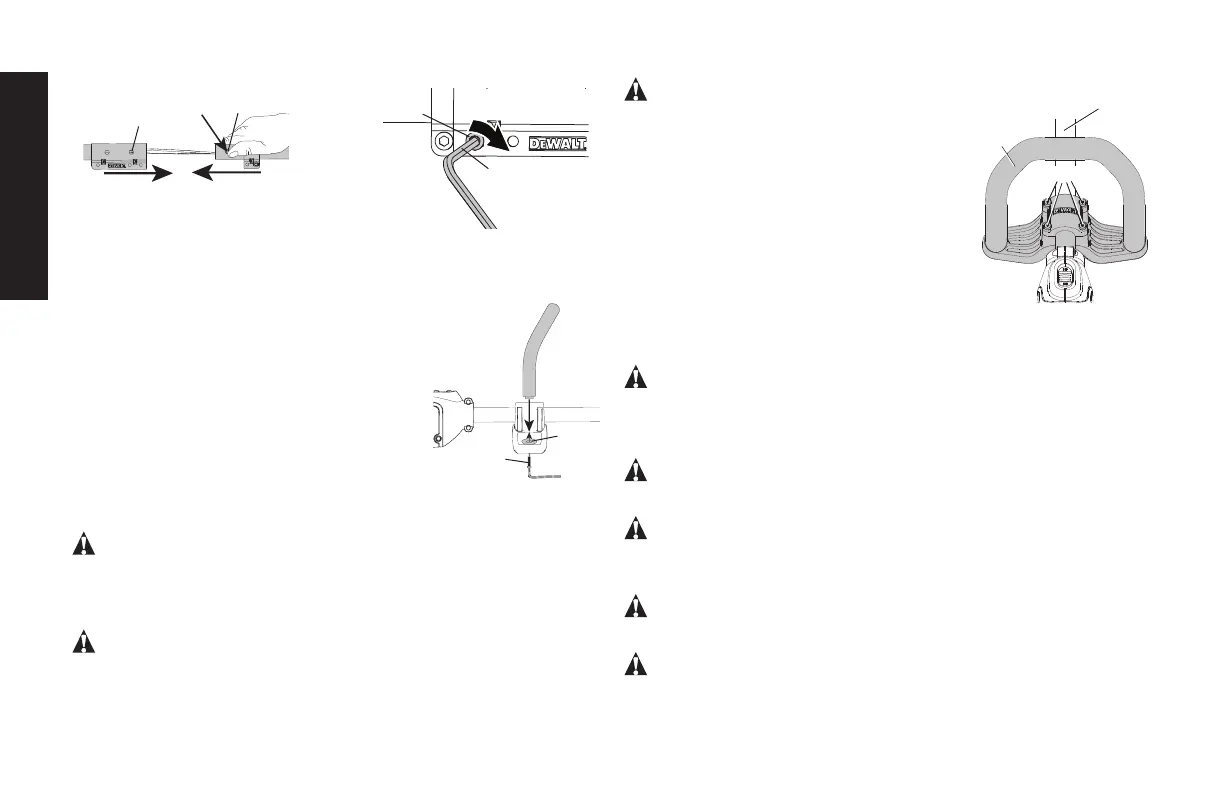
F
FIG. 6
6A
D
OPERATE APPLIANCE WITHOUT
GUARD FIRMLY IN PLACE. The guard
must always be properly attached on
the appliance to protect the user.
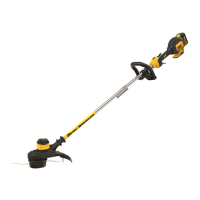
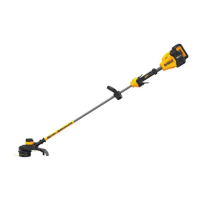
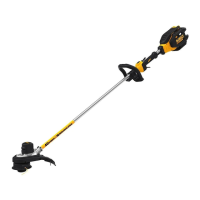
The trimmer comes fully assembled.
The auxiliary handle (D) is positioned
to maximize balance. However, if
adjustment is necessary, loosen the four
bolts (6A) with a hex wrench and slide the
auxiliary handle up or down the upper
trimmer pole (F) as shown in figure 6.
OPERATION
WARNING: To reduce the risk of serious
personal injury, turn appliance off and remove battery before
making any adjustments or removing/installing attachments or
accessories.
WARNING: Always use proper eye protection that
conforms to ANSI Z87.1 (CAN/CSA Z94.3) while operating this appliance.
WARNING:
Remove the battery before making any
assembly, adjustments, or changing accessories. Such preventive safety
measures reduce the risk of starting the
TRIMMER
accidentally.
CAUTION: Before you begin trimming, only use the
appropriate type of cutting line.
CAUTION: Inspect area to be trimmed and remove
any wire, cord, or string-like objects which could become entangled in
the rotating line or spool. Be particularly careful to avoid any wire which
FIG. 3
O
P
FIG. 4
Q
R
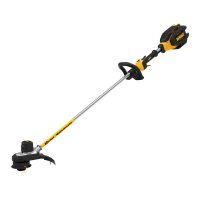
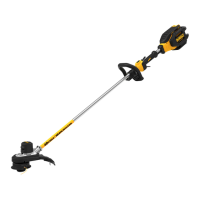
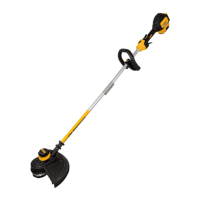
Attaching the Auxiliary Handle
1. Slide the auxiliary handle (D) into the top
FIG. 5
T
S
hole of the handle base (S).
2. Hold the auxiliary handle in place and
thread the handle bolt (T) into the handle
from the bottom of the handle base.
3. Tighten the handle bolt with the supplied
wrench (R). Ensure the handle is securely
attached.
4. Repeat for the other side of the auxiliary
handle.
Adjustment (Fig. 6)
WARNING: To reduce the risk of serious
personal injury, turn appliance off and remove battery before
making any adjustments or removing/installing attachments
or accessories.
WARNING: Never remove the guard. Damage or
personal injury could result.