Motor
Your
D
E
WALT
tool is powered by a
D
E
WALT
built motor. Be sure
your power supply agrees with the nameplate marking.
Volts 50/60 Hz or “AC only” means your tool must be operated on
alternating current and never with direct current.
Voltage decrease of more than 10% will cause loss of power and
overheating.
D
E
WALT
tools are factory tested; if this tool does not
operate, check power supply.
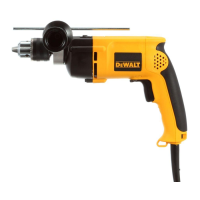
Switches
Pulling the trigger switch turns the tool “ON”; releasing the trigger
switch turns the tool “OFF”. For controlling the rotational direction
of the spindle, there is a lever, integral to and on top of the trigger
switch. For drilling (forward position) this lever should be slanted
to the left side of the tool (viewing from behind the handle); for
easing drill bits out of tight holes (reverse position) it should be
slanted to the right side of the tool. A built-in mechanical interlock
prevents changing the direction of the tool unless the trigger switch
is released. After any reversing, return lever to forward position.
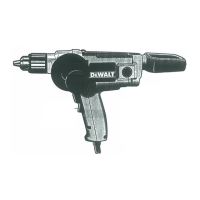
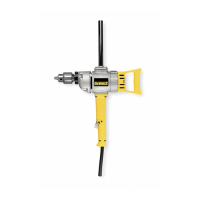
Side Handles
TURN OFF AND UNPLUG DRILL.
NEVER ATTEMPT TO USE THIS TOOL WITHOUT A SIDE
HANDLE FIRMLY ATTACHED.
The side handle must be attached to the gear case. Because of the
extremely high torque of this drill, a side handle extension must be
used to lengthen the side handle. The plastic bag that contains the
hex wrench and the chuck key also contains the handle extension.
Screw the extension firmly into the hole in the gear case of your drill
and screw the side handle into the extension. DO NOT USE
WITHOUT EXTENSION.
3
REVERSE
SIDE
HANDLE
FIG. 1
FIG. 2
SIDE HANDLE
EXTENSION
FORWARD
LEVER
TRIGGER
Motor Brushes
Be sure tool is unplugged before inspecting brushes. Carbon
brushes should be regularly inspected for wear. To inspect brushes,
unscrew the plastic brush inspection caps (located in the sides of
the motor housing) and withdraw the spring and brush assemblies
from the tool. Keep brushes clean and sliding freely in their guides.
Carbon brushes have varying symbols stamped into them, and if
the brush is worn down to the line closest to the spring, it must be
replaced. New brush assemblies are available at D
EWALT certified
service centers: see TOOLS, ELECTRIC in the Yellow Pages.