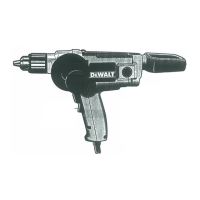
Chuck Removal and Attachment
Open chuck jaws all the way to gain access to the cap screw inside
the chuck (see Figure 3). Insert hex wrench and remove cap
screw (right hand thread). Pull chuck straight off spindle. Do not
try to unscrew chuck. Reverse procedure to install.
Chuck Key Holder
1. Push double-hole end of holder through the slot in other end of
holder (Figure 4.)
2. Slip loop over electric plug and draw loop tight around cord
(Figure 5.)
3. Push ends of chuck key handle through two holes in end of
holder (Figure 6.)
Important
To assure product SAFETY and RELIABILITY, repairs,
maintenance and adjustment (except that described in this manual)
should be performed by D
EWALT certified service centers or other
qualified service organizations. These service organizations
service
D
E
WALT
tools always using DEWALT replacement parts.
Black & Decker (U.S.) Inc. industrial tool service centers are
certified for servicing D
EWALT industrial tools.
Accessories
Recommended accessories for use with your tool are available at
extra cost from your local D
EWALT certified service center.
CAUTION: The use of any non-recommended accessory may be
hazardous.
A complete listing of D
EWALT certified service centers is included
with your tool.
5
FIG. 3
CHUCK
HEX WRENCH
CAP SCREW
DRIVE PINS
FIG. 4
FIG. 5
FIG. 6