ENGLISH
6
Mains Plug Replacement
(Middle East and Africa)
If a new mains plug needs to be fitted:
• Safely dispose of the old plug.
• Connect the brown lead to the live terminal in
the plug.
• Connect the blue lead to the neutral terminal.
WARNING: No connection is to be
made to the earth terminal.
Follow the fitting instructions supplied with good
quality plugs. Recommended fuse: 13 A.
Using an Extension Cable
If an extension cable is required, use an approved
3–core extension cable suitable for the power input
of this tool (see Technical Data).The minimum
conductor size is 1.5 mm
2
; the maximum length
is 30 m.
When using a cable reel, always unwind the cable
completely.
ASSEMBLY AND ADJUSTMENTS
WARNING: To reduce the risk of
injury, turn unit off and disconnect
machine from power source before
installing and removing accessories,
before adjusting or changing set-
ups or when making repairs. Be sure
the trigger switch is in the OFF position.
An accidental start-up can cause injury.
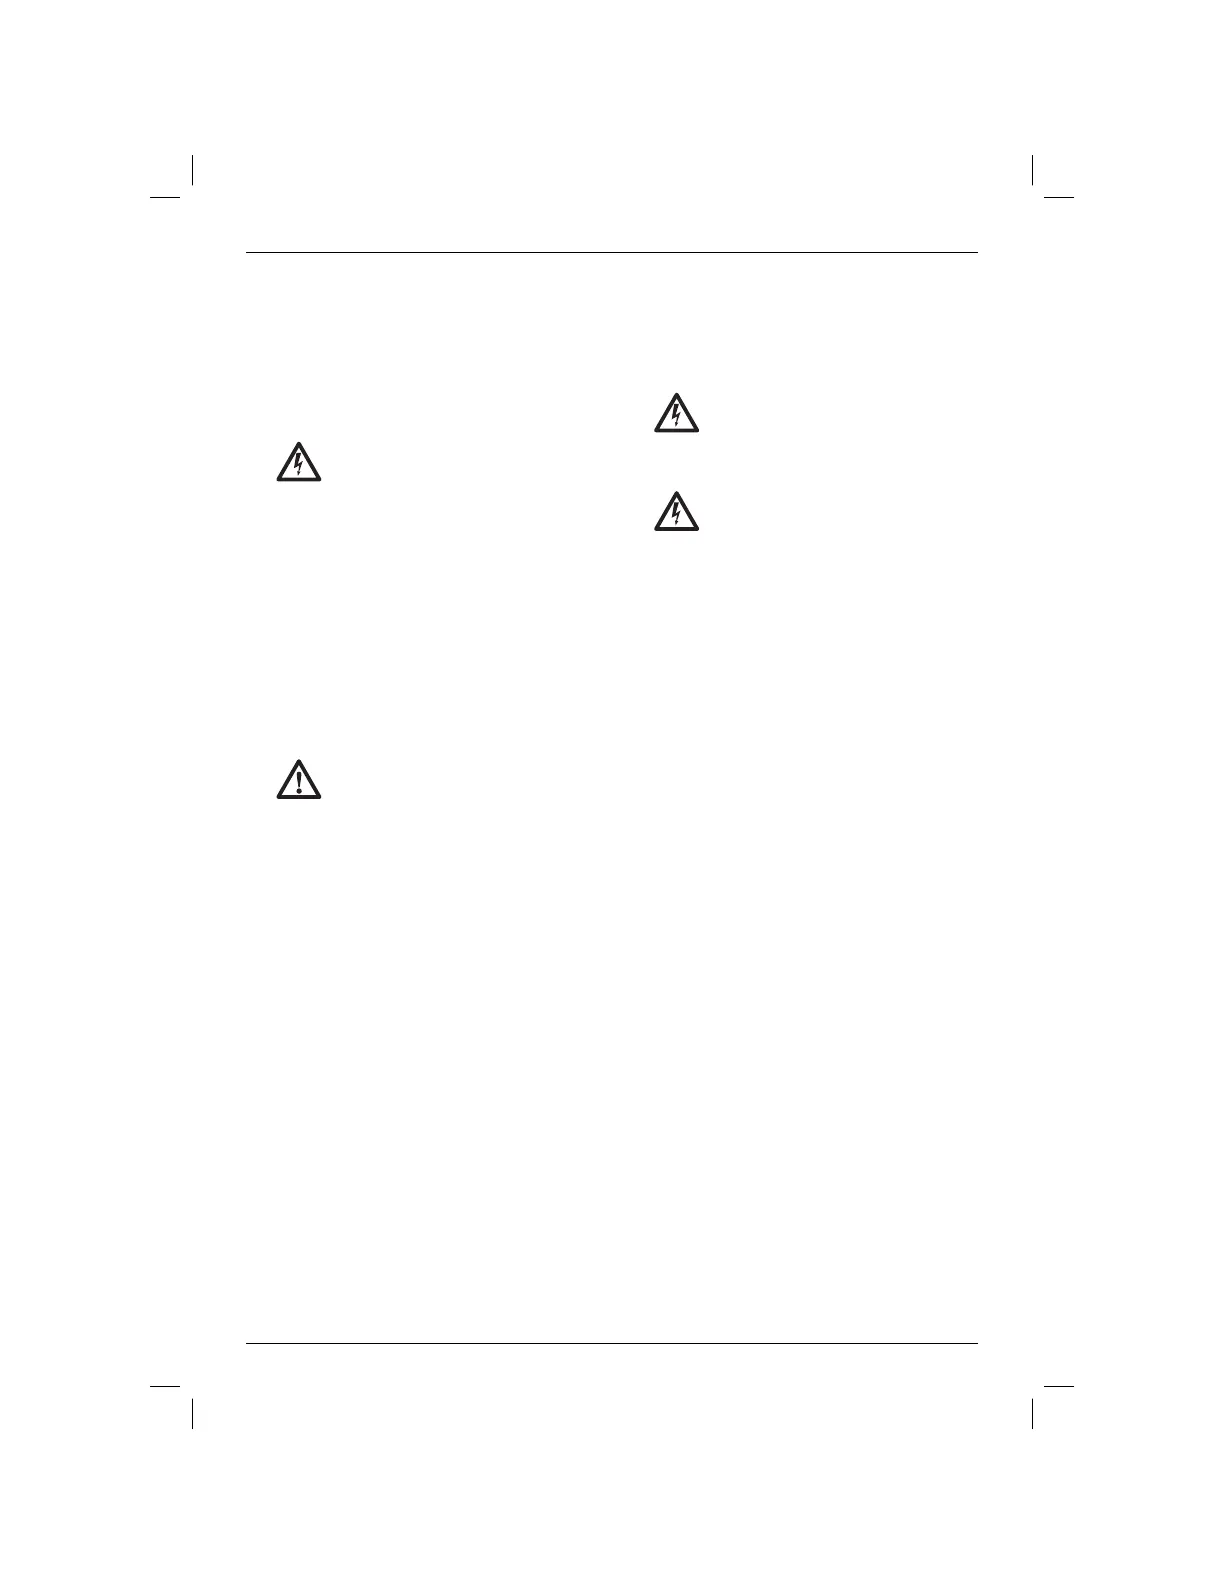
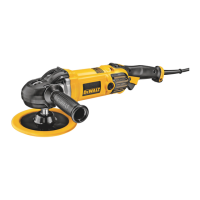
Fitting Sanding Discs (fi g. 2)
The tool uses 125 mm (5") hook and loop sanding
discs with an 8 hole dust extraction pattern.
1. Place the tool on a table, sanding pad (f) up.
2. Place the sanding disc (i) directly on top of the
sanding pad.
3. Hold the sanding pad with one hand and align
the dust extraction holes.
4. Press the disc firmly onto the sanding pad.
Setting the Electronic Speed Control
Dial (fi g. 1)
DWE6423
The speed is infinitely variable from 8,000–12,000
min
-1
using the electronic speed control dial (b).
Turn the electronic speed control dial to the required
level. The correct setting, however, is a matter of
experience.
Generally, harder materials require a higher setting.
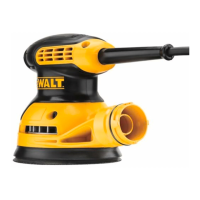
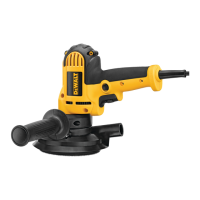
Dust Extraction (fi g. 3, 4)
WARNING: Since woodworking with a
sander produces dust, always install a
dust bag designed in compliance with
the applicable directives regarding dust
emission.
WARNING: Do not use a dust bag or
vacuum extractor without proper spark
protection when sanding metal.
Your sander has two dust extraction methods: a
built-in outlet (c) which allows either the supplied
dust bag (d) or a shop vacuum system to be
connected; and a dust skirt (n, fig. 4). The built-in
outlet utilizes the D
EWALT airlock connection making
it compatible with the DEWALT dust extractor and
airlock accessory DWV9000.
TO ATTACH THE DUST BAG
1. While holding the sander, fit the dust bag collar
(e) to the outlet (c) as shown in figure 3.
2. Turn the collar (e) clockwise to lock the dust bag
(d) in place.
TO EMPTY THE DUST BAG
NOTE: Be sure to wear approved eye protection
and approved dust mask when performing this
procedure.
For efficient dust extraction, empty the dust collector
when it is about one third full.
1. While holding the sander, turn the collar (e)
anticlockwise to unlock the dust bag (d).
2. Remove dust bag from the sander and gently
shake or tap the dust bag to empty.
3. Reattach the dust bag back onto the outlet and
lock into place by turning the dust bag collar
clockwise.
You may notice that all the dust will not come
free from the bag. This will not affect sanding
performance but will reduce the sander’s dust
collection efficiency. To restore your sander’s dust
collection efficiency, depress the spring inside the
dust bag when you are emptying it and tap it on the
side of the waste bin or dust receptacle.