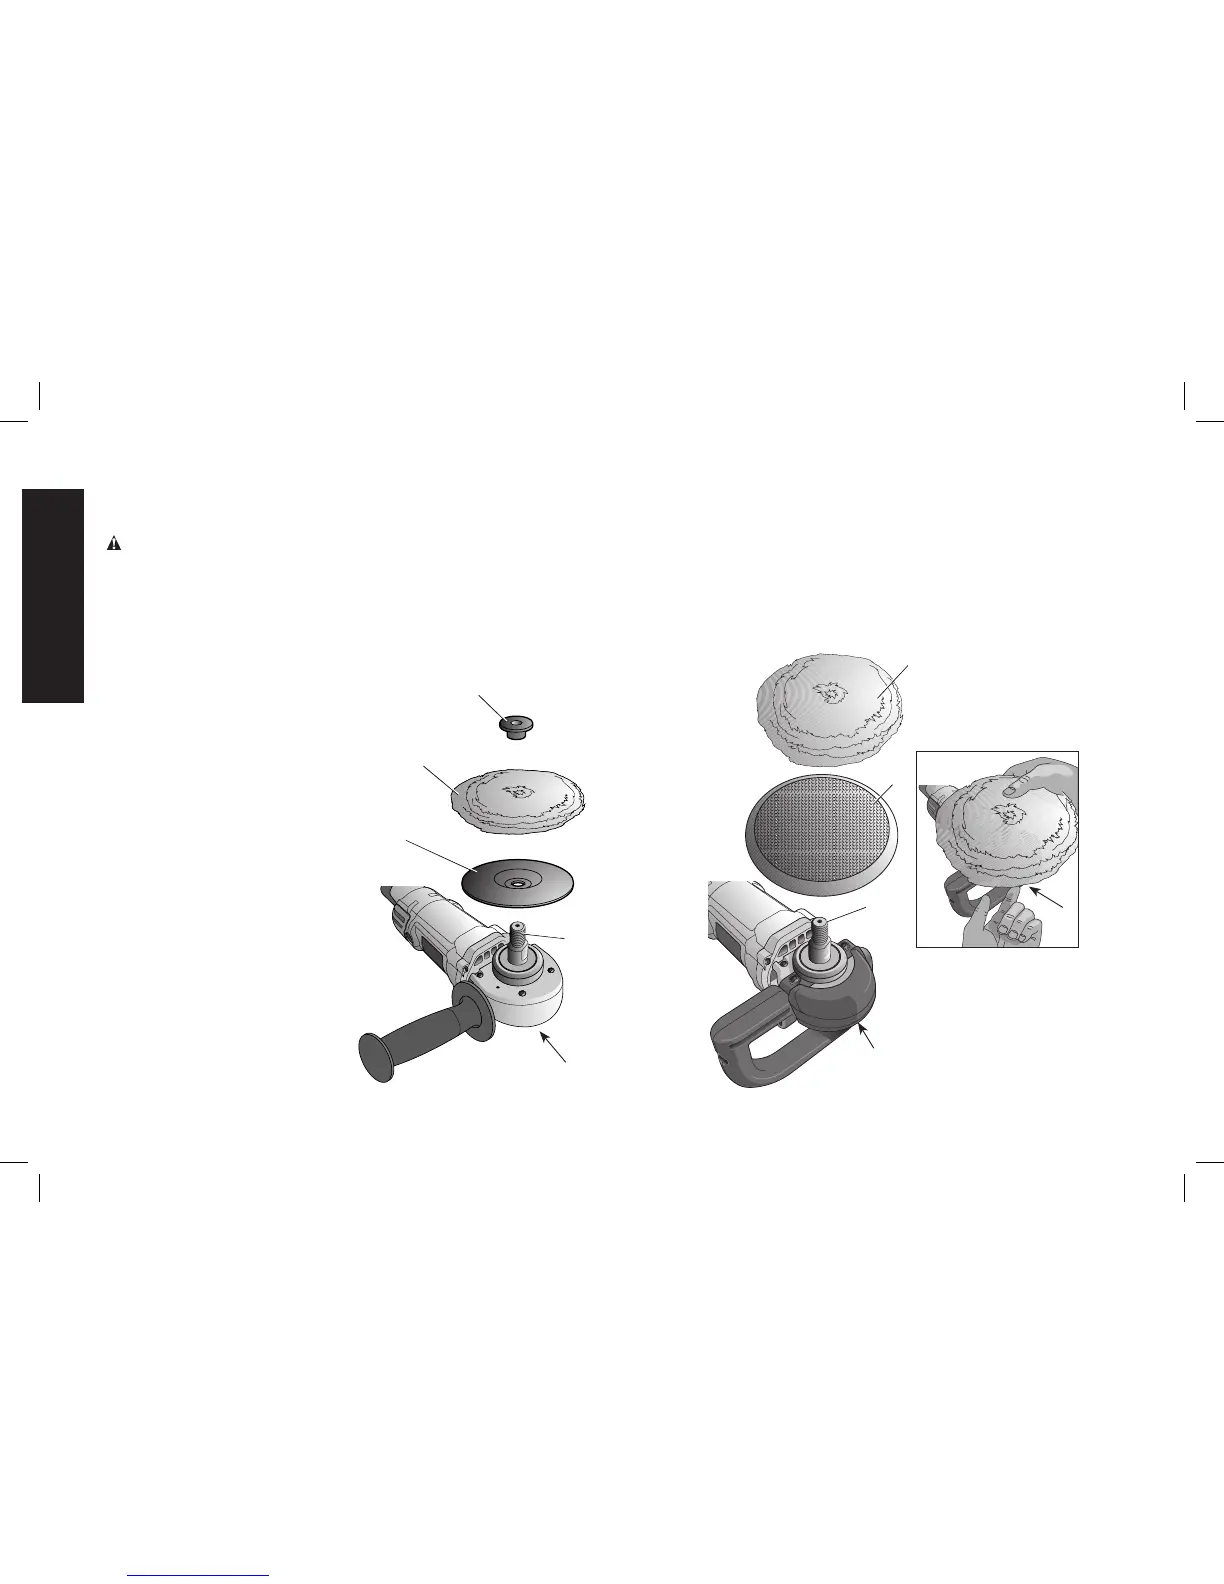
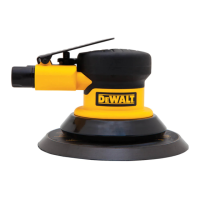
TO ATTACH POLISHING PAD WITH HOOK AND LOOP
BACKING PAD (FIG. 3B)
1. Attach hook and loop foam or wool pad (P) to hook and loop
backing pad (Q), being careful to center the backing pad with the
foam or wool pad.
2. Screw backing pad (Q) onto spindle (I), while depressing spindle
lock button (E).
I
E
DWP849X
Q
P
FIG. 3B
E
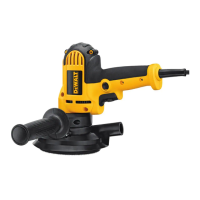
Attaching and Removing Polishing Pads
(Fig. 3)
WARNING: To reduce the risk of serious personal injury, do not
allow any loose portion of the polishing bonnet or its attachment
strings to spin freely. Tuck away or trim any loose attachment strings.
Loose and spinning attachment strings can entangle your fingers or
snag on the workpiece.
NOTE: Both the DWP849 and the DWP849X may use either type of
polishing pad assembly described below.
TO ATTACH POLISHING PAD
FIG. 3A
DWP849
M
N
O
I
E
WITH RUBBER BACKING
PAD (FIG. 3A)
1. To attach polishing pad (N),
push the hub of the clamp
washer (M) through the hole
in the center of the polishing
pad as far as it will go.
2. Engage the hexagonal hole
in the backing pad (O).
Holding the three pieces
firmly together, place the
assembly on the tool spindle
(I).
3. Hold the spindle lock button
(E) while turning the pads
clockwise to thread them
completely on the spindle.