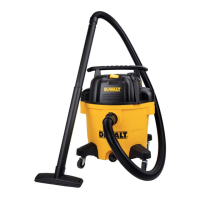
1. Pull lid latches in an outward motion, remove
power head and some accessories that may
have been shipped in the tank.
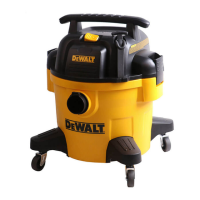
2. Attach heavy-duty rubberized casters
following the instructions in this manual.
3. Before replacing power head, refer to this
manual to ensure you have the proper lter
installed for the cleaning operation.
4. Replace power head, and apply pressure with
thumb to each latch until it snaps tightly in
place. Make sure all lid latches are
clamped securely.
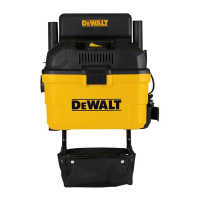
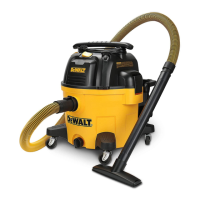
5. Insert the hose end into inlet of tank.
6. Attach the extension wands to the end of the
hose. Apply slight pressure until tting is tight.
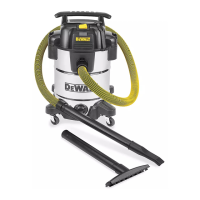
7. Attach one of the cleaning accessories
(depending on the cleaning requirements) to
the extension wands. Twist slightly to tighten
the connection.
8. Plug the cord into the wall outlet. The vacuum
is ready for use.
9. To reduce the risk of injury from accidental
starting, always shut off vacuum and disconnect
the power plug from the wall outlet before
installing any part or cleaning accessory.
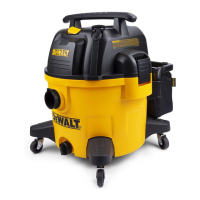
1. Invert dust tank, take the casters to align the
tank bottom sinking place. Secure with
screws provided.
2. Return dust tank assembly upright.
OPERATING INSTRUCTIONS
CASTER ASSEMBLY
UNPACKING & SET-UP SUMMARY
SAVE THESE INSTRUCTIONS
ENGLISH
WARNING:
1. The lter must always be in correct position to
reduce the risk of leaks and possible damage
to vac. Make sure that the lter is completely
covering the lter cage. Make sure there are
no gaps between the lter and the lid. It is
very important to assemble the lter to the
cage without any possible leaks or tears.
Any leaks will allow the picked up debris
to be blown out of the blowing port and back
into the surrounding environment.
To reduce the risk of re or explosion, do not
operate this vac in areas with ammable gases,
vapors or explosive dust in the air. Flammable
gases or vapors include but are not limited to:
lighter uid, solvent-type cleaners, oil-based
paints, gasoline, alcohol or aerosol sprays.
Explosive dusts include but are not
limited to: coal, magnesium, aluminum, and
grain or gun powder. Do not vacuum
explosive dust, ammable or combustible
liquids or hot ashes. Do not use this vac as
a sprayer for any ammable or combustible
liquid. To reduce the risk of health hazards
from vapors or dusts, do not vacuum
toxic materials.
DRY PICK-UP
WARNING:
The operation of any utility vac can result in
foreign objects being blown into the eyes, which
can result in severe eye injury. Always wear safety
goggles complying with ANSI Z87.1
(or in Canada, CSA Z94.3) before
starting operation.
CAUTION:
To reduce the risk of hearing loss, wear ear
protectors when using the vac for extended
hours or when using it in a noisy area. The unit
is ready for dry vacuuming.
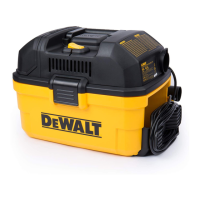
After plugging the power cord into the wall
receptacle, turn the unit “ON” by pushing the
switch to "I" position.
4
ON OFF
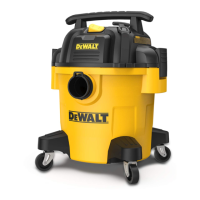
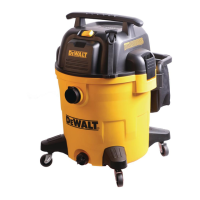
PRODUCT SPECIFICATIONS
Tank Capacity
Power
Motor
6 Gallon
1-7/8 in. x 7 ft.
Single Stage
120 V / 60 Hz / 8 A
Hose
SJTW18AWG / 10 ft. Length
Power cord
Model
DXV06PL / 6800001