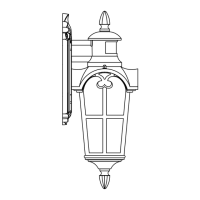
FIG.3 FUSE BOX
02
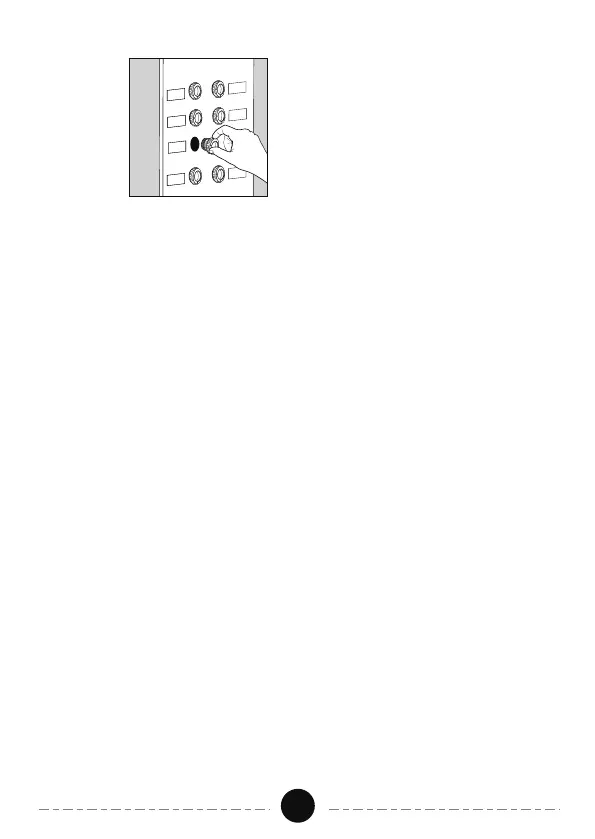
STEP 01: POWER OFF
FIG.1. Turn the wall switch to the “OFF” position.
Depending on which type of fuse box in your home:
FIG.2. Either turn the main (Master) switch to the "OFF" position to cut off
the power supply of the entire home, or turn off the individual switch that
supplies power to the fixture installation location.
OR
FIG.3. Either turn the main (Master) switch to the "OFF" position to cut off
the power supply of the entire home, or unscrew the fuse that supplies
or turn off the individual switch that supplies power to the fixture installation
location.
STEP 02: CLEAN THE LIGHT
Cleaning: Cleaning the glass and photocell sensor surface of the light with a
s
oft and damp cloth.Dust will affect the sensitivity of photocell and brightness
of the light.
STEP 03: CONNECT THE WIRE
Connect black live wire, white neutral wire and ground wire with wire
connectors,be sure that the wires are connected together sturdily.
STEP 04: FIX THE LIGHT
Fix the lamp on the wall with mounting screws,unload the light body by
taking off two screws,install A19 bulb(E26 base) in the wall light.
(Not included)