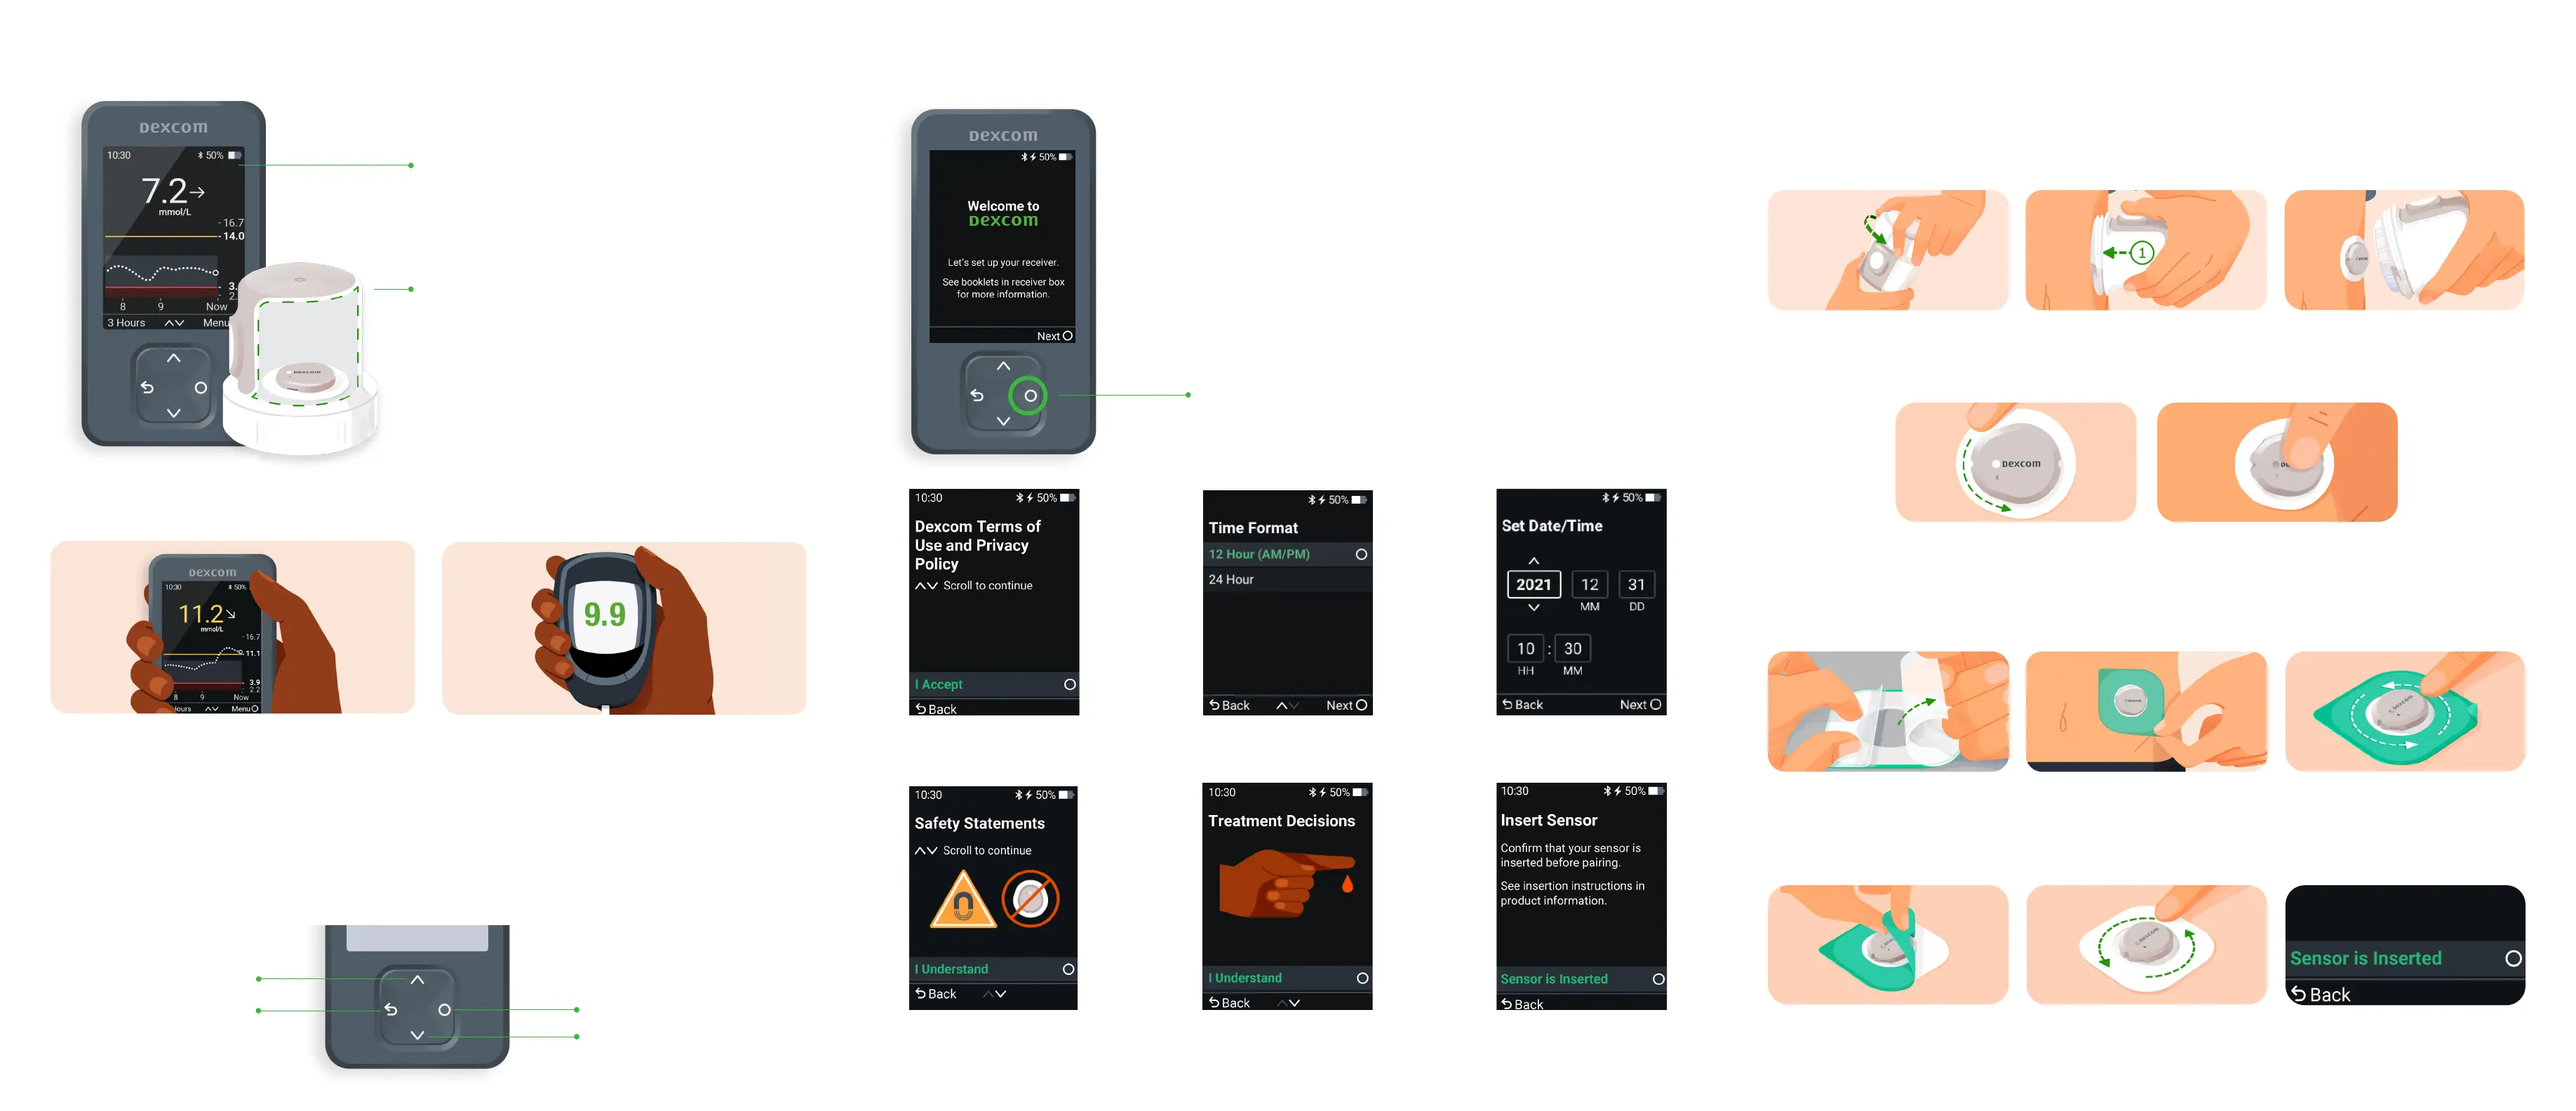
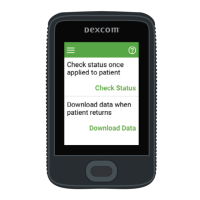
STEP 1: SET UP RECEIVER
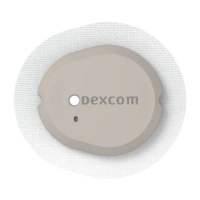
STEP 2: INSERT SENSOR
Age 7 years and older: Use abdomen or back of upper arm.
Age 24 months - 6 years: Use abdomen, upper buttocks, or back of upper arm.
Before you begin, wash and dry your hands; then clean the sensor site with alcohol.
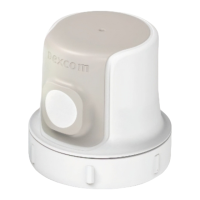
1. Unscrew Cap. Don’t touch
inside applicator.
2. Press and hold applicator
firmly against skin and
then push button.
3. Remove applicator.
4. Rub firmly around patch
3 times.
5. Gently press on top of
sensor for 10 seconds.
1. Carefully pull o both
clear liners, one at a
time. Don’t touch white
adhesive area.
2. Use coloured tab to
place overpatch
around sensor.
3. Rub around overpatch.
4. Use tab to peel o liner. 5. Rub around overpatch.
3. Accept Terms
of Use.
6. View the mini tutorial on safety, treatment decisions,
trend arrows, reading your home screen, and alerts.
7. Insert your sensor.
5. Enter date
and time.
4. Pick time format.
1. To turn the receiver on press and hold
the Select button for 3-5 seconds.
2. Select Next on the Welcome Screen.
Select
STEP 3: APPLY OVERPATCH
6. On receiver, confirm
sensor is inserted.
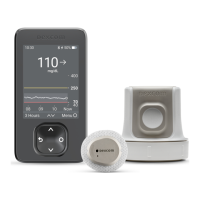
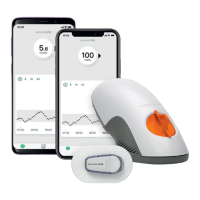
HOW DOES THE DEXCOM CGM WORK?
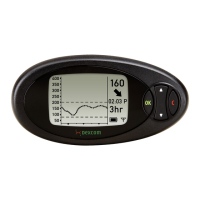
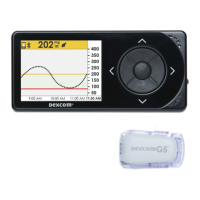
DEXCOM CGM RECEIVER
• Displays a glucose reading up to
every 5 minutes.
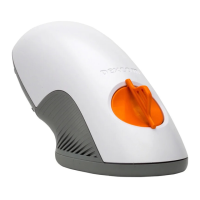
APPLICATOR WITH BUILT-IN SENSOR
• Applicator inserts the sensor under your skin.
• Sensor receives glucose information.
• Sensor lasts 10 days and oers the flexibility
of a 12-hour grace period, allowing you to
swap your sensor when convenient.
• Sensor sends glucose information to
the receiver.
Dexcom CGM readings and meter values may not be the same, and that’s okay.
The Dexcom CGM and a meter measure glucose from two dierent types of body fluids:
interstitial fluid and blood. Readings can be dierent and still be considered accurate.
ACCURACY
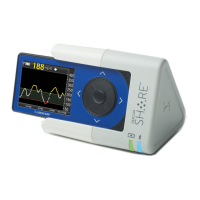
RECEIVER NAVIGATION
Select
Scroll Down
Scroll Up
Go Back
To scroll faster, hold down the Scroll button. To move to the next field, use the
Select button.