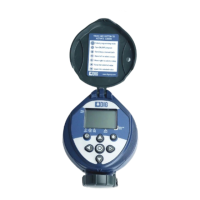
16 17
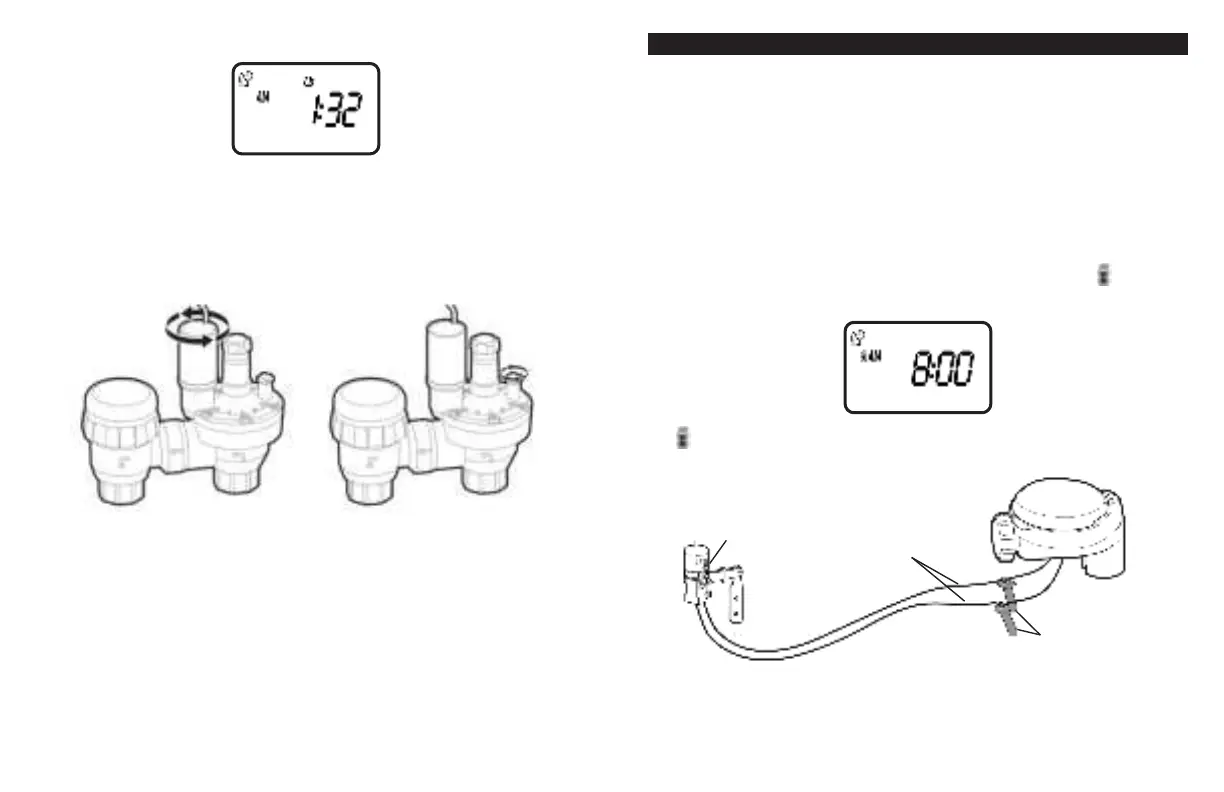
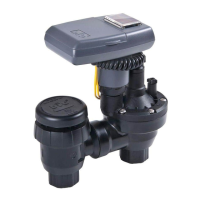
To activate a manual watering without the use of the timer – turn the solenoid a
1/4 turn counterclockwise. To stop, tighten the solenoid clockwise by hand only –
do not over tighten (figure 8a). Manual watering can also be achieved by turing the
external bleed screen counterclockwise to start and clockwise to stop (figure 8b).
14. CONNECTING A RAIN SENSOR
Most “normally closed” rain sensors can be connected to the 400A controller.
The function of the sensor is to prevent automatic watering by
the set program due to excessive rainfall.
To connect the sensor to the controller, please follow these steps:
1. Cut the yellow wire loop that exits the controller in the middle of the loop.
2. Strip approximately 1/2 in. of insulation from the end of each wire.
3. Splice one yellow wire to each of the wires coming from the sensor.
Use waterproof wire connectors to secure the connections.
4. When the sensor is active and preventing automatic operation, the icon will
appear on the display.
The icon will only appear when sensor is active or if the wire has been cut.
Recommended rain sensors are the Rain Bird RSD and Hunter Mini-Clik
FIGURE B
SENSOR
WATERPROOF
WIRE CONNECTORS
YELLOW SENSOR
WIRES
FIGURE 8A FIGURE 8B