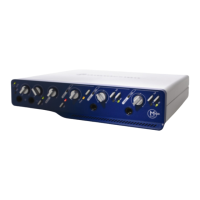
Chapter 7: Making Studio Connections 39
Using a Mic that Has an XLR
Connector
To use a microphone that has an XLR connector:
1 Plug your microphone cable into one of the
Mic/Line inputs on the back of Mbox 2 Pro.
2 Set the input Source to Mic (microphone) by
pressing the Mic/DI Source selector on the front
of Mbox 2 Pro until the Mic LED is lit.
3 If your microphone requires phantom power,
make sure the microphone is connected, then
press the Phantom Power switch (labeled 48V)
on the front of the Mbox 2 Pro. This switch
sends 48V to both XLR mic inputs. The 48V LED
on the front of the Mbox 2 Pro will light when
phantom power is being supplied.
4 On the front of the Mbox 2 Pro, turn the
Monitor control to the desired level.
5 On the front of the Mbox 2 Pro, carefully turn
the Input 1 Gain control to the right to increase
the input level of your microphone signal.
6 If the incoming signal is too loud, press the
Pad switch to engage the –20 dB pad.
XLR connector plugged into Input 1
Input 1 Source selector and LEDs
Input 1
Mic input
Mic/DI
Source selector
Mic
LED
DI
LED
Phantom Power switch
Monitor control and Gain knob for Input 1
Input 1 Pad
48V (Phantom Power)
Monitor control Gain
Pad

 Loading...