DVM-750 Installation Guide 860-0008-00 Rev C
Digital Ally, Inc |DVM-750 Installation Guide
The interface box includes a battery backup that provides between 30-90 minutes of
operation in the case of unexpected power loss, and is kept charged while the vehicle is
running. If the Backup Battery does not have a high enough charge at the time of
Installation, the DVM may not power up correctly the first time. It may be necessary to
charge the backup battery in the IF Box prior to first use. To charge the Backup
Battery, start the vehicle and allow it to run for at least 5 to 10 minutes following
installation.
The ignition line (Blue wire) MUST be connected to a point where +12V is present
only when the ignition is in the ON position.
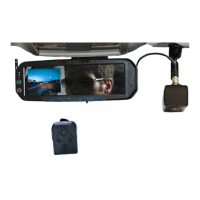
Mount the wireless MIC charging cradle in a desirable location, plug the
power cable into the charging cradle, then connect the cigar plug to a
constantly powered +12V receptacle. Mounting hardware is included, and
there are 2 threaded mounting holes in the bottom of the charging cradle
allowing you several mounting options.
A 110 Volt AC Wall charger is also provided for charging outside the vehicle.
YOUR DVM INSTALLATION IS COMPLETE. INSERT THE CF CARD INTO
THE DVM, TURN ON THE VEHICLE’S IGNITION, AND PRESS THE “MARK”
BUTTON ON THE DVM TO POWER ON THE SYSTEM. IF INSTALLING THE
OPTIONAL WIRELESS OR VUCOMMAND EQUIPMENT, CONSULT THE WTM-
555 INSTALLATION GUIDE, AND/OR VUCOMMAND INSTALLATION GUIDE.
TESTING YOUR INSTALLATION
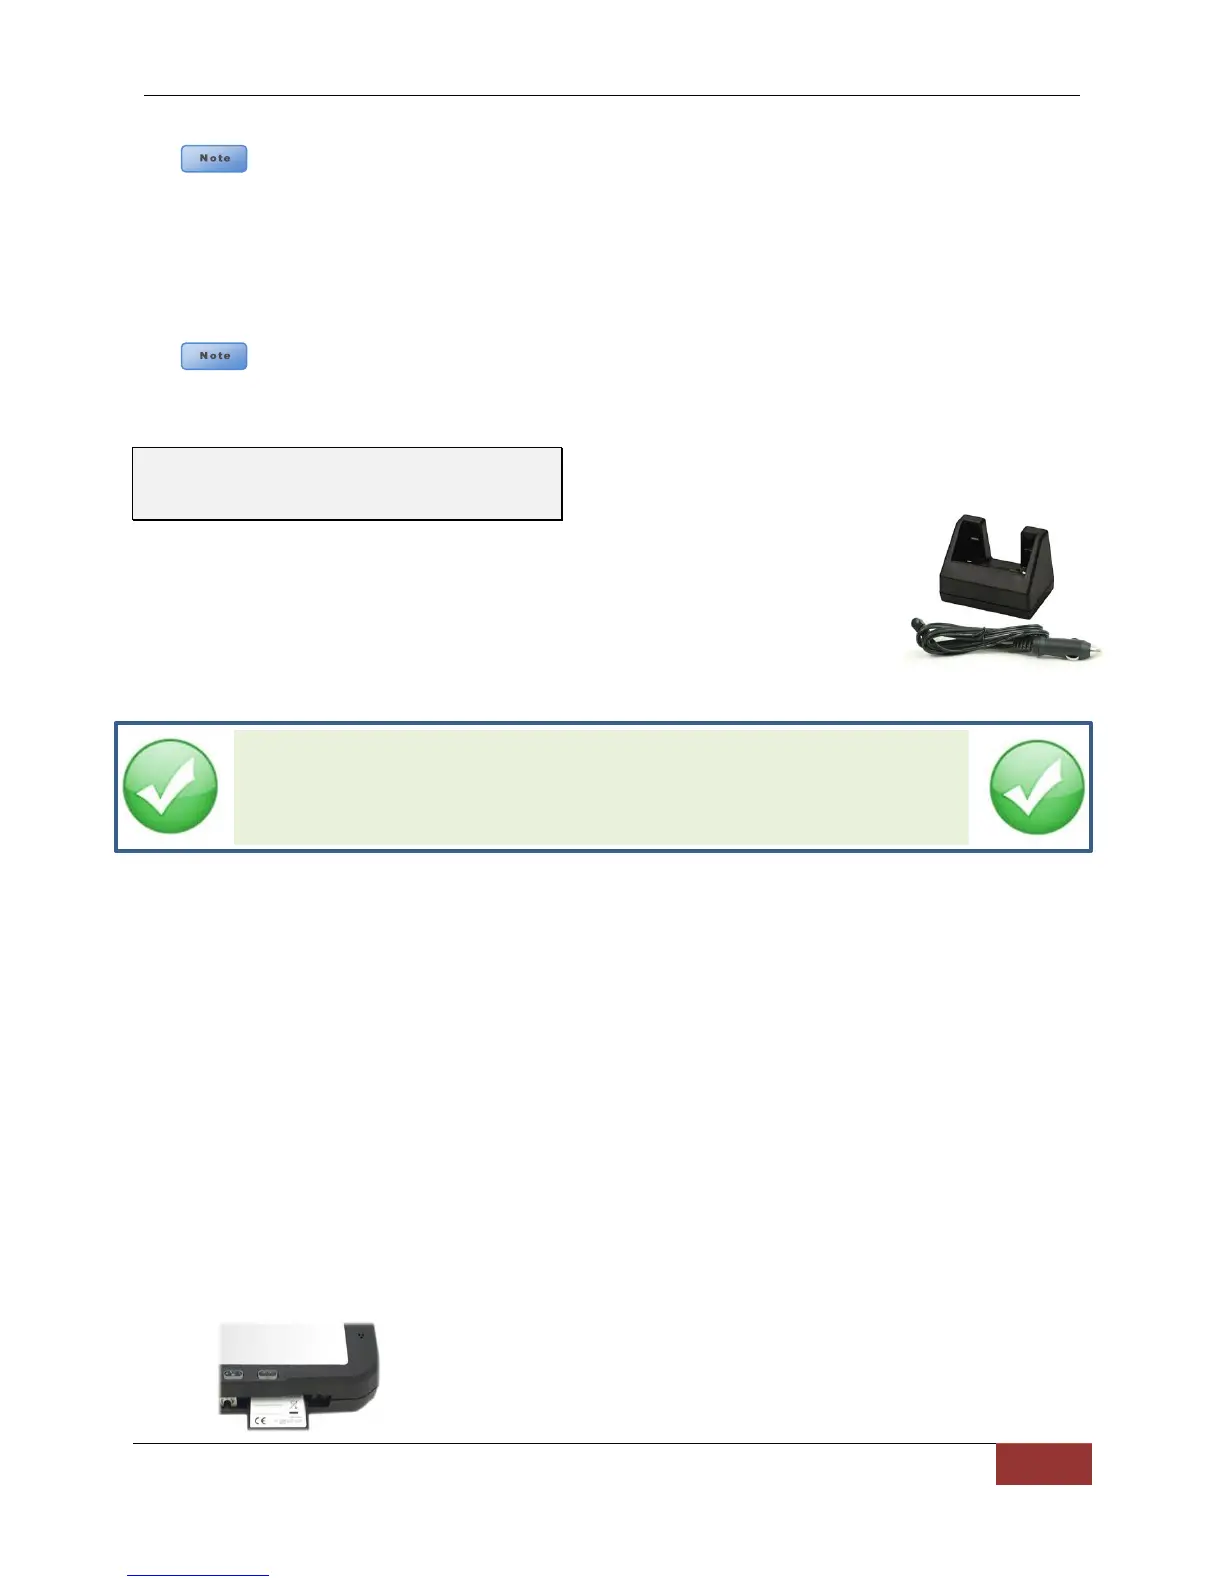
Insert the CF card
1. A CF memory card must be installed. Your DVM has been shipped with an 8GB CF
memory card. A memory card must be fully inserted before powering up the unit or a
message “CF card or UserIDs file failure” will appear on the screen and the unit will fail
to start up. Although your CF card is ready to use out of the box, it should be activated
through your back office software. Consult the DVM-750 User Guide, and the
VideoManagerII™ or VuVault™ User’s guides for information on activating your CF card.
2. The card only goes in one way, with the back side of the card towards the front of the
mirror and the colorful label side facing the back of the mirror. The memory card should
slide in very easily and you should only encounter resistance as the last 1/8” snaps into
place. If the card is difficult to insert, pull it back out and make sure it is facing the right
direction and align it carefully with the slot as you reinsert it.
Important: Do Not Insert or Remove the Compact Flash Card
while the Unit is Powered On.
Step 9: Wireless Microphone
Charging Cradle
 Loading...