● Turn off or disconnect other USB devices
such as USB printers or scanners. A mouse or
keyboard are okay to leave on or connected.
Note: This is only necessary when installing the
scanner driver or software the first time.
● When connecting the scanner, plug the power
supply into the scanner first, then into an outlet.
● Connect the USB cable to the PC after the
power cords and driver or software have been
successfully installed.
● Connect the scanner directly to an available
USB port on the PC.
● Place the scanner on level surface and 6-12
inches away from other electronic devices.
www.digitalcheck.com
Rev 072512
TellerScan
®
TS240 Easy Installation Guide
General Installation Tips Document Preparation Additional Information
● For detailed scanner information and tips for
performing routine maintenance, please see our
user manuals and training videos available at:
www.digitalcheck.com
● Scanner cleaning supplies and other
consumables and accessories can be
purchased directly from our online e-store.
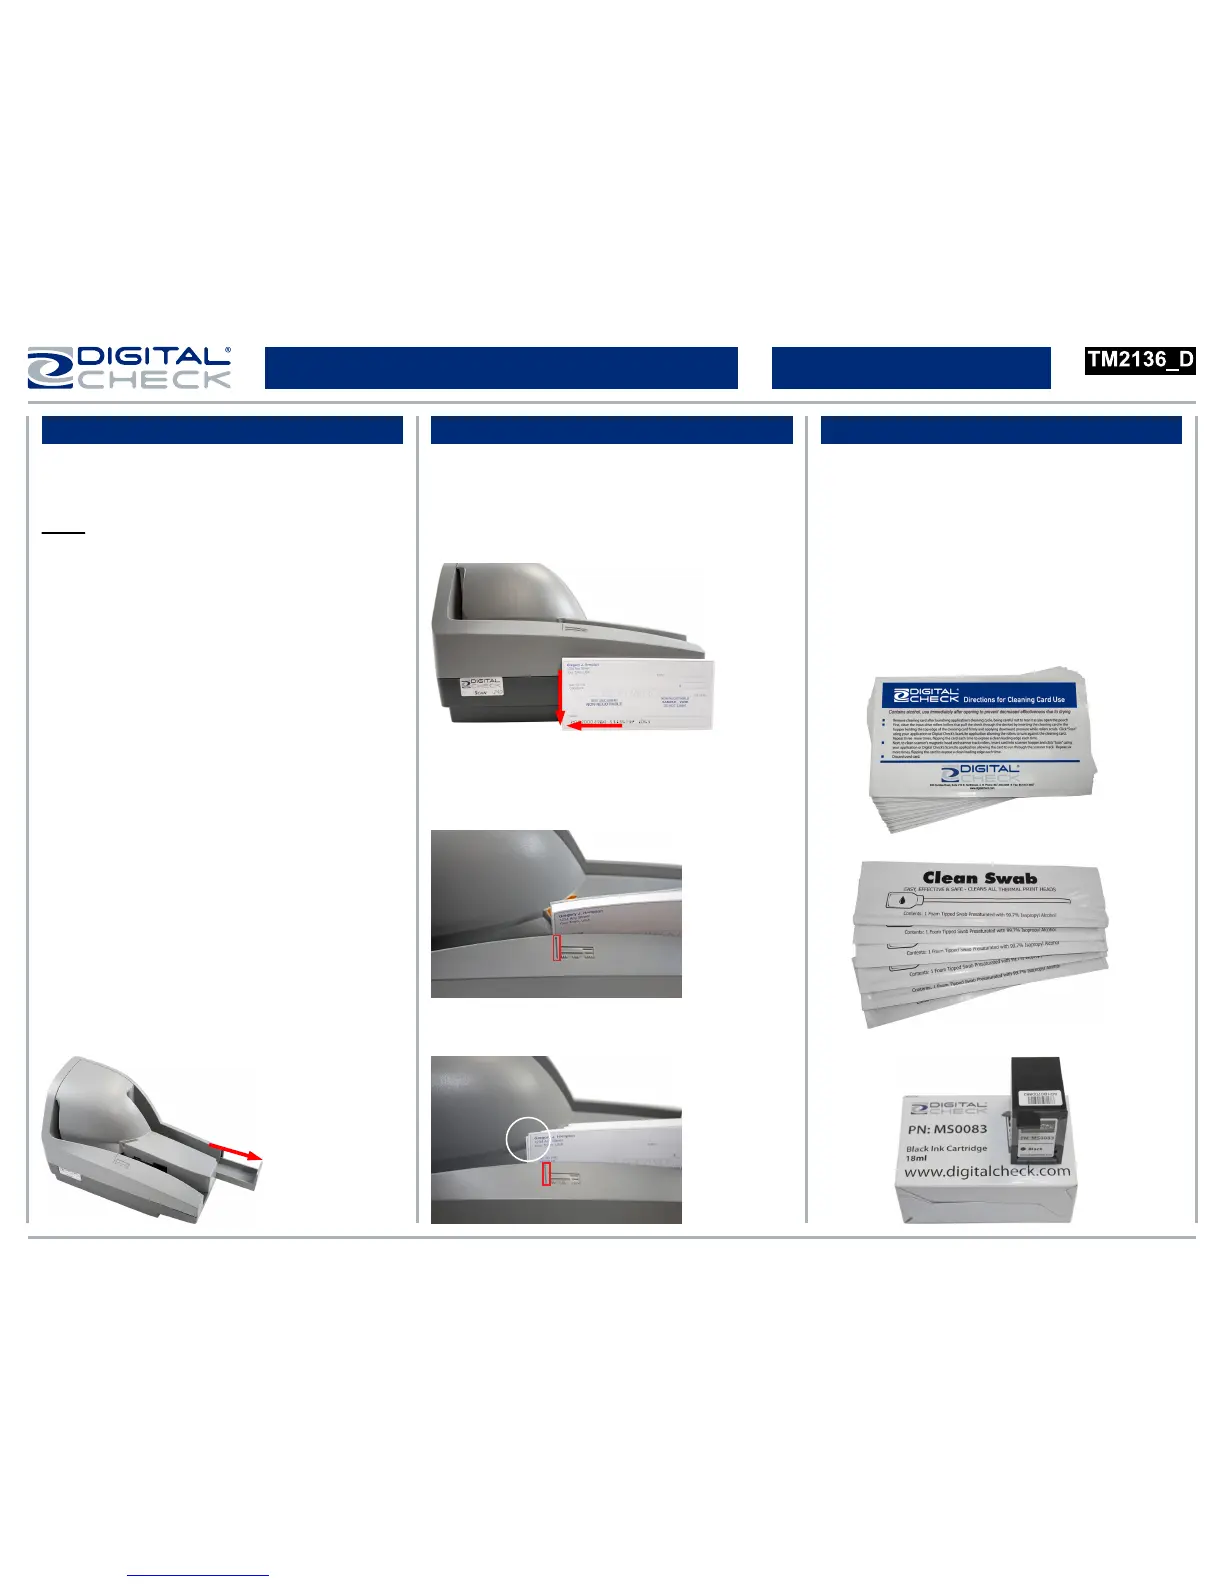
● Align the leading and bottom edges of the
documents. Straighten any bent corners and
remove staples or paper clips on the items
before loading.
● Slide the item(s) up to the line on the body of
the scanner as indicated below. The status LED
light will turn ‘Orange’.
● Do not push or insert items past the line.
● Pull out the exit tray to accommodate larger
items such as business size checks.
 Loading...