DIN RELAY 4
5
Windows 7: Use the default Category View. Open
the Start orb, click on Control Panel. Click View
Network Status and Tasks, then Change Adapter
Settings. Proceed to step 2.
Windows 8/10: Mouse or swipe to the bottom right
corner and select Settings. Select Control Panel.
Select Network and Sharing Center. Change Adapter
Settings. Right click on your connected network and
select Properties. Proceed to step 2.
Windows Step 2
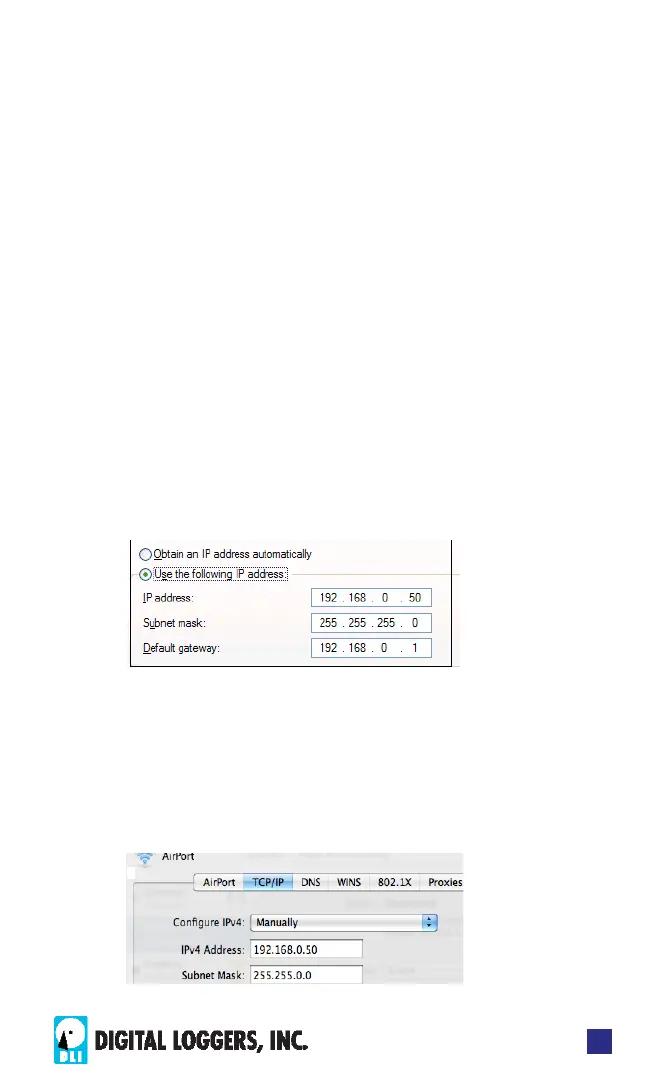
The second step is adding an IP such as 192.168.0.50.
If you are using DHCP, it’s easiest to temporarily
disable it while conguring the relay.
Select Internet Protocall TCP/IP V4 Properties and
click Properties. Enter a compatible static IP. Click
Apply and close windows. Ping the relay to conrm.
Point your browser to 192.168.0.100 Log in.
Max OS X IP Setup
Turn AirPort o temporarily. Click the Apple logo, then
System Preferences, then Network. Select Built-In
Ethernet and then Congure. Under the TCP/IP tab,
select Manually and enter an IP address such as
192.168.0.50
 Loading...