7
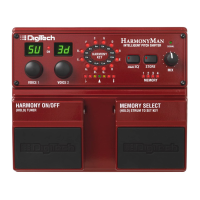
Using the HarmonyMan
TM
The following section walks you through a basic setup and some basic use. For
additional setup options, refer to the diagrams on pages 20-23.
Make Connections
Before connecting the HarmonyMan
TM
, make sure that the power to your
amplifier or P.A. is off and that the HarmonyMan is plugged into the wall
and powered on. There is no power switch on the HarmonyMan. To turn the
HarmonyMan on or off, connect or disconnect the included PS-0913B power
supply from the Power Supply jack.
Connect your guitar to the Clean Input jack.
Make sure your amp or P.A. system volume is turned all the way down.
Connect the Left (Mono) output jack to your amp or mixer input.
Adjust Levels and Tune Your Guitar
Observe the Signal LED above the Mix knob and play your guitar. Adjust
the output level of your guitar until the Signal LED stays lit green while
you play at performance level. (The Signal LED turns green when a guitar
signal is detected in the Guitar Clean Input, yellow when the guitar signal is
approaching levels that may clip, and red when the signal may be clipping
and may degrade the ability of the HarmonyMan to detect the guitar notes.)
Gradually increase the volume of your amp or PA until you reach a
comfortable listening level.
Press and hold the Harmony On/Off footswitch until the On LED flashes
and then release the Harmony On/Off footswitch.
Tune your guitar. The Voice 1 Display shows the note you’re playing, and
the Tuner Display indicates if the note is sharp or flat.
When you’re finished tuning, press either footswitch to exit tuner mode.
1.
2.
3.
1.
2.
3.
4.
5.