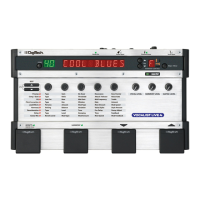
5) Mode LEDs - Indicates whether the RP-3 is in Program or Bank mode.
6) Parameter Select Buttons -The <LEFT> and <RIGHT> Parameter buttons allow you to navigate the horizontal parameter LEDs of the
Parameter matrix. The <UP> and <DOWN> Parameter buttons allow you to navigate the vertical effect LEDs of the Parameter matrix.
These keys are only active in Edit mode.
7) Output Level - Controls the overall output level of the RP-3. Also controls the overall level of the headphones.
8) Presence - Enhances the high frequency content of the overall sound. This will affect all presets.
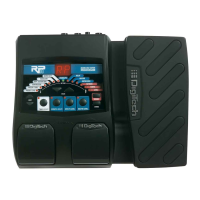
9) Expression Pedal - This volume-type pedal allows real time control over Parameters in the RP-3.
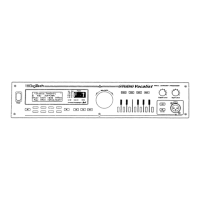
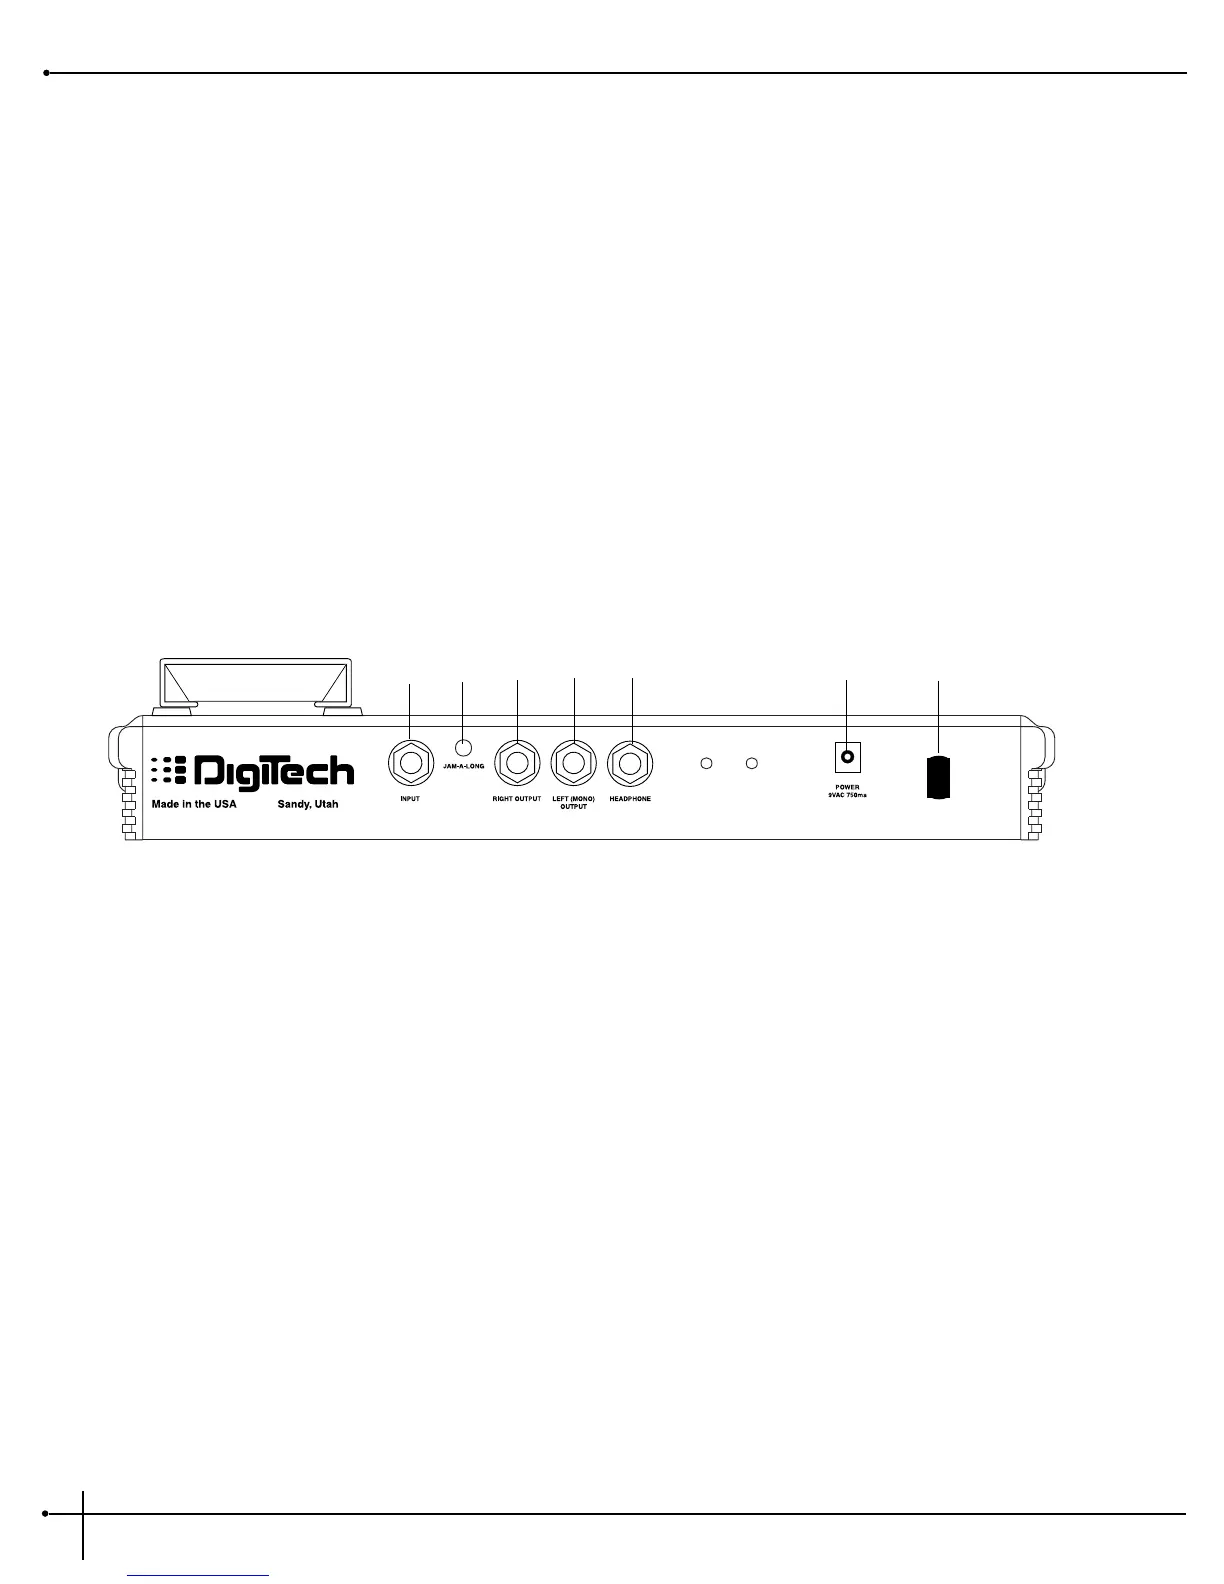
The Rear Panel
1) Input - Plug in your instrument here.
2) Jam-A-Long Jack- Connect a CD or Cassette player headphone output here for either Jam-A-Long or Learn-A-Lick use. Uses a standard 1/8"
stereo plug.
3) Right Main Output - This is the RP-3’s right main audio output. Use both left and right main outputs to take advantage of stereo effects.
4) Left(Mono) Output - This is the RP-3’s left main audio output. This output should be used when using only one output.
5) Headphone Output - 1/4” stereo plug for headphones. The headphone level is controlled by the main output level knob.
6) AC Line Input - This is the AC power adapter receptacle. Use only the included PS 750 power supply.
7) Strain Relief Clip - This holding clip is used to secure included power supply cord.