9
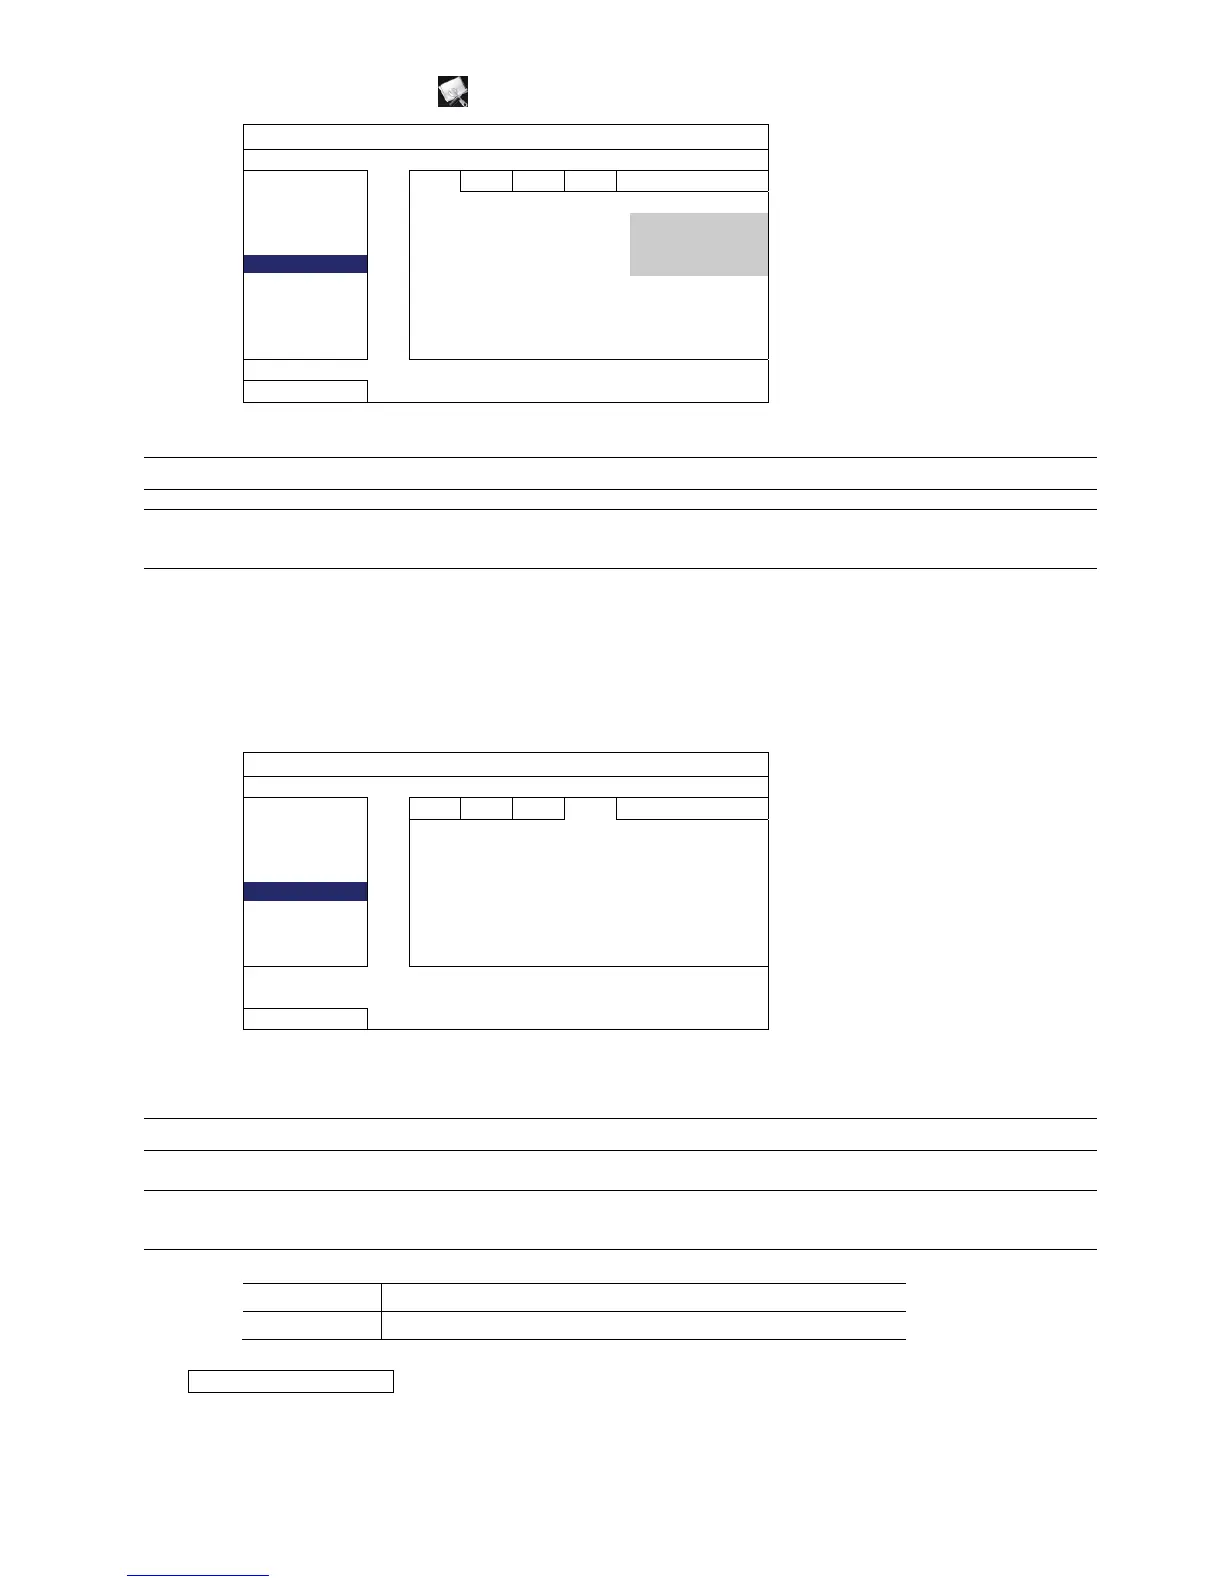
Step2: From your NVR, select (ADVANCED CONFIG), and select “Network” “WAN”.
ADVANCED CONFIG
CONNECTION
WAN LAN E-MAIL DDNS
CAMERA
NETWORK TYPE DHCP
DETECTION
IP 192.168.1.112
ALERT
GATEWAY 192.168.1.254
NETWORK
NETMASK 255.255.255.0
DISPLAY
PRIMARY DNS 168.095.1.1
RECORD
SECONDARY DNS 139.175.55.244
NOTIFY
PORT 88
EXIT
Step3: Select “DHCP”, and configure the DNS setting and port number.
Note: DNS is the domain name server obtained from your ISP (Internet Service Provider).
Note: The default port number is 80. Typically, the TCP port used by HTTP is 80. However in some cases, it is
better to change this port number for added flexibility or security.
Then, note down the IP address shown in “IP”. This is the IP address assigned to your NVR by the router.
You’ll need it later for port forwarding.
Step4: Go to “DDNS”, and select “eagleeyes” in “SYSTEM NAME”.
Note down the whole address under “CURRENT HOST ADDRESS”, such as
MAC000E5318B3F0@ddns.dvrtw.com.tw. This will be the address used to access your NVR remotely.
ADVANCED CONFIG
CONNECTION
WAN LAN E-MAIL DDNS
CAMERA
DDNS ON
DETECTION
SYSTEM NAME eagleeyes
ALERT
HOST NAME MAC000E5318B3F0
NETWORK
E-MAIL EMPTY
DISPLAY
RECORD
NOTIFY
CURRENT HOST ADDRESS
EXIT
MAC000E5318B3F0.ddns.dvrtw.com.tw
Then, select “EXIT” to return to the live view, and continue to Step5 for port forwarding.
Step5: From the web browser of your PC, enter the IP address of your router to access your router.
Note: Enter the user name and password if needed.
Step6: In the router setting interface, go to the port forwarding (or virtual server) rule configuration page.
Note: The naming of port forwarding or virtual server may vary based on different router brands. To know where it
is, please refer to the user manual of your router.
Then, enter the NVR IP address and the port number you note down in Step3, and enable this rule.
IP Address: The IP address of the NVR, such as 192.168.1.112 in our example.
Ports to Open: The port number you set for the NVR, such as 88 in our example.
Check your connection
Step1: Open your web browser, e.g. Internet Explorer.
Step2: Enter the NVR address and the port number in the URL address box of the web browser, and see if you
can access the login page of the camera successfully.
The format is “http://ipaddress:portnum” or “http://hostaddress:portnum”.