45
17. Repeat these steps 4 times to make sure you
are receiving a uniform shot charge.
18. Weigh the fifth shot charge. Adjust as needed
to the desired weight.
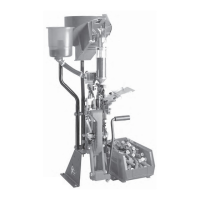
At Stations 4 and 5, the starter crimp die and final
seat/crimp functions are performed.
19. Using the same hull with shot in it in Station
4, move the roller handle down and then back to its
rest position, the formed and folded hull has just
completed Station 4 and has advanced to Station 5.
Fig. 17
20. Once again, move the roller handle down. As
you return the roller handle to its rest position, you'll
see the completed round advance and move out of
the machine.
21. Inspect the completed round.
22. Before you begin reloading, review all
assemblies to assure yourself that all the screws you
touched are tight. You are now ready to begin your
reloading session.
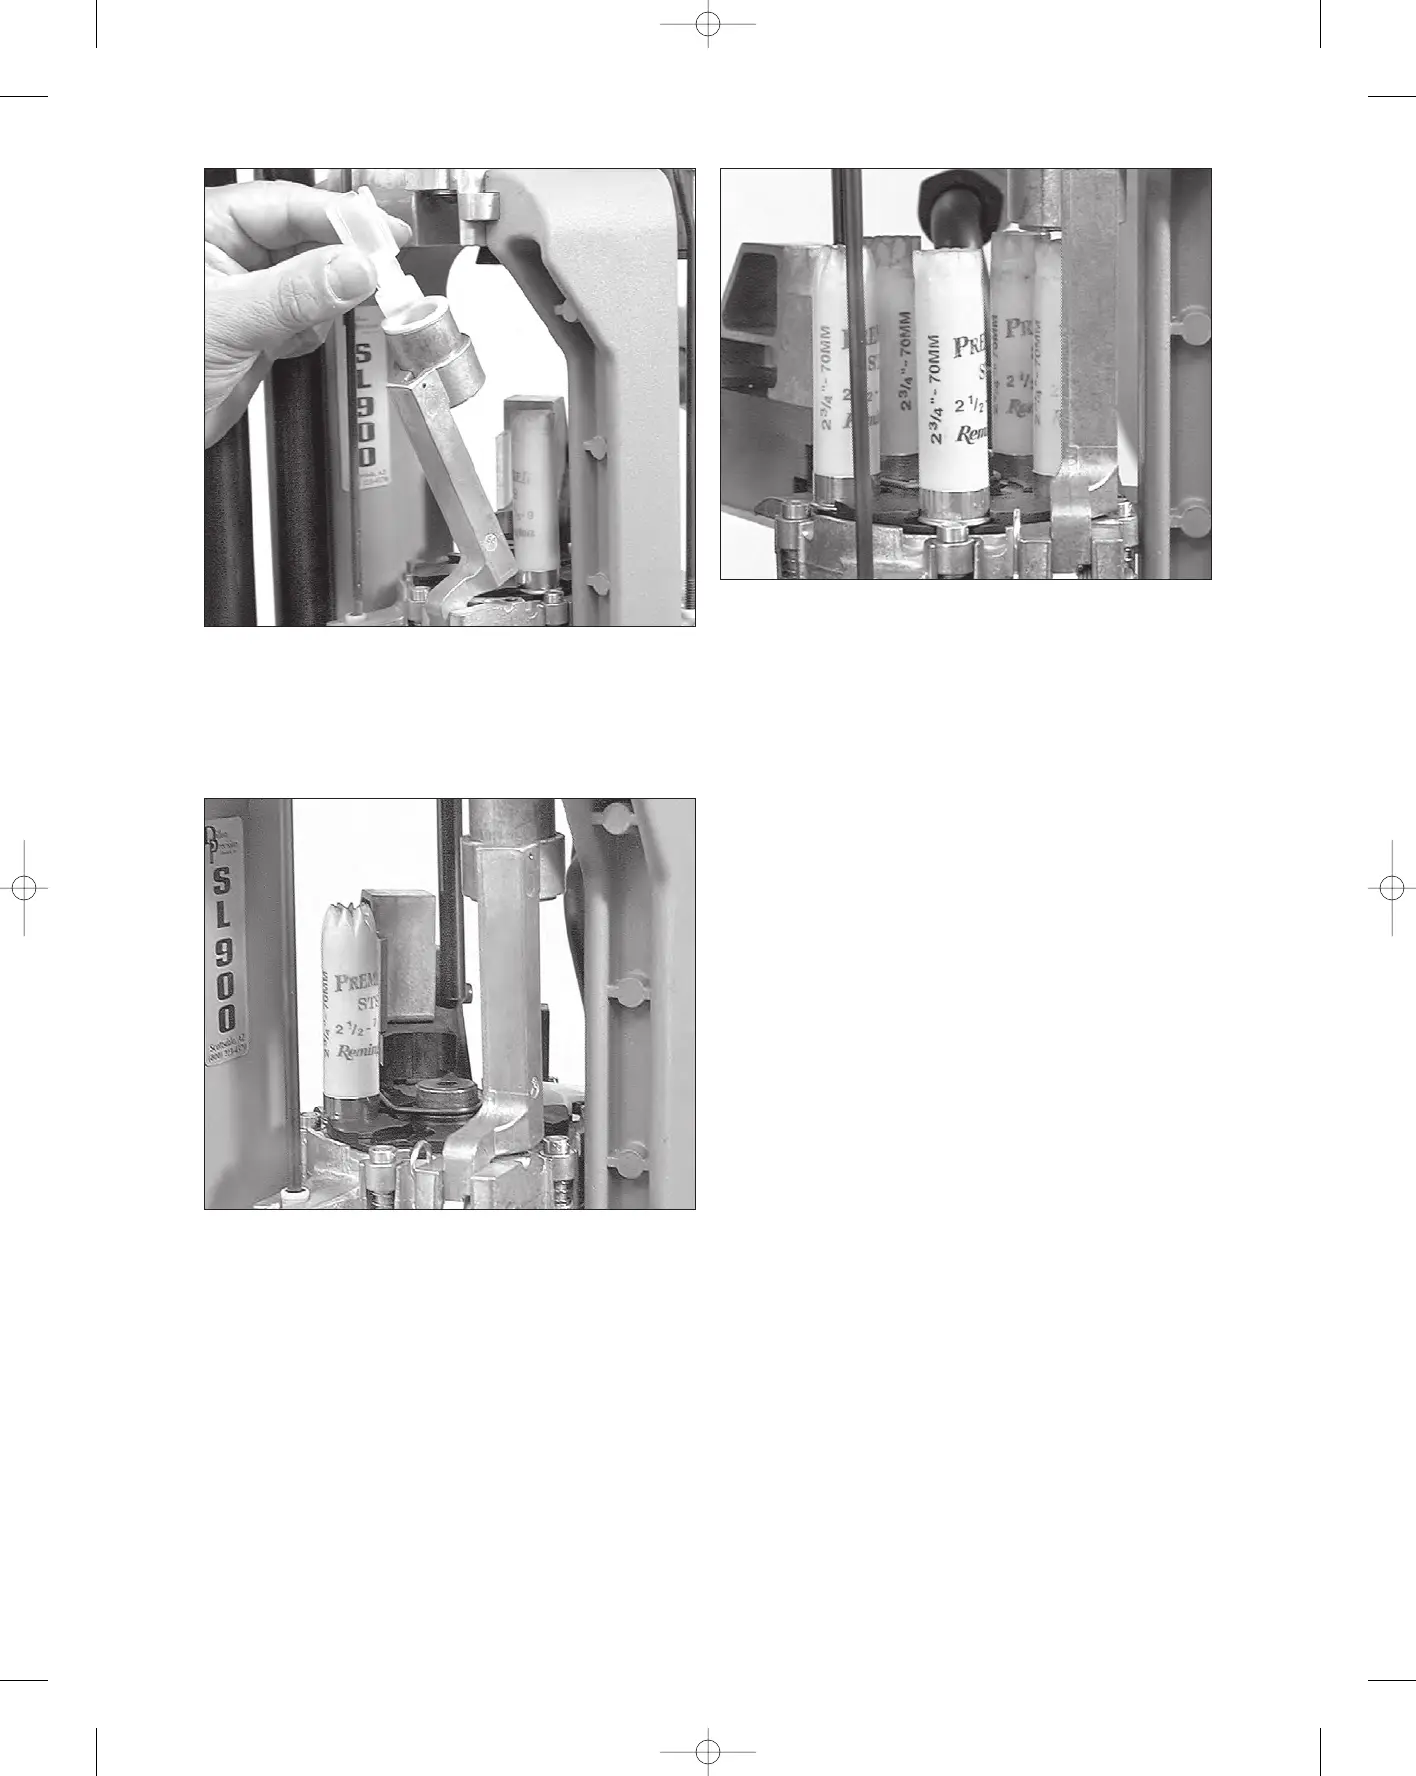
Once you’ve started loading,
Fig. 18 shows a full
shellplate with all functions performed.
Fig. 18
Fig. 17
Fig. 16