4
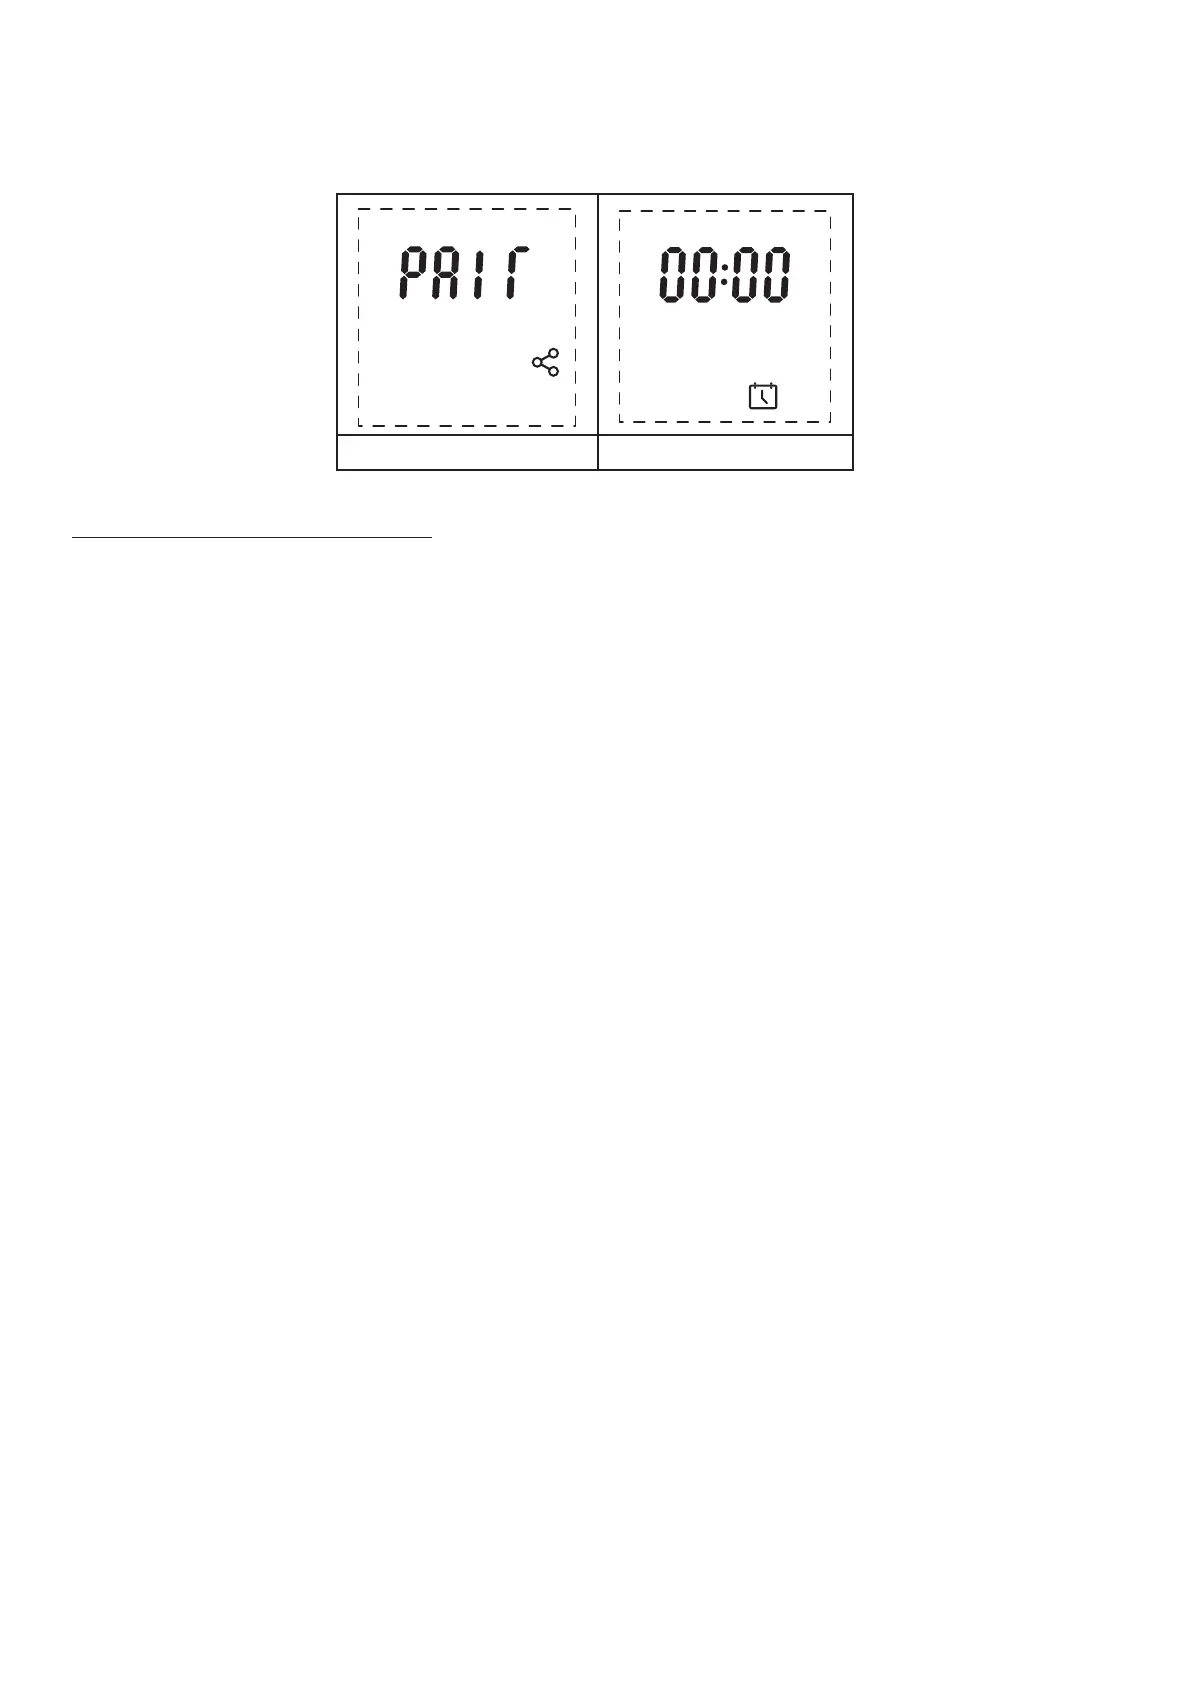
4. While the product is ashing and beeping, press ‘Button 6 - Enter’ to pair the remote to the product. When paired,
the product will stop ashing and beeping and you will be presented with the time setup screen on the remote (Fig
B, below). Please follow the steps below to set up the time and date for the remote. This is important for the correct
functioning of the 7-day 24-hour timer.
Fig A Fig B
Setting the Date and Time for the First Time
When rst setting up the remote control, you will be presented with the time and date set up screen before you can
begin to use the remote control. Follow the steps below to set up the time and date for the remote control. (Note, the
time on the remote control will be represented in the 24-hour clock format and cannot be changed.)
1. Press and hold ‘Button 6 - Enter’ on the remote until the ‘00:00’ is shown on the display (Fig A).
2. The rst ‘0’ of the time will be ashing. Using ‘Button 5 - Arrows’, navigate to the correct number for the rst digit
of the current time. When the correct number is ashing on the display, press ‘Button 6 - Enter’.
3. Once the rst digit of the time has been set, the second ‘0’ of the time will begin to ash. Navigate to the correct
number for the second digit of the time. When the correct number is ashing on the display, press ‘Button 6 - Enter’.
4. (Note, if an incorrect number is selected for a particular time digit, press ‘Button 3 - Back’ to return to the previous
digit).
5. Complete the same steps for the third and four digits of the time.
6. Once the time is set, you will be presented with the menu to set the correct date (Fig B).
7. ‘Day’ will ash on the screen for two seconds and then you will be presented with the default day gure of ‘01’.
Using the same process as above, navigate and select the correct number corresponding to the rst digit of
today’s day number in the calendar month (eg. ‘3’ for the 30th day of the month).
8. Complete the same steps for the second digit of today’s day number in the calendar month (eg ‘0’ for the 30th day
of the month).
9. Once the day has been set, you will be presented with the menu to set the correct month (Fig C).
10. ‘1 – 12’ will ash on the screen for two seconds and you will then be presented with the default month gure of
‘01’. Using the same process as above, navigate and select the correct number corresponding to the rst digit of
the current month number (eg. ‘0’ for January to September and ‘1’ for October to December).
11. Once the day and month are set, ‘Year’ will ash for two seconds and you will be presented with the menu to set
the correct year (Fig D).
12. Select the correct four digits of the year using the same steps as the ones above.
13. Once the year has been set, you will be presented with the menu to select whether your region observes Daylight
Savings Time.
14. ‘DST’ will be shown on the screen with a ashing ‘OFF’ beneath it (Fig E). Using ‘Button 5 - Arrows’ toggle between ‘OFF’ and
‘ON’ and press ‘Button 6 - Enter’ to conrm your selection.
15. Once the date and time has been set up, you will be presented with the ‘Fire’ menu which can be used to switch
the product on (Fig F). Press ‘Button 6 - Enter’ to switch on the product.
If you wish to access the date and time setup menu at a later date.
1. Ensure the product is switched on and operating (ie. not in standby mode).
2. Press and hold ‘Button 6 - Enter’ on the remote until the main ‘Fire’ menu appears on the display (Fig G).
3. The ‘O’ option will be ashing on the display. Using ‘Button 5 – Arrows’ navigate to the Calendar Icon.
4. Once selected, follow steps 2-14 above to set the day and time.