(Setting up the DMC.micro, continued)
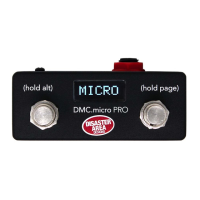
Once you have plugged in all of your cables, it’s time to introduce the DMC.micro to your devices. Power on the DMC and hold the left
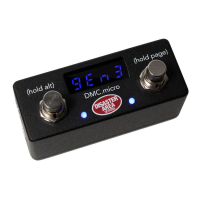
button to enter the Setup menu. Release the button when you see the word “SETUP” scroll across the screen.
Tap the left or right buttons to navigate through the setup menu options.
Hold the left button to enter or exit from the menus.
Hold the right button to save and exit setup.
First, navigate to the dev menu. This item tells the DMC how many MIDI devices you would like to control. Hold the left button, then
use the left or right buttons to select either one device (devA,) two devices (devB,) or three devices (devC.) Hold the left button again
to exit the dev menu.
Once you have decided the number of MIDI devices you’re controlling, you need to tell the DMC what those devices actually are! So
navigate to the devA menu and pick the device you want to use. Here’s the full list of stuff we can control - if you don’t see your device
listed, then try using the General MIDI selection. That usually works, though some of the more advanced features may not be
supported.
Scroll through the available devices until you see the Menu code that matches what you want to hook up, then hold the left button to
accept and return to the main menu. Repeat this for each device you have connected.
If you are connecting any devices to the MultiJack or the USB port, please navigate to those menus and set them up according to the
chart in the previous section.
If you are using the MutliJack to send MIDI, then go to the JACK menu and set it to either MIDI or MID2 as indicated by the previous
chart. You’ll also need to set the MultiJack DIP switches inside the DMC.micro to ON-ON-ON.
If you are using the USB port, set the USB menu to HOST.
Hold the right button to save the configuration and exit.
 Loading...