8 9
First, decide how you’d like to control your devices. Check out the Tap Tempo Setup and MIDI
Clock Setup sections for information on how these outputs work.
Next, congure the tap tempo and MIDI outputs on the micro.clock to suit your devices. Any
output can be either Tap Tempo or MIDI output, but the MultiJack does have some extra
capabilities which we cover in the MultiJack section.
Finally, plug everything in and start tapping! The micro.clock should send taps or MIDI clock to
each of your devices, allowing you to keep everything in sync across your pedalboard.
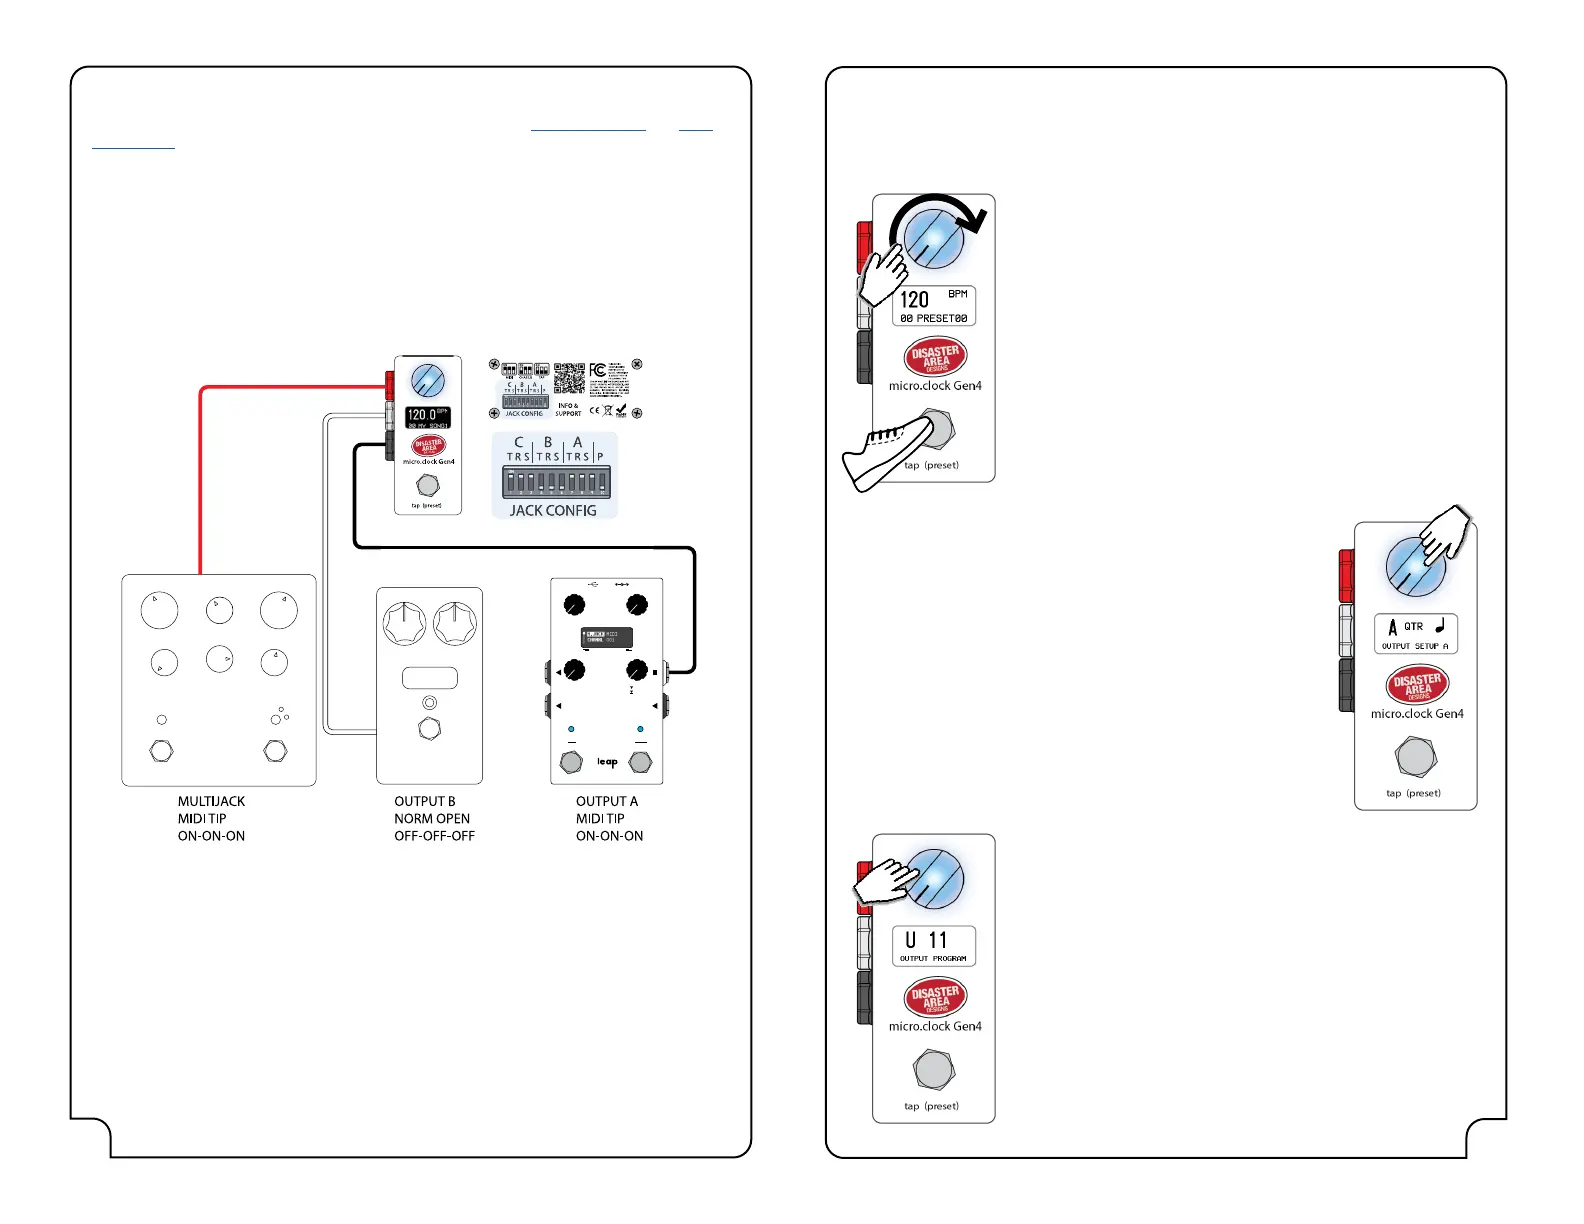
Here is an example setup using two MIDI-capable devices and one device with a Tap Tempo
input:
MIDI Devices with DIN (large round 5-pin) inputs will require a TRS to DIN adapter cable. The
micro.clock can congure its MIDI outputs as either “Type-A” (more common in the USA) or
“Type-B” (more common in Europe.) Congure the port you’re using as MIDI Tip (A) or MIDI
Ring (B) and set the DIP switches for that port to ON-ON-ON.
If you have enabled MIDI Program Change by setting PRST CHAN to a
value higher than OFF, tap the knob once from the last subdivision to
set the output program.
Turn the knob to change the program the micro.clock will send out on
the MIDI channel selected for PRST CHAN.
If PRST CHAN is set to OFF this menu is disabled.
Tap once from this mode to exit and return to normal operation. The
micro.clock will resync its outputs and send new taps to all outputs
congured as Tap Tempo, Pulse, or MIDI Tap.
IMPORTANT NOTE: ANY CHANGES YOU MAKE HERE WILL BE LOST
UNLESS SAVED TO A PRESET.
GettInG ConneCted usInG the MICro.CloCk
Once you’ve congured and connected all of your devices, operating the micro.clock is simple.
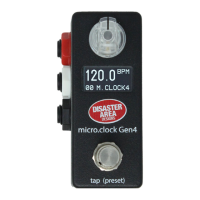
Turn the knob to set the tempo in either BPM (beats per minute) or MS (milliseconds,)
depending on how you congured the BPM DISPLAY.
You can congure the footswitch to act in one of several ways, based on
how you congure the FOOTSWITCH parameter in the Setup Menu:
TAP: Tap the footswitch 2 or more times to set the tempo.
Tap the footswitch once to re-send taps without changing tempo
Hold the footswitch to move to the next preset.
Long-hold the footswitch to move to the previous preset
PRESET: Tap the footswitch to advance to the next preset
Hold the footswitch to move to the previous preset
START: Tap the footswitch to start or stop the clock
Hold the footswitch to move to the next preset.
Long-hold the footswitch to move to the previous preset
DOT MATRIX DISPLAY
BYPASS
PRESET
TAP
CTRL
PAGE
MENU
SERIES
R
L
MULT I
IN
If you have congured any of the outputs as Tap Tempo or Pulse, or
you have enabled MIDI Tap, you can also select the subdivisions each
output will use.
Tap the knob to edit the rst available subdivision, then turn the knob
to select the subdivision:
Whole, Half, Quarter Note Triplet, Quarter Note, Dotted 8th,
Phi (Golden Ratio,) 8th, 8th Note Triplet, 16th.
Tap the knob to set the next subdivision if available.
MIDI Tap and Pulse outputs use the subdivision for MultiJack C.
If an output is set to MIDI Clock, its subdivision is disabled.
TAP TO
EDIT
TAP TO
EDIT