Setup and Activation - Joey
The following steps will be performed after there is live TV at the Hopper location and the Client ID is veried
They can be performed one after the other in sequence with minimal downtime
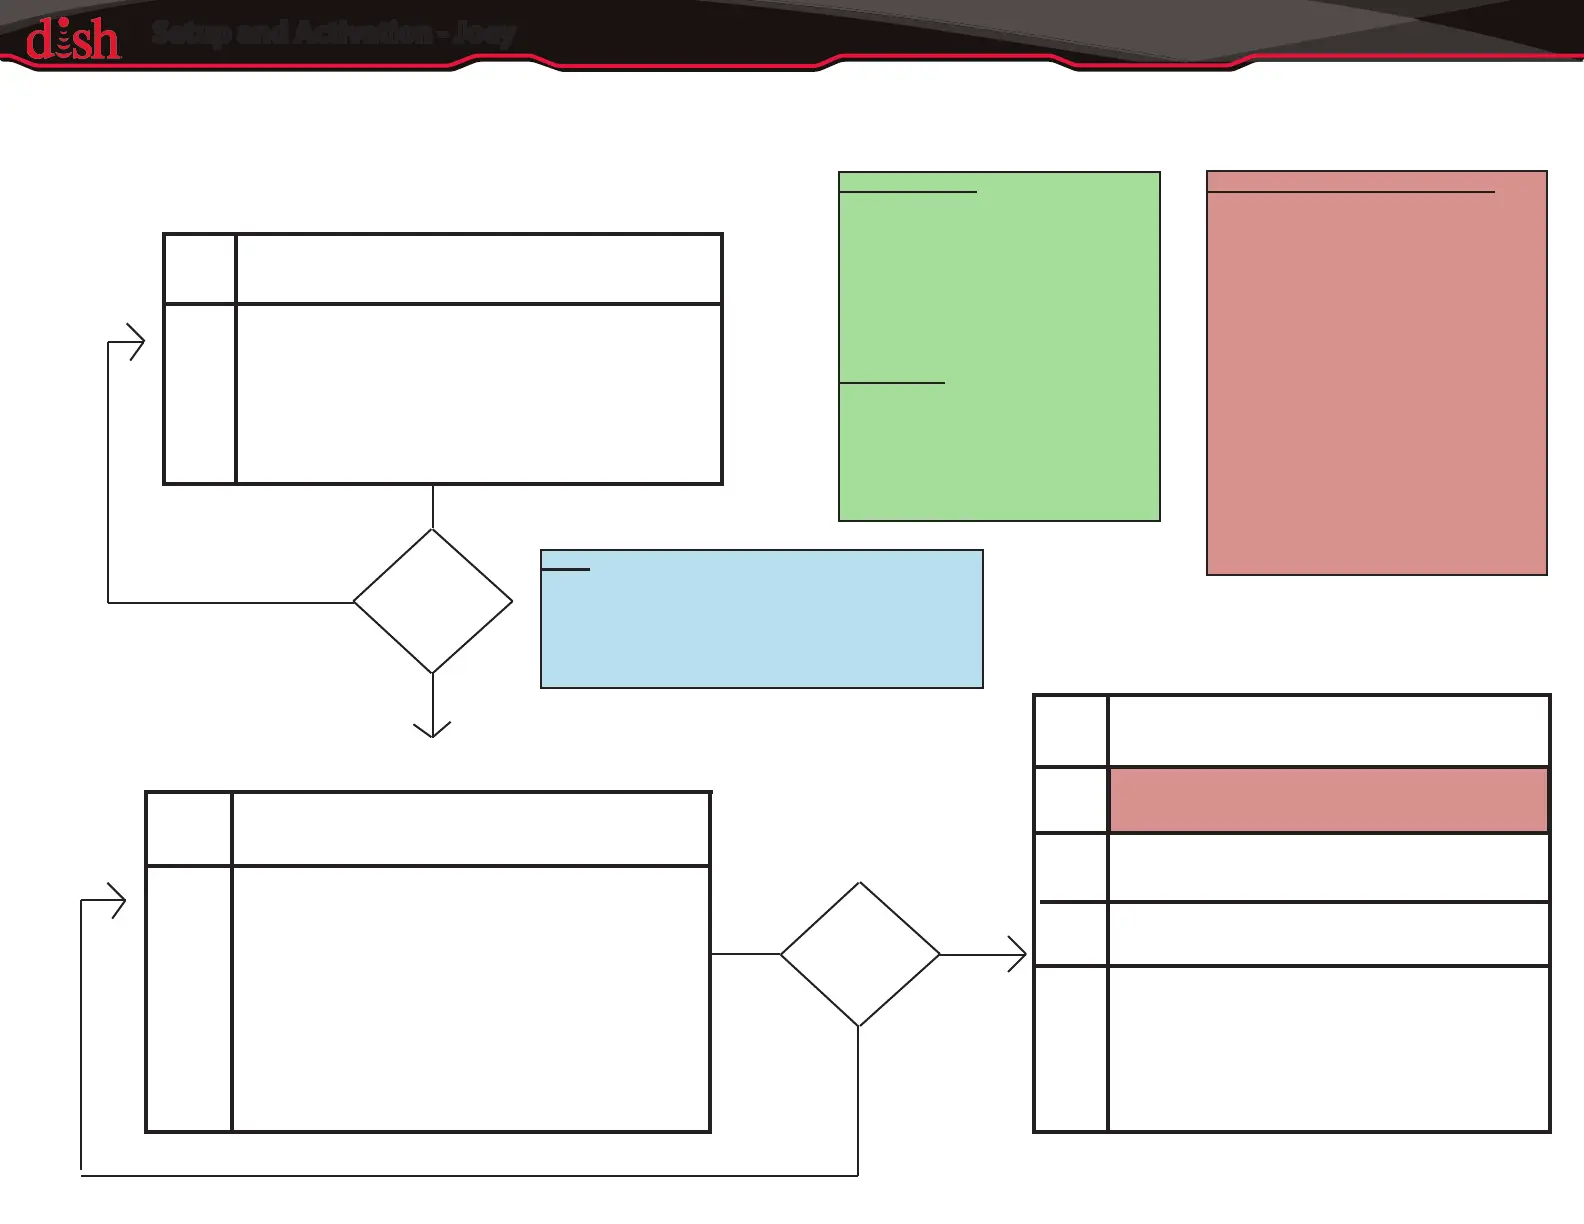
Step
Action
1.
2.
3.
4.
5.
Attach coaxial cable
Plug Joey into power
Pair the remote
Name location
Initiate download and move on
(1) Joey Download Initiation
(2) Joey Setup Completion
6.
7.
8.
9.
10.
11.
Set and save video resolution
Link receivers
Select “Watch Live TV”
Program remote to the TV
Check MoCA Signal in System Info>Box C
Tune to a basic satellite channel
(3) Hopper
Action
Repeat these steps for any additional
Hoppers, then give the customer a
walkthrough of the installation and perform
customer education
Verify EPG Download (F)
F1. Press the red shortcut button (TV
Viewing Status Screen)
F2. The TV Viewing Status Screen
displays three tuner status boxes on
the top half of the screen
F3. If the EPG is still downloading,
“Guide Update” will be displayed in
two of the status boxes
F4. One at a time, these two status
boxes will stop displaying “Guide
Update.” At that time, the DVR/EPG
will be ready for customer ed.
Note
After you complete step 5 and initiate the
download, move to the next Joey. Do NOT
wait for the software download to complete.
Step
Connectivity
The HIC and other connectivity
devices can be connected to
power and to the system any
time after the Hopper has live
TV and the Client ID populates.
Hierarchy
1. Direct Ethernet connection
2. HIC (using existing cable)
3. Wireless adapter
4. HIC (new cable run required)
Additional
Joeys?
Step
Action
YES
NO
Additional
Joeys?
NO
YES
20.
Access the TV Viewing Status Screen and
verify EPG download is complete (F)
21.
Check signal level via STBH Live or
through the Point Dish Screen
22.
Record a family-friendly premium program
for customer education