EN
RONIN 2
Quick Start Guide
©
2017 DJI OSMO All Rights Reserved.
3
2
3
3
1
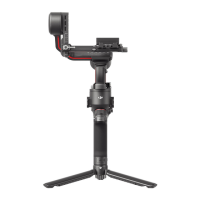
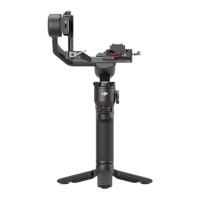
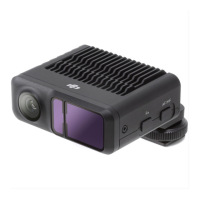
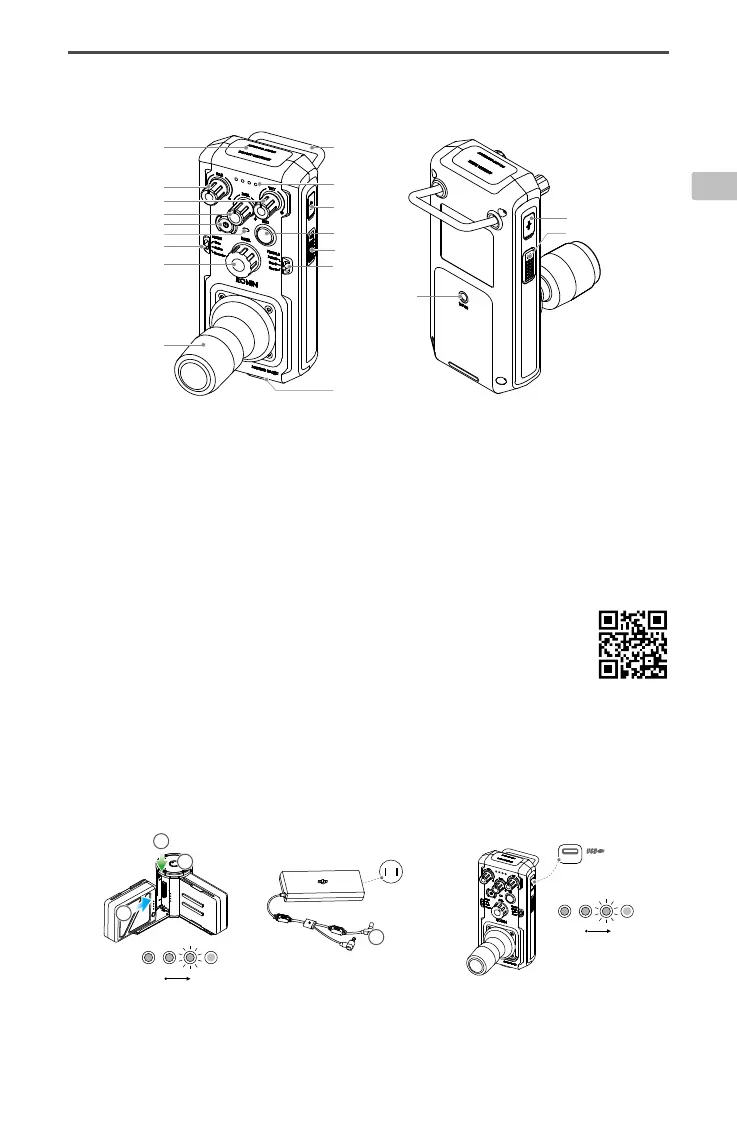
Remote Controller
Getting Started
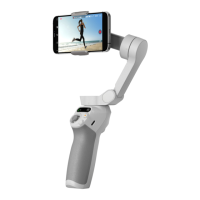
A. Download the Ronin 2 App and Watch the Tutorials.
Search for “Ronin 2” in the App Store or Google Play and follow the instructions
for installation. Watch the tutorial on the ocial DJI website.
http://www.dji.com/ronin-2
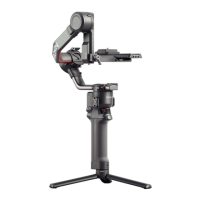
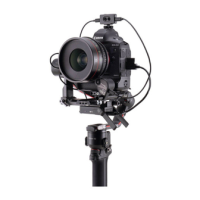
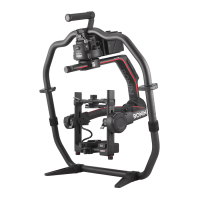
1. Built-in Antenna
2. Pan Axis Speed Control Knob
3. Tilt Axis Speed Control Knob
4. Roll Axis Speed Control Knob
5. Power Button
6. Status LED
7. Mode Switch
8. Roll Knob
9. Control Joystick
10. Neck Strap Attachment
11. Prole Switch
12. C2 Button
13. Record Button
14. USB Type-C Port
15. Battery Level Indicators
16. Handle
17. Accessory Mounting Port
(1/4”-20)
18. CAN Port
19. C1 Button
Ronin 2 App
B. Charge the Batteries
Use the provided Charging Hub to fully charge the Ronin 2 Intelligent Batteries before first time use.
a. Press the Release button and open the corresponding charging port cover.
b. Insert the Intelligent Battery into the charging port to begin charging.
Charge the Remote Controller using a USB charger via the USB Type-C port.
Charging Time: 1.5 hours
Press the Battery Level button once to check
the battery level.
Charging Time: 2 hours (when charging at 2 A)
Press the Power button once to check the
battery level. Press and hold to turn on/off.
Power Outlet
100 - 240 V
Low
Low
High
High
1
2
3
5
6
7
8
9
10
11
12
17
19
18
13
15
14
16
4
 Loading...