EN
RONIN 2
Quick Start Guide
4
©
2017 DJI OSMO All Rights Reserved.
2
4
3
1
1
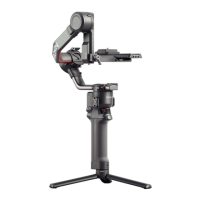
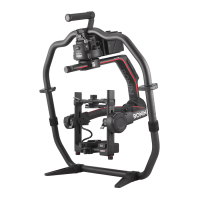
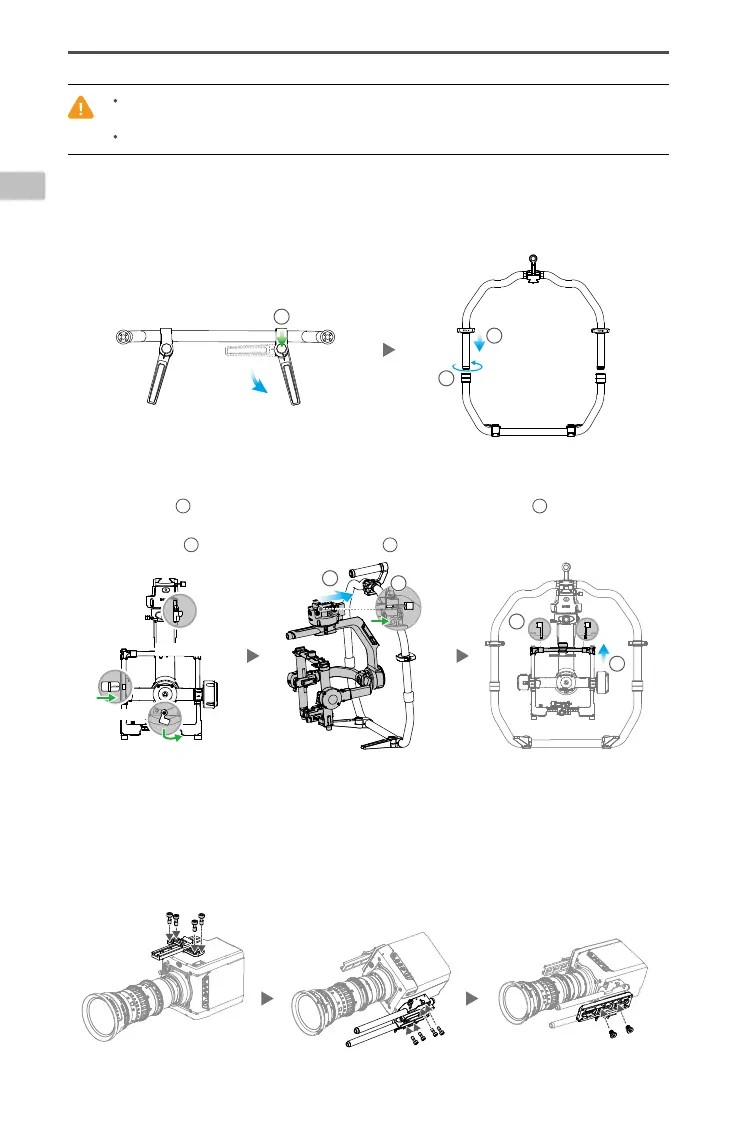
Assembling the Ronin 2
A. Press the button on the Grip Feet and extend them outwards. Attach the upper and lower parts of the
Grip and then tighten them.
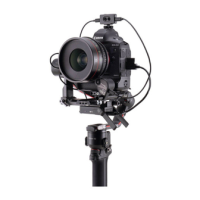
Mounting the Camera
A. Attach the Camera Top Cross Bar to the camera.
B. Attach the 15 mm Rod and the Focus Rod Mount to the camera.
C. Attach the Camera Base Plate to the camera.
When charging is complete, the battery level indicators will turn off and the Charging Hub’s LED will turn
green, sounding a signal.
Be sure to press the Release button on top of the Charging Hub when removing the battery.
2
3
1
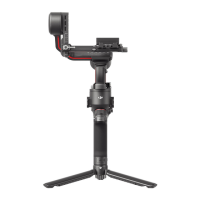
B. The pan, tilt, and roll axis are locked by default. Unlock the tilt and roll axis to adjust their positions as
shown, then lock the tilt and roll axis again.
C. Toggle the lever
1
to the unlocked position. Next, attach the gimbal to the Grip
2
until the safety lock
engages. Now lock the lever.
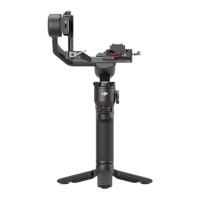
D. Unlock the levers
3
and
remove the upper crossbar
4
.
Pan Axis Lock
Roll Axis Lock
Tilt Axis Lock
 Loading...