EN
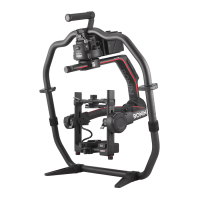
RONIN 2
Quick Start Guide
©
2017 DJI OSMO All Rights Reserved.
5
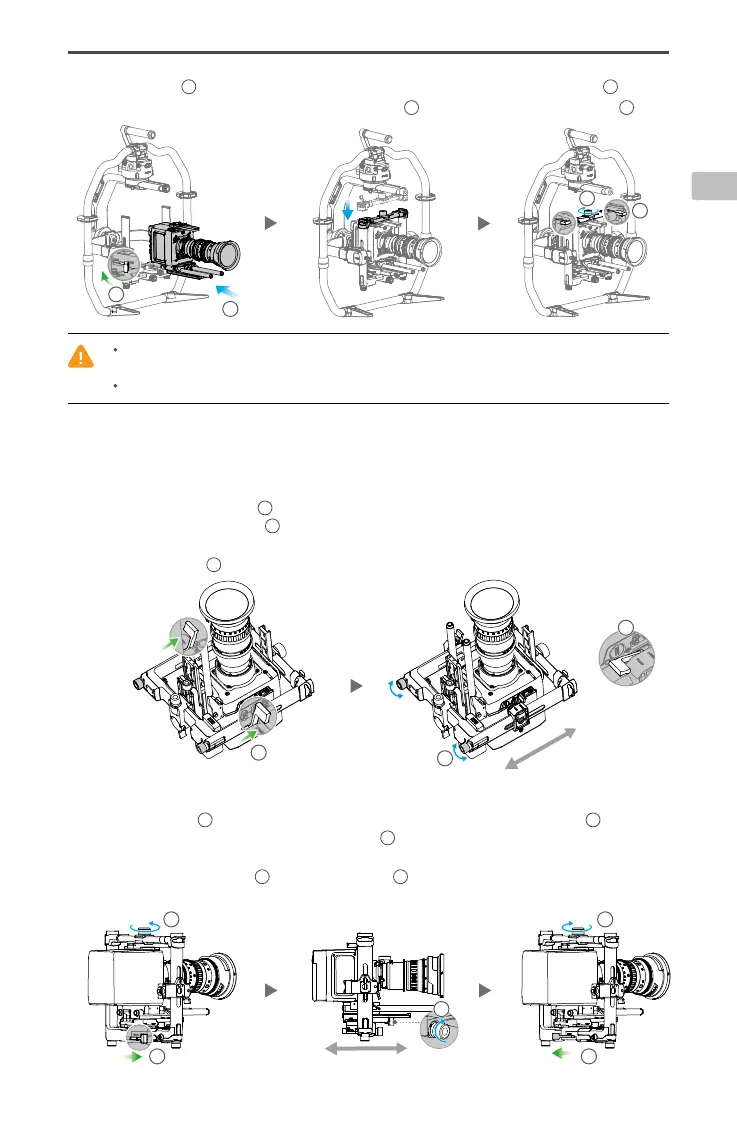
D. Slide the camera
1
into the mounting plate until the safety lock engages, then lock the lever
2
.
E. Attach the upper crossbar and tighten the securing knob
3
to the camera, then lock the levers
4
.
Balancing
A. Balancing the Vertical Tilt
a. Unlock the tilt axis. Rotate the tilt axis so that the camera lens is pointing up.
b. Push up on the side levers
1
to their unlocked position. Then adjust the camera's balance by
turning the adjustment knob
2
.
Make adjustments until the camera appears balanced without
tilting up or down.
c. Tighten the levers
3
.
B. Balancing Depth for the Tilt Axis
a. Rotate the tilt axis so that the camera lens is pointing forward.
b. Toggle the lever
1
to the unlocked position and then loosen the top securing knob
2
. Adjust the
camera's balance by turning the adjusting knob
3
until the camera remains still when rotating the tilt axis
45 degrees upwards or downwards.
c. Tighten the securing knob
4
and toggle the lever
5
to the lock position.
d. Lock the tilt axis.
2
5
4
3
1
The roll axis arm can be extended if there isn't sucient mounting space for a large camera. Loosen the screws
on both sides of the roll axis to pull out the arm.
Before balancing the camera, connect the SDI cable and the camera's power cable, and install a Focus system.
3
4
2
1
2
3
1
 Loading...