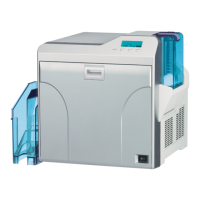
DS-Series™ Printer Quick Reference
DNP Imagingcomm America Corporation 3 Release: v01.2017
© 2017. All rights reserved. PN: 35-260-2-SA
8. Advance the paper so that the paper is
coming over the top of the paper roll and
feeding into the printer at the front edge of the
paper compartment. The printer beeps when
the paper is in the correct position.
9. Replace the scrap bin and close the top of
the paper compartment.
10. If you are nished, close the media
compartment drawer.
ATTENTION:
The printer will not operate without the scrap bin
in place.
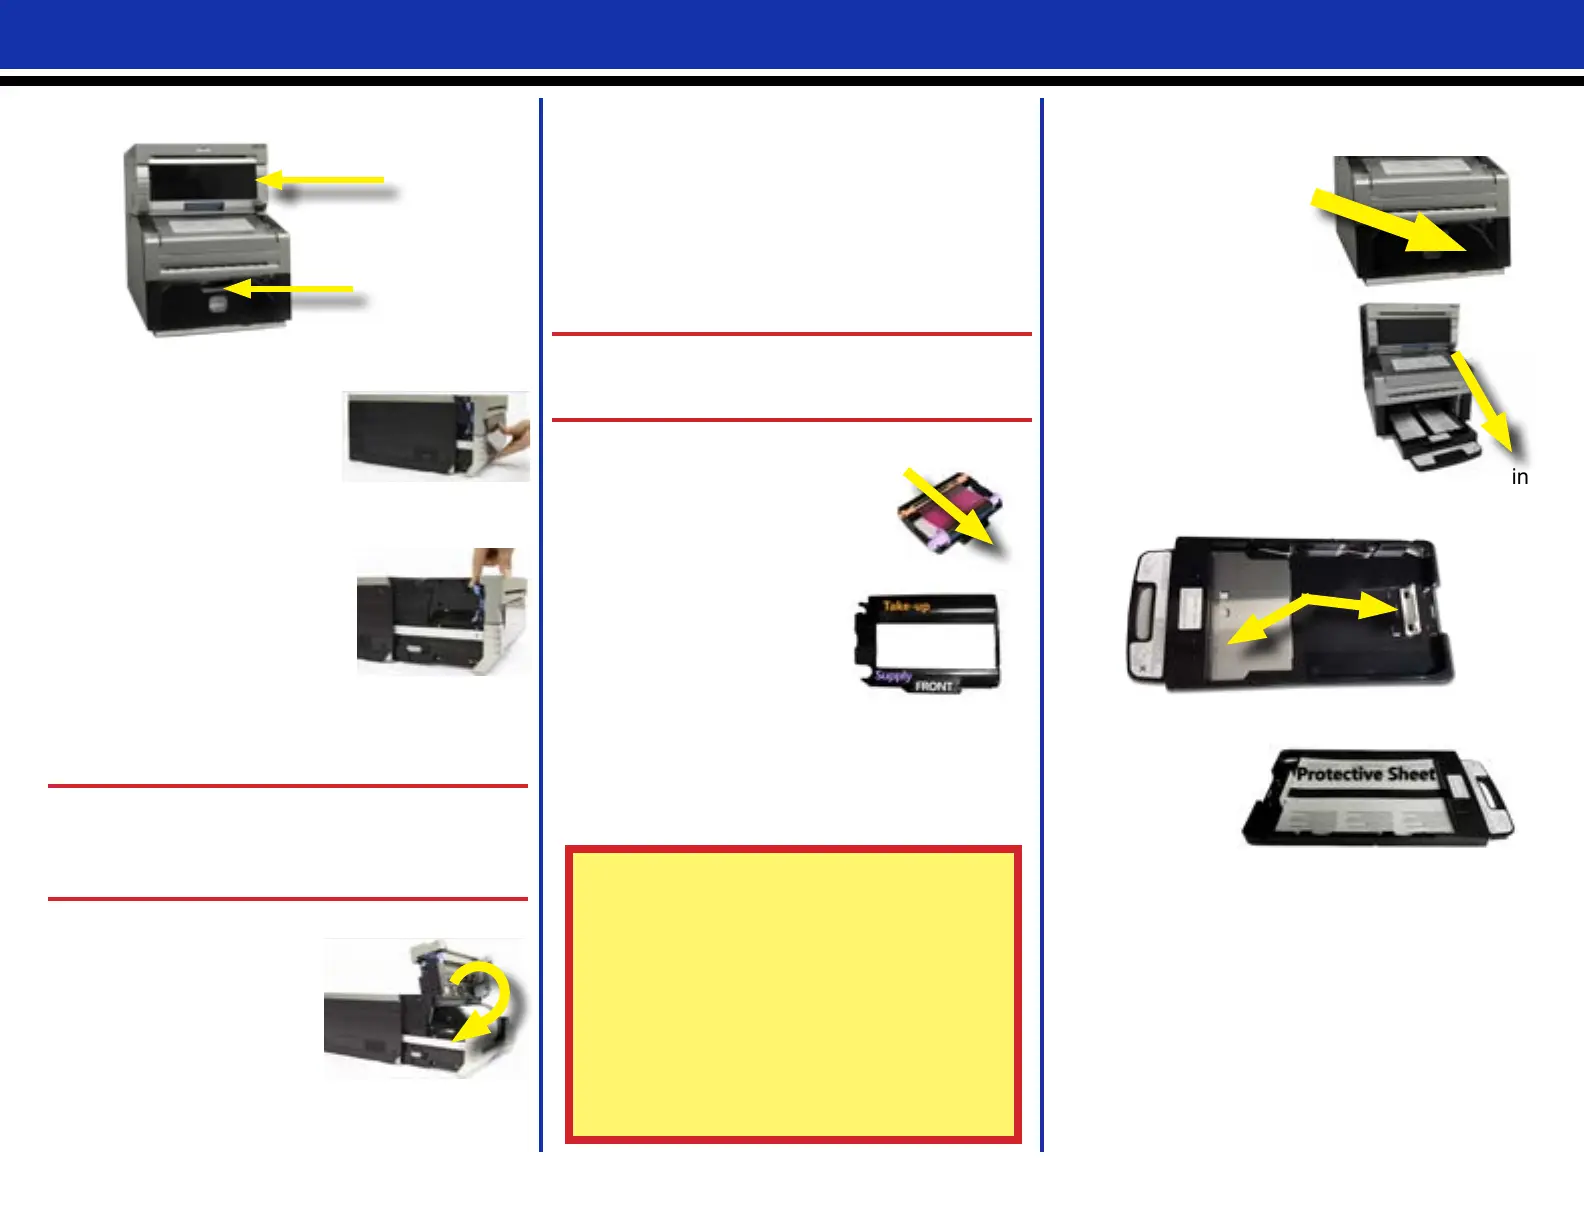
Installing a New Ribbon
1. Remove the old ribbon and
discard it. Set a new ribbon into
the ribbon cassette. Advance
the ribbon in the direction
shown, leaving no slack.
2. Place the cassette in the
printer with the supply side in
the front.
3. Close the media
compartment drawer.
4. The printer will cycle through the status lights
as the media adjusts. When the media is
ready, four blank test images are printed.
DS80DX Printers
Replacing the Simplex Media
1. Pull out the media
compartment drawer by
lifting the blue handle
under the scrap box and
pulling gently.
2. Press the blue paper compartment release
lever on the side of the
paper compartment.
3. Remove the scrap box and
set it aside.
4. Remove the paper roll
from the printer. Remove
the spool ends from the paper roll by pulling
gently on the spools until they come off.
5. Set the spools into a new roll of paper.
ATTENTION:
Be sure there is no gap between the paper and
the spools. Failure to set correctly results in
paper jams.
6. Set the paper into the paper compartment.
Make sure the paper
roll is seated so that
the leading edge of the
paper roll is coming over
the top of the paper roll.
7. Remove the PULL
sticker from the paper.
Replacing the Duplex Sheet Paper
1. Remove the slide ramp from the printer.
2. Gently remove
the scrap box
by lifting the box up
and away from the
turning unit.
3. Use the handle to
pull the paper tray out of
the turning unit.
4. Throw away any left over
paper.
5. Verify that the silver
paper lift and white
paper guide tab are in
the correct positions and seated properly.
6. Locate the
new sheet
paper pack.
7. Place the
paper pack in
the paper tray, making sure that the top and
bottom protective sheets are in place.
8. Seat the paper guide against the paper -
taking care no to bend the paper.
9. Replace the paper tray in the turning unit,
seating it completely in the turning unit.
10. Replace the scrap box by aligning notches on
the bottom of the box with the grooves in the
turning unit housing.
11. Replace the slide ramp on the printer so that
the paper feeds into the paper catchers.
ATTENTION (DS80DX ONLY):
Due to two different paper supplies (rolled
simplex and sheeted duplex paper) the printer
ribbon will run out before the paper. For ONLY
DS80DX printers, it is advised to change the
ribbon and paper as necessary, and not at the
same time.
DS80D Printer
TU80X Turning Unit
 Loading...