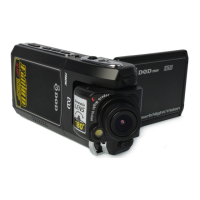
11
Installing Your Camera
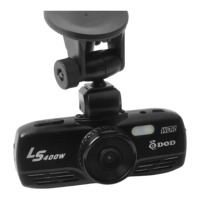
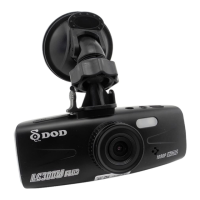
2. Attach suction or tape mount to your camera.
Both mounts are secure. The suction mount is reusable. The tape mount
is smaller and reduces vibrations, but is harder to remove.
3. Install the Mount
Find a location which does not obstruct your view when driving. DOD Tech
recommends placing the camera behind the rear view mirror. Be sure to peel the
protective cover from the mount before installing.
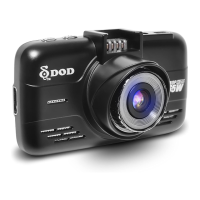
4. Adjust the Angle
The mount has an adjustable ball joint which can be loosened using the plastic
locking nut. Angle your camera slightly below the horizon line to minimize glare.
5. Install the Cigarette Adapter
If you have not done so previously plug the cigarette adapter into your vehicle's
power port. Insert the USB plug (opposite end of the powe adapter) into the USB
port on the camera. The wiring can be hidden in the headliner and the various
seams and rubber strips around the perimeter of the windshield.
6. Remove the Protective Lens Cover
Your camera is now installed and ready for daily use.
Tips:
Do not turn on motion detection unless your vehicle is parked. If motion detection
is enabled while driving, the camera may not continuously record.
DOD recommendeds setting the G-Sensor to low.