9 ENGLISH
11. Follow your local regulations relating to dis-
posal of battery.
SAVE THESE INSTRUCTIONS.
CAUTION: Only use genuine Makita/Dolmar
batteries.Useofnon-genuineMakita/Dolmarbatter-
ies, or batteries that have been altered, may result in
thebatteryburstingcausingres,personalinjuryand
damage. It will also void the Makita/Dolmar warranty
fortheMakita/Dolmartoolandcharger.
Tips for maintaining maximum
battery life
1. Charge the battery cartridge before completely
discharged. Always stop tool operation and
charge the battery cartridge when you notice
less tool power.
2. Never recharge a fully charged battery car-
tridge. Overcharging shortens the battery
service life.
3. Charge the battery cartridge with room tem-
perature at 10 °C - 40 °C (50 °F - 104 °F). Let
a hot battery cartridge cool down before
charging it.
4. Charge the battery cartridge if you do not use
it for a long period (more than six months).
FUNCTIONAL
DESCRIPTION
Installing or removing battery
cartridge
CAUTION: Always switch off the tool before
installing or removing of the battery cartridge.
CAUTION: Make sure that you lock the battery
cover before use. Otherwise, mud, dirt, or water may
cause damage to the product or the battery cartridge.
CAUTION: Always install the battery cartridge
fully until the red indicator cannot be seen.Ifnot,
itmayaccidentallyfalloutofthetool,causinginjuryto
you or someone around you.
CAUTION: Do not install the battery cartridge
forcibly.Ifthecartridgedoesnotslideineasily,itis
not being inserted correctly.
NOTE:Thetooldoesnotworkwithonlyonebattery
cartridge.
To install the battery cartridge;
1. Slide the battery cover locking lever and open the
battery cover.
►Fig.1: 1. Battery cover 2. Battery cover locking lever
2. Alignthetongueonthebatterycartridgewiththe
slot on the mower then slide the cartridge until it locks in
placewithalittleclick.Ifyoucanseetheredindicator
ontheuppersideofthebutton,batterycartridgeisnot
locked completely.
►Fig.2: 1. Battery cartridge
3. Insertthelockkeyintheplaceshowninthegure
asfarasitwillgo.
►Fig.3: 1. Lock key
4. Close the battery cover and push it until it is
latched with the locking lever.
To remove the battery cartridge from the mower;
1. Slide the battery cover locking lever and open the
battery cover.
2. Pulloutthebatterycartridgefromthemowerwhile
slidingthebuttononthefrontofthecartridge.
3. Pulloutthelockkey.
4. Close the battery cover.
Tool / battery protection system
Thetoolisequippedwithatool/batteryprotectionsys-
tem.Thissystemautomaticallycutsoffpowertothe
motortoextendtoolandbatterylife.Thetoolwillauto-
maticallystopduringoperationifthetoolorbatteryis
placedunderoneofthefollowingconditions.
Overload protection
When the tool is operated in a manner that causes it to
draw an abnormally high current, the tool automatically
stops without any indication. In this situation, turn the
tooloffandstoptheapplicationthatcausedthetoolto
becomeoverloaded.Thenturnthetoolontorestart.
Overheat protection
When the tool is overheated, the tool stops automati-
cally.Letthetoolcooldownbeforeturningthetoolon
again.
Overdischarge protection
When the battery capacity becomes low, the tool stops
automatically.Iftheproductdoesnotoperateeven
when the switches are operated, remove the batteries
fromthetoolandchargethebatteries.
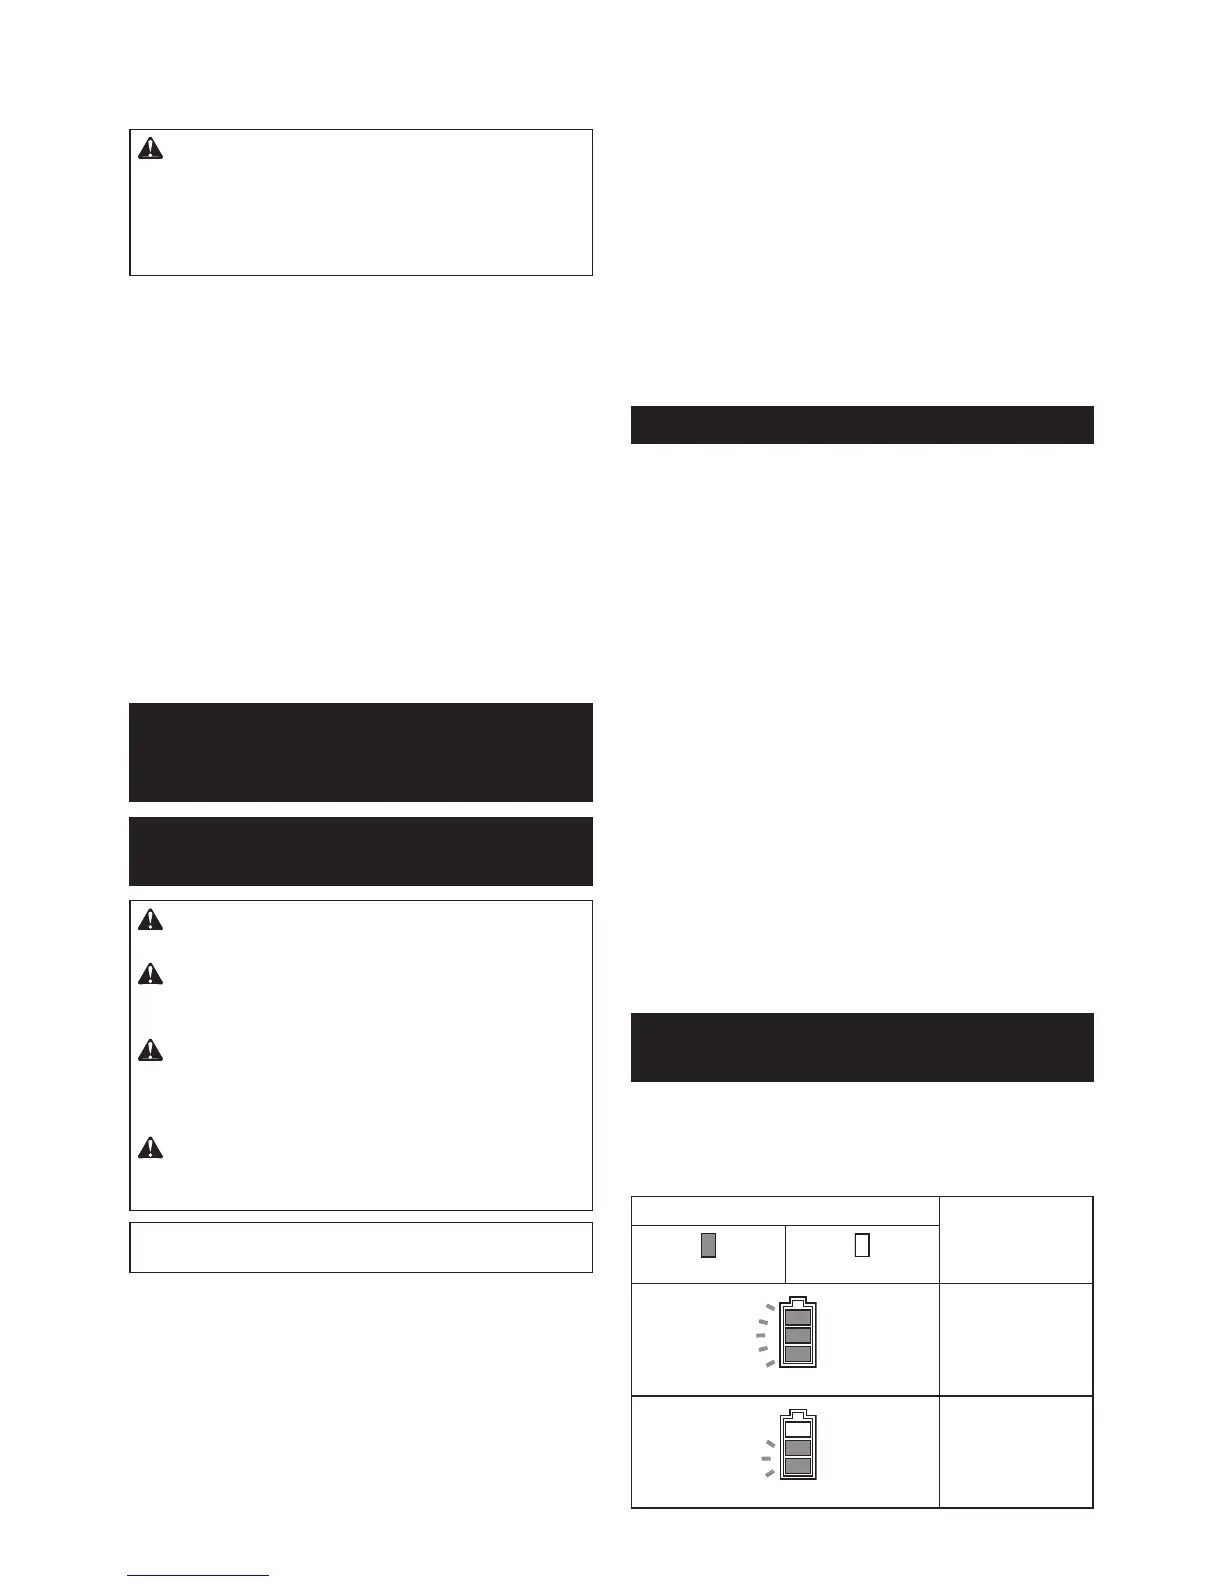
Indicating the remaining battery
capacity
►Fig.4: 1. Battery indicator 2. Check button
Pressthecheckbuttontoindicatetheremainingbattery
capacities.Thebatteryindicatorscorrespondtoeach
battery.
Battery indicator status
Remaining battery
capacity
On
Off
50% - 100%
20% - 50%
 Loading...