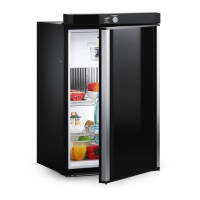
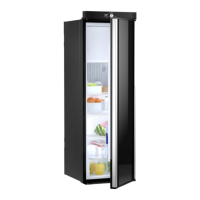
Connecting the refrigerator-oven combination RMDT10.5(X)T
30
6.2 Connecting to DC and AC
A
I
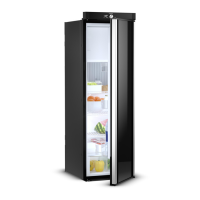
➤ Connect the refrigerator according to fig. n, page 15:
NOTICE!
The electrical installation and repairs may only be performed by a spe-
cialist in accordance with the applicable regulations and standards.
NOTE
• The device plug must not be placed directly behind the ventilation
grill in order to prevent the air circulation from being impaired and to
protect the device plug from splashes of water.
• The device plug of the AC connection cable must not be cut off.
• The connection cables must be laid so that they do not come in con-
tact with hot parts of the unit/burner or with sharp edges.
• Changes to the internal electrical installation or the connection of
other electrical components (e.g. extra third party fans) to the inter-
nal wiring of the refrigerator will void any claims from the guarantee
and product liability.
• The refrigerator has a CI bus interface and can be controlled through
a compatible central vehicle display.
Item in
fig. n, page 15
Description
1 Fan 2 (if options module is not available)
2 Fan 1 (if options module is not available)
3 S+ (optional)
4 Heating element DC
5 12 V relay with 20 A fuse for heating cartridge
6 NTC 1: Refrigeration room
NTC 2: Outside temperature (optional)
7 Gas valve
8 AC supply cable
9 Heating element AC
10 Gas burner
11 Connection block
12 Lightning/electronics
 Loading...