EasyManua.ls Logo

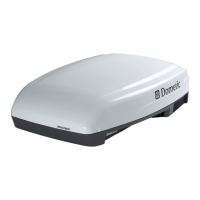
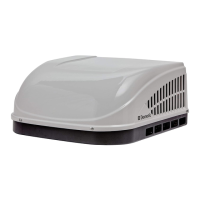
Dometic B59516 User Manual

Dometic B59516
28 pages
To Next Page IconTo Next Page
Page #1 background imageLoading...
Page #1 background image
CLIMATE CONTROL
AIR CONDITIONERS
Form No. 3317817.000 1/21 | ©2021 Dometic Corporation
WARNING
Cancer and Reproductive Harm
www.P65Warnings.ca.gov
Brisk Air (457915, 459516), Brisk II (B57915, B59516),
High Performance (540315, 540316), Blizzard NXT (H540315, H540316),
Penguin (640312, 640315, 640316), Penguin II (640312C, 640315C, 640316C),
FreshJet (FJX3473, FJX3573)
EN
Value Air Distribution Box,
Mechanical
Installation and Operation Manual . ........2

Other manuals for Dometic B59516

Questions and Answers:

Dometic B59516 Specifications

General IconGeneral
Power SourceElectric
Voltage115V
Hertz60 Hz
Air Flow350 CFM
RefrigerantR-410A
Cooling Capacity15, 000 BTU
Fan Speeds3

Summary

Explanation of Symbols and Safety Instructions

Recognize Safety Information

Identifies the safety alert symbol used to warn of potential physical injury hazards.

Understand Signal Words

Explains signal words indicating hazard levels and property damage.

Supplemental Safety Directives

General Safety Messages

Warns about electrical shock, fire, and explosion hazards and stresses using approved parts.

Placement Requirements

Specifications

Wiring Diagrams

Pre-Installation

Preparing RV Roof Opening

Provides instructions and considerations for preparing the RV roof opening for installation.

Using Existing Roof Vent Opening

Step-by-step guide to preparing the RV roof when using an existing vent opening.

Making New Roof Opening

Step-by-step guide for creating a new roof opening, ensuring structural integrity.

Routing the Wiring

Details how to route the 115 VAC power supply wire for the rooftop component.

Positioning Rooftop Component

Instructions on how to correctly position the rooftop component onto the prepared roof opening.

Installation

Securing the Unit

Wiring Unit to Power Supply

Connecting the Power Supply

Details how to connect the 115 VAC power supply wire and the 6-pin unit electrical cord.

Finalizing Installation

Operation

Maintenance

Troubleshooting

Related product manuals