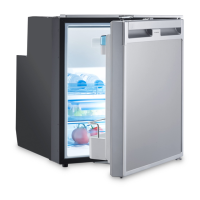
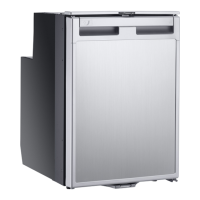
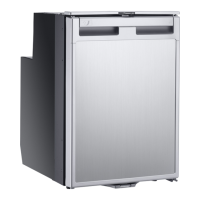
CRX Installing and connecting the refrigerator
23
• Observe the following installation dimensions:
• Keep objects clear of openings in the housing or installation structure (such as
ventilation slots, etc.).
• Condensate is produced when the refrigerator is operating normally. You can
either wipe up the condensate on the floor of the refrigerator in regular intervals,
or drain it through an outlet in the floor of the refrigerator (see chapter “Mounting
the water drain outlet (optional)” on page 23).
7.3 Mounting the water drain outlet (optional)
➤ Connect a hose with an inside diameter of 10 mm (not included) to the water
drain outlet.
➤ Lay the refrigerator on its side in order to access the bottom side.
➤ Mount the water drain outlet (fig. 9 2, page 8) aligned to the front or to the
back according to the desired outlet direction.
➤ Remove the water drain plug (fig. 9 1, page 8) inside the refrigerator.
2 Hot waste air
3 Condenser
4 Spacing above the refrigerator if there is not sufficient air to circulate
above or at the side.
Model Dimensions W x H x D (mm)
CRX50 390 x 544 x 550
CRX65 458 x 535 x 595
CRX80 485 x 650 x 578
CRX110 530 x 755 x 608
CRX140 550 x 825 x 670
No. Explanation
CRX50-65-80-110-140_IOM_EMEA16.book Seite 23 Mittwoch, 15. Juli 2020 12:51 12