Installing and connecting the refrigerator CRX
24
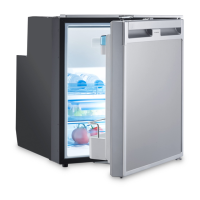
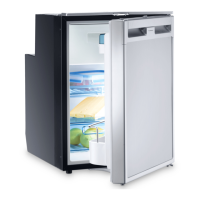
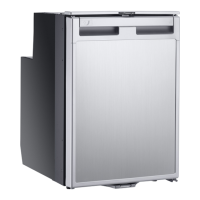
7.4 Installing the refrigerator
Proceed as follows to install the refrigerator:
➤ If you wish to drain the condensate through a hose:
Mount the water outlet port (see chapter “Mounting the water drain outlet
(optional)” on page 23)
➤ Undo the transport lock (chapter “Releasing the lock” on page 30).
➤ Open the refrigerator door.
➤ Remove the blanking plugs (fig. 0 2, page 8).
➤ Push the refrigerator into the recess.
➤ Fix the refrigerator in place using suitable screws (fig. 0 1, page 8).
➤ Press the blanking plugs (fig. 0 2, page 8) into the openings.
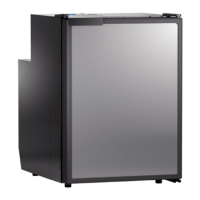
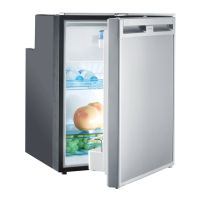
7.5 Changing the door hinge
You can also change the hinge of the door, so that it opens to the left rather than the
right.
➤ Proceed as shown in fig. a, page 9 to fig. c, page 9, to change the hinges.
7.6 Connecting the refrigerator to DC voltage
A
The refrigerator can be operated with a 12 V or a 24 V DC voltage supply.
For safety reasons, the refrigerator is equipped with an electronic system to prevent
the polarity being reversed. This protects the refrigerator against reversed polarity
when connecting to a battery and against short circuiting.
NOTICE!
• To avoid voltage drops and loss of performance, keep the
connection cable as short as possible and not be interrupted.
Therefore avoid additional switches, plugs or power strips.
• Disconnect the cooling device and other electric consumers from
the battery before you connect the battery to a quick charging
device. Overvoltage can damage the electronics of the device.
CRX50-65-80-110-140_IOM_EMEA16.book Seite 24 Mittwoch, 15. Juli 2020 12:51 12
 Loading...