8
EN
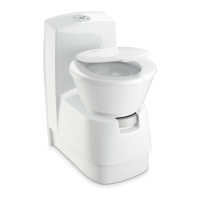
The free-standing CT 4110 model has no inte-
grated water tank. Install this model so that
the wall behind it can absorb the control panel
of the toilet, the electric connections and the
water tank, if applicable. It is ideal to set a box
in front of the room wall, as illustrated in Fig. 7.
Install the control and operator panel in imme-
diate proximity to the toilet (see Section
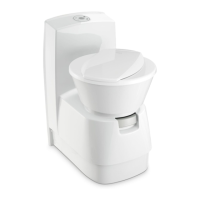
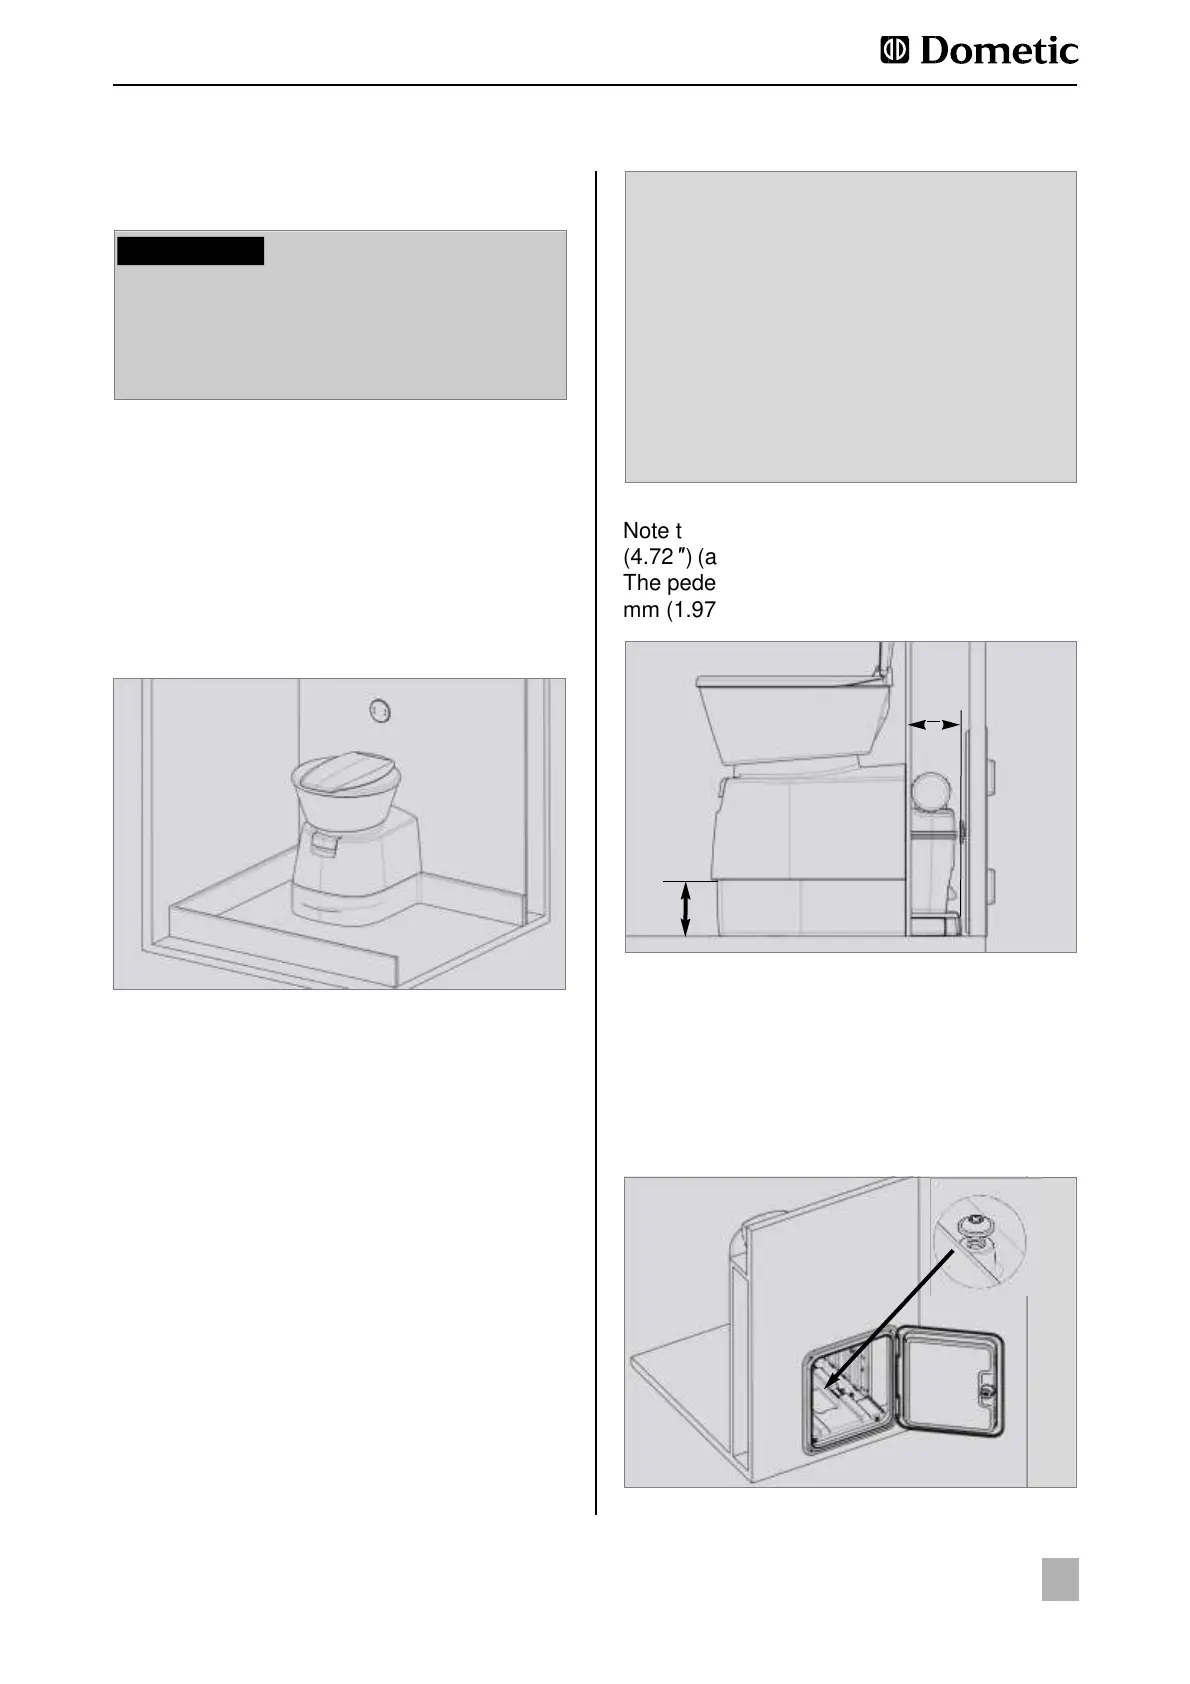
Note that the cassette projects 120 mm
(a) out of the cassette housing (Fig.
The pedestal height (b) ranges from 50 to 110
, depending on the model.
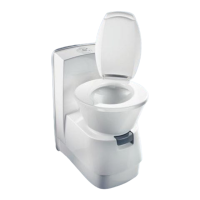
Installing the CT 4110 toilet
Fitting the CT 4110 toilet
Once the toilet is installed in the desired posi-
tion, bolt down the floor plate with the six
screws (enclosed) (Fig. 9).
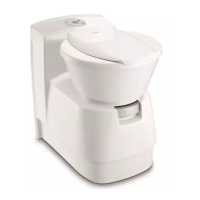
Allow sufficient space so as not to limit the
operation of the emptying valve.
Install the toilet against an upright wall only.
When installing the toilet in a wet room, we
recommend connecting the toilet with the
shower tub. The toilet pedestal is fitted with a
projecting flange in order to cover the top rim
All components of the system must be
installed in frost-protected areas. In minus
temperatures there is a risk of damage

 Loading...