34
EN
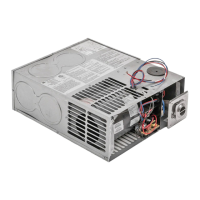
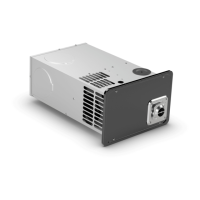
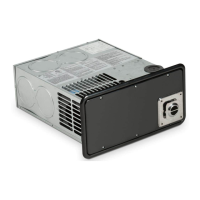
Furnaces
7.7 Servicing the electrode
I
The burner head, electrode, and gas valve on the late model 79 series furnaces are individually accessible.
However, to service these same components on the late model 85 and 89 series, remove the complete
assembly.
Perform the steps in Accessing the furnace components (on page 30) before proceeding with service.
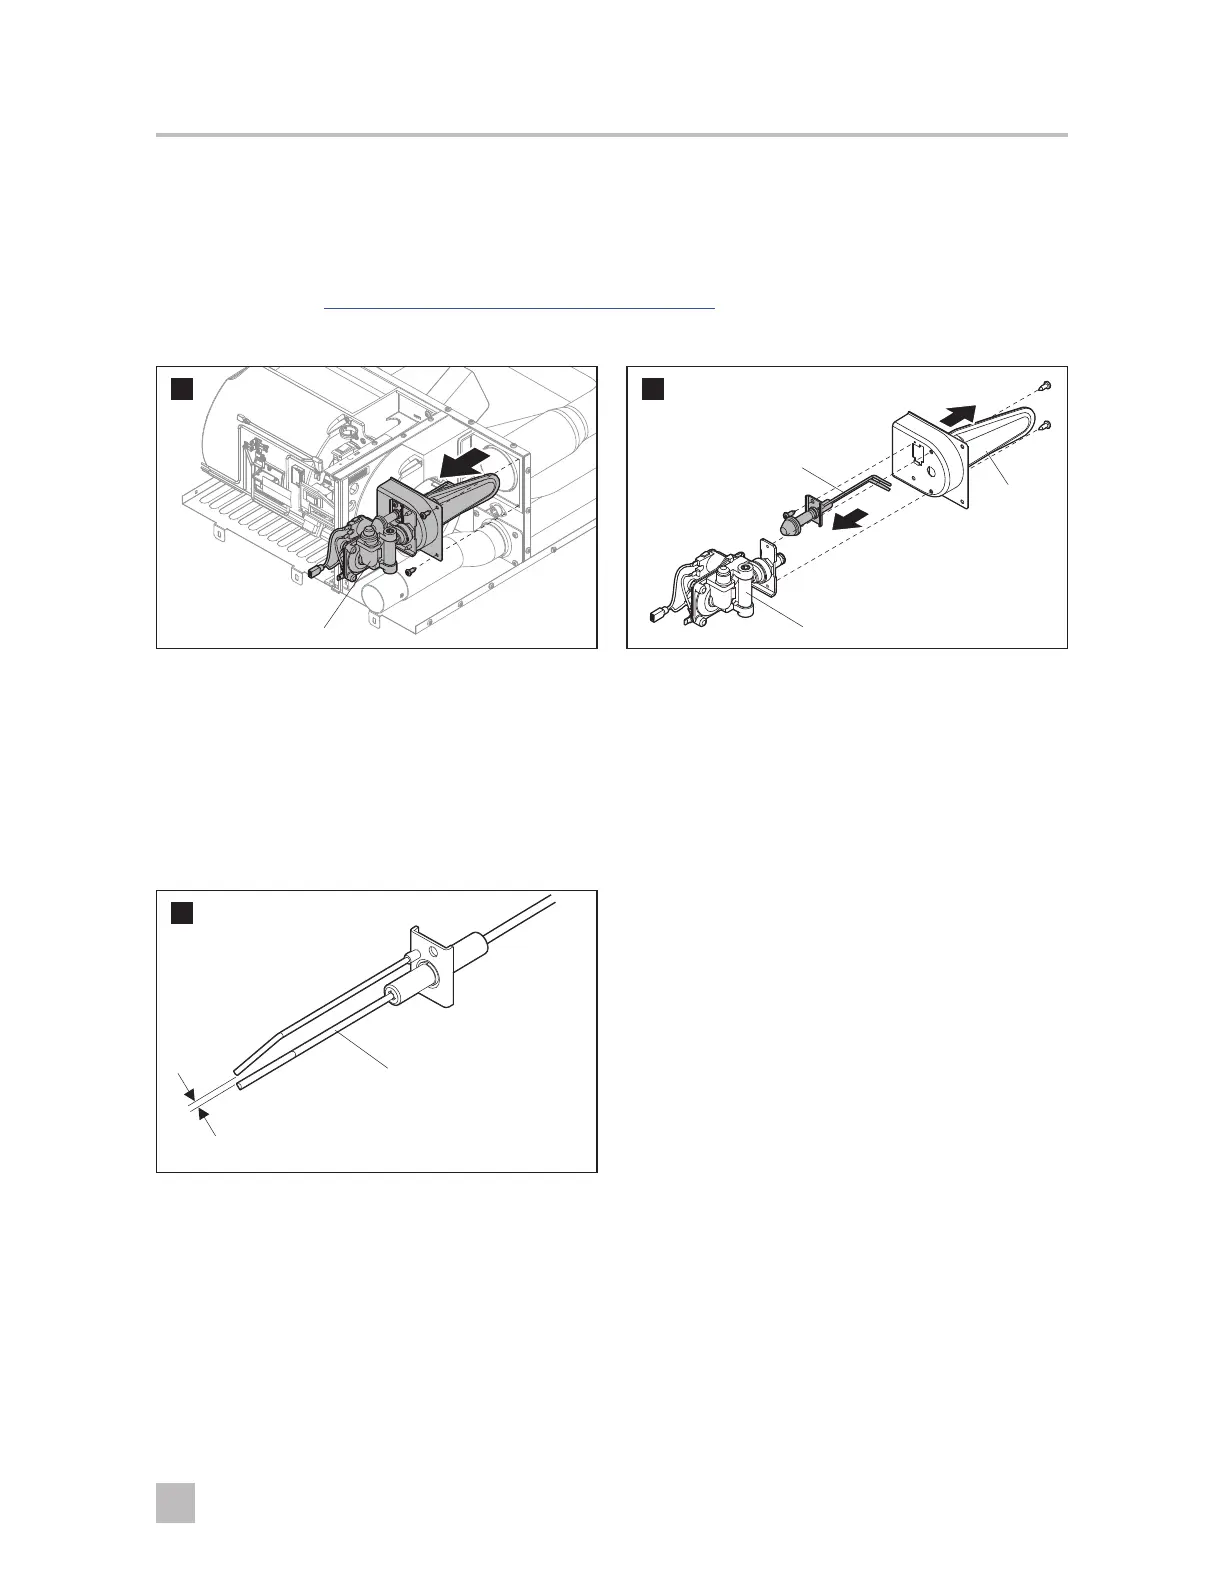
Replace the Electrode
28
Valve
Assembly
➤ Remove the screws securing the burner and gas
valve assembly to the furnace.
➤ Disconnect the gas line to the gas valve.
➤ Remove the grommet and pull the electrode lead
through the hole in the furnace wall.
➤ Gently pull the burner and valve assembly out of
the furnace.
29
Gas Valve
Burner
Head
Electrode
➤ Remove the screws holding the burner and gas
valve together.
➤ Replace the existing electrode.
➤ Reverse the steps for re-installation.
Adjust the Electrode Gap
30
1/8" Gap
(Do not bend wire)
➤ Follow the steps for replacing the electrode
outlined in the section above (Replace the
electrode) until the burner and gas valve have
been separated.
➤ Using a feeler gauge, confirm the electrode has a
1/8" gap from the center of the electrode to the
center of the ground wire.
➤ Adjust the gap, as necessary, by gently bending
the bare wire only.
I
Do not bend the wire with the white porcelain
insulator. The insulator may crack causing
spark failure.
 Loading...