DRS Installation
9
6 Installation
6.1 Notes on installation
!
A
I
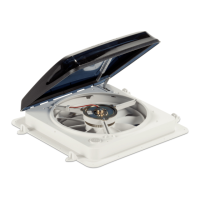
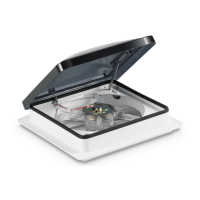
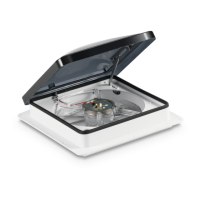
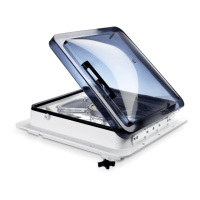
• Compatible with roof thickness from 30 mm to 65 mm, opening size from
285 x 285 mm to 400 x 400 mm.
• If the roof thickness is less than 40 mm, the 10G x 80 mm self-tapping screws
need to be replaced with 10G x 60 mm screws.
• Add wooden battens to form a frame.
• Mounting position on the roof – front of caravan – is optimal
• Make sure the DRS is mounted in a position with unobstructed airflow (no objects
in front of the DRS such as air conditioners, solar panels or antennas)(fig. 4,
page 10, fig. 5, page 10).
CAUTION! Beware of injury
• Improper installation of the DRS can result in irreparable damage to
the device and put the safety of the user at risk.
• The manufacturer assumes no liability for malfunctions and for the
safety of the DRS, especially for injury and/or damage to property, if
the DRS is not fitted in accordance with these installation
instructions.
NOTICE! Beware of damage
• Observe the structural engineering of the vehicle and seal off all
openings made when installing the DRS.
• Check whether the roof of the vehicle is able to support the weight
of a person before climbing onto it. Ask the vehicle manufacturer
about the permissible roof loads.
NOTE
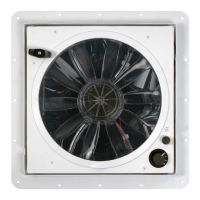
• The entire front inlet (large hex grille) of the DRS must be unob-
structed for the full length of the roof in front of the DRS.
• There should be a minimum of 20 mm clearance to other objects
(e.g. solar panels, air conditioners) all around the DRS.
DRS-IOM.book Seite 9 Freitag, 9. August 2019 9:48 09