[page 14] | gpelectric.com
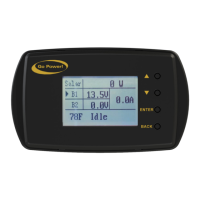
The GP-RVC-R is intended to be mounted to an interrior wall so the status of the solar controller can be viewed.
Tools and Materials Needed
• Philips screw driver
• Drill
• 1” diameter drill bit or hole saw
Installation Steps
THIS REMOTE DISPLAY CAN BE MOUNTED USING THE FOLLOWING STEPS.
1. Plan the location of your remote display carefully keeping in mind the cable needs to be run from the solar controller to the
remote.
2. Use the installation template on the last page of this manual to determine the hole location based on the desired remote
display location.
3. Drill a 1” diameter hole.
4. Run the cable from the solar controller location and feed it through the cut hole.
5. Connect the cable to the remote display
6. Use provided screws to attach the remote display to the wall
7. Snap the cover plate onto the remote display to hide the screws
7. INSTALLATION
 Loading...