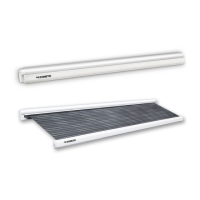
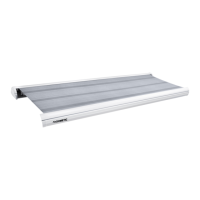
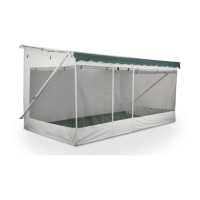
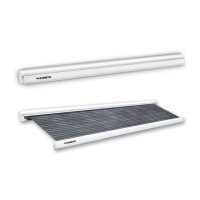
PerfectWall Installing the awning
9
➤ Clean the outer sides of the mounting plates and the installation surface on the
vehicle.
➤ Fill the drill holes in the vehicle wall with an acid-free silicone.
➤ Insert the square-head bolts through the relevant holes in the mounting plates
(fig. 9, page 1).
➤ To glue and seal, apply an elastic adhesive, such as Sikaflex
®
-221 for example, to
the back of the mounting plates (fig. 9, page 1).
➤ Place all of the mounting plates through the drill holes and fasten them with
counter plate, serrated lock washers and hexagon head bolts (fig. 0, page 1).
➤ Only for awnings with a width of 2.6 m to 3.5 m:
Fasten all of the mounting plates using a countersunk bolt, counter plate,
serrated lock washer and hexagon nut (fig. a, page 1).
➤ Only for awnings with a width of 4 m to 5.5 m:
Fasten the inner (narrow) mounting plates using a countersunk bolt, counter
plate, serrated lock washer and hexagon nut (fig. a, page 1).
➤ Wait until the glue has set. For further details, please refer to the information
provided by the sealant manufacturer.
➤ Use two people to hook the awning on to the mounting plates (fig. b, page 1).
➤ Extend the awning about 50 cm using the crank.
➤ Only for awnings with a width of 4 m to 5.5 m:
Drill one hole with a diameter of 6.5 mm through the left and the right side of the
awning. The hole has to be in a distance of 280 mm to the respective edge of the
awning and be on the same level as its counterpart in the long mounting plate
(fig. c, page 1).
➤ Only for awnings with a width of 4 m to 5.5 m:
Fasten the awning using a countersunk bolt, counter plate, serrated lock washer
and hexagon nut (fig. d, page 2).
➤ Insert the cover caps on the counter plates (fig. e, page 2).
➤ Drill two holes with a diameter of 3 mm through the awning and each of the long
mounting plates (fig. f, page 2).
➤ Drill one hole with a diameter of 3 mm through the awning and each of the short
mounting plates (fig. f, page 2).
➤ Fasten the awning with drill screws (fig. f, page 2).
➤ Retract the awning completely using the crank.
3:B3:B3:,VERRN6HLWH)UHLWDJ6HSWHPEHU
More information https://www.caravansplus.com.au
 Loading...