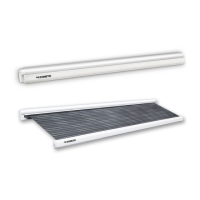
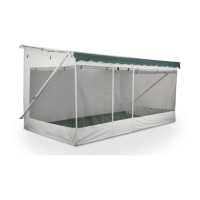
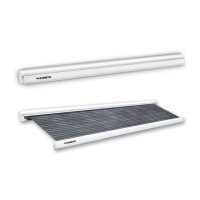
Installing the awning PerfectWall
10
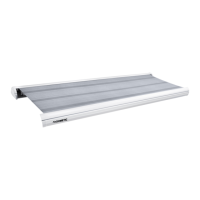
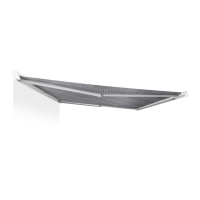
Installing awning on the piping rail
➤ Select the location of the installation.
In particular, check that there is enough space in the interior to mount the counter
plates at the points where the screws will be.
I
➤ Use two people to hook the awning on to the piping rail.
➤ Extend the awning about 50 cm using the crank.
➤ Mark where the holes are to be drilled (fig. h, page 2).
➤ Retract the awning completely using the crank.
➤ Use two people to lift the awning from the piping rail.
➤ At the marked points, drill holes with a diameter of 6.5 mm from the outside
through the external wall.
➤ Fill the drill holes in the vehicle wall with an acid-free silicone.
➤ Use two people to hook the awning on to the piping rail.
➤ Extend the awning about 50 cm using the crank.
➤ Fasten the awning using a countersunk bolt, counter plate, serrated lock washer
and hexagon nut (fig. i, page 2).
➤ Insert the cover caps on the counter plates (fig. e, page 2).
➤ Retract the awning completely using the crank.
Installing the mounting bracket
The mounting bracket must be installed if the awning is to be attached to the side of
the vehicle when extended.
➤ Select the location of the installation.
➤ Mark where the holes are to be drilled.
➤ At the marked points, drill holes with a diameter of 3 mm from the outside into
the external wall (fig. j, page 2).
➤ Put the upper and lower sections of the mounting bracket together.
NOTE
Measure the recommended mounting position for each counter plate
against the drill hole in the lower section of the awning.
3:B3:B3:,VERRN6HLWH)UHLWDJ6HSWHPEHU
More information https://www.caravansplus.com.au
 Loading...