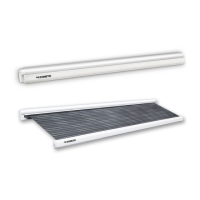
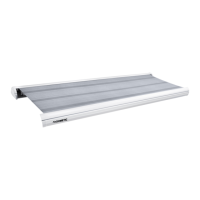
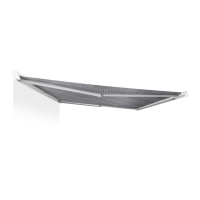
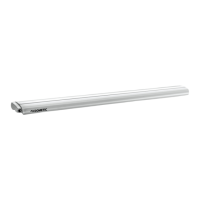
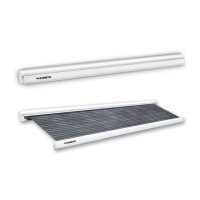
PerfectWall Installing the awning
11
➤ Clean the outer sides of the lower section and the installation surface in the
vehicle.
I
➤ To glue and seal, apply an elastic adhesive, such as Sikaflex
®
-221 for example, to
the back of the mounting bracket.
➤ Fasten the mounting bracket with drill screws (fig. j, page 2).
or
➤ Rivet the mounting bracket (fig. j, page 2).
Installing the crank bracket
➤ Mount the mounting bracket for the crank at a suitable location inside the vehicle
(fig. k, page 2).
Mounting the tension rafter
Awnings with a width of 4 m to 5.5 m must be secured with a tension rafter.
➤ Attach the pre-drilled end of the tension rafter to the latch for the tension rafter
using the hexagon head bolt and the hexagon nut (fig. l, page 2).
➤ Insert the lower section of the tension rafter into the upper section (fig. l,
page 2).
NOTE
Make sure that no glue gets on to the movable upper section of the
mounting bracket.
3:B3:B3:,VERRN6HLWH)UHLWDJ6HSWHPEHU
More information https://www.caravansplus.com.au
 Loading...