G424F(FE) Service Manual Chapter 3. Engine Mechanical System 86
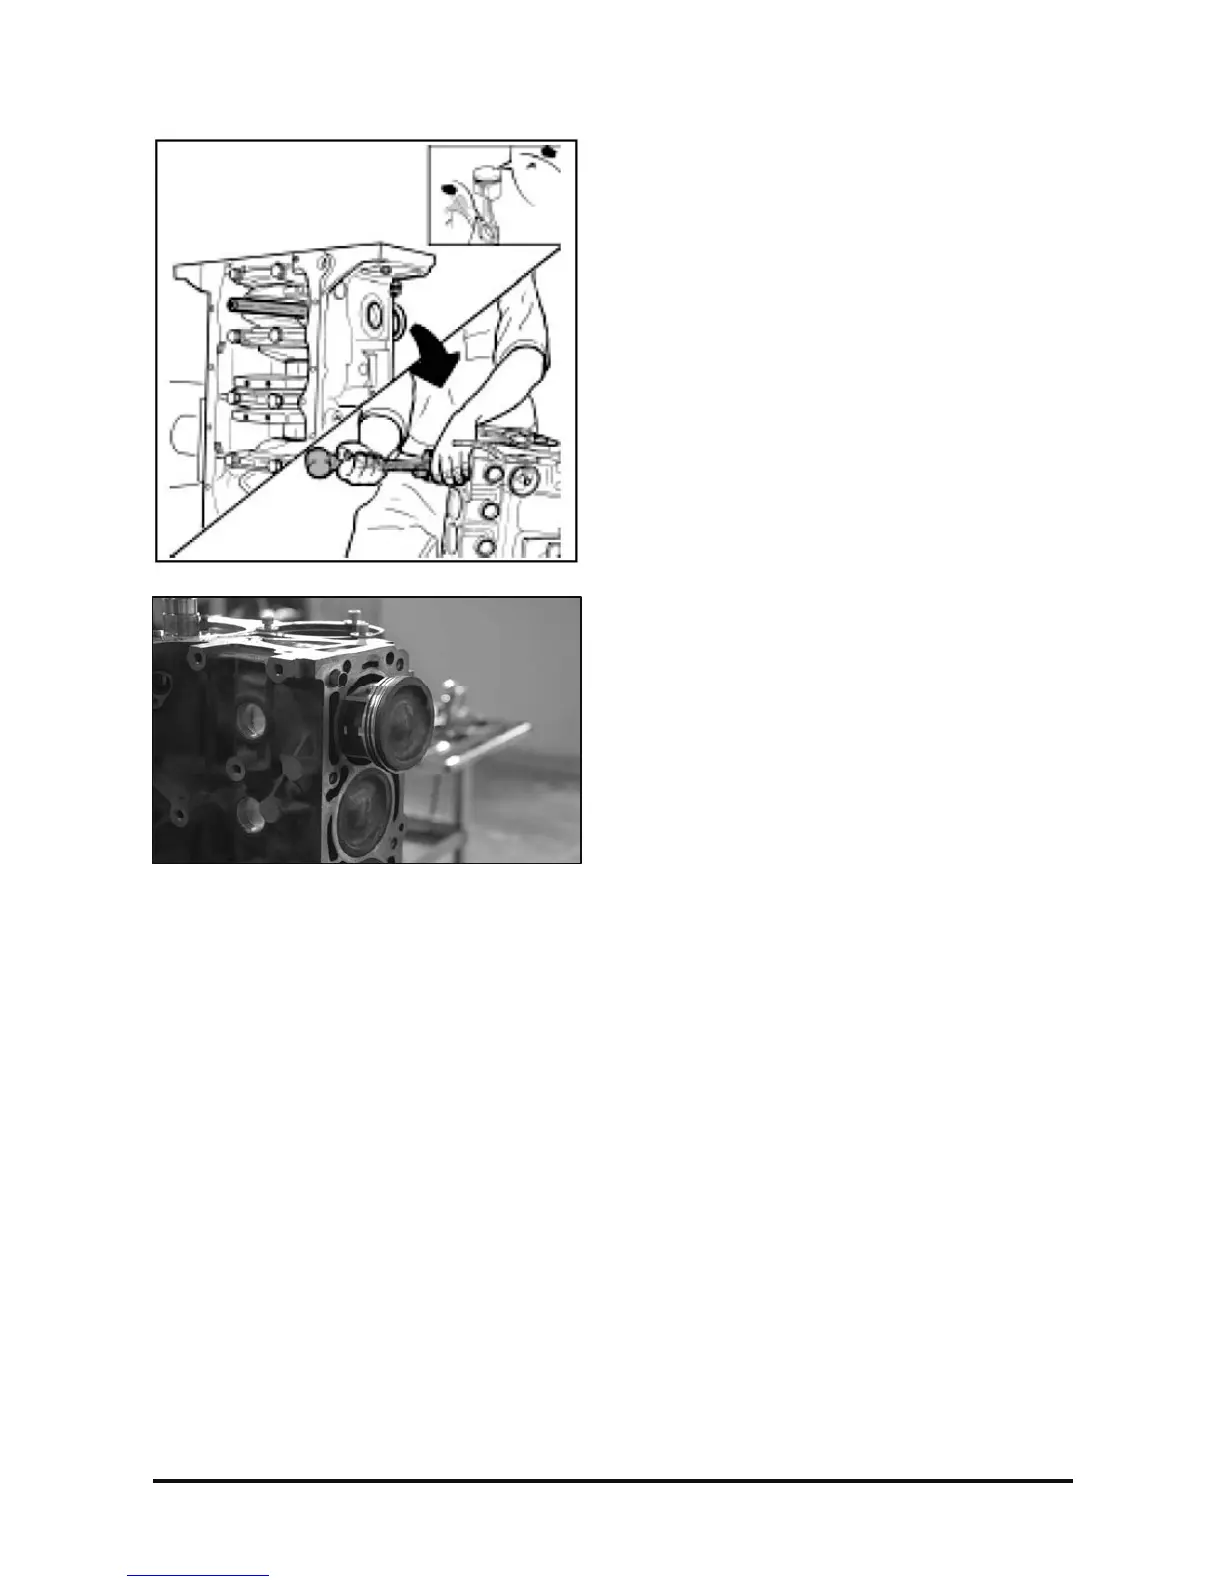
8. Connecting rod cap with the lower shell lubricated
only in the face turned to the bearing journal.
9. Connecting rod cap bolts, without fully tightening,
with a 14-mm socket wrench and handle.
Important
• Rotate the crankshaft some turns so as the
connecting rods stay perfectly seated.
10. Tighten the connecting rod cap attaching bolts
with a 14-mm socket wrench and torque wrench.
Tighten
• Connecting rod cap bolts:...............30 – 40 N·m
(22 – 29.5 lb·ft.)
+ 40° to 45°
11. A new gasket to the oil pump.
12. Oil pump to cylinder block and attaching bolts,
with a 5-mm Allen wrench and torque wrench.
Tighten
• Bolts: 4 – 10 N·m (3 – 7 lb·ft.).
13. Balancer and baffle plate and attaching bolts,
with a Torx E12 wrench and torque wrench.
Tighten
• Bolts: 19 – 21·N.m (14 – 15.5 lb·ft.)
Obs.: One of the bolts only can be installed and
tightened after the oil strainer is installed.
14. Oil strainer and attaching bolts in the oil pump,
with a 10-mm socket wrench and torque wrench;
tighten.
Tighten
• Bolts: 4 – 10 N·m (3 – 7 lb·ft.)
15. Adhesive sealant in the cylinder block and install
the oil pan and attaching bolts, with a Torx E12
wrench and torque wrench; tighten.
Tighten
• Bolts: 6 – 10 N·m (4.5 – 7 lb·ft.).
16. Oil filter
Obs.: Tighten only with the hands.
17. Turn engine stand 180° so that the engine stay
with the pistons turned upward.
18. A new gasket in the cylinder head, with the TOP
mark turned upward and to the engine front end.
Obs.: Whenever necessary to remove the cylinder
head, a new gasket and new bolts should be used
for the reassembly.
19. Cylinder head.
20. Valve lifters, linkages and rocker arms,
lubricated with molybdenum bisulfate compound.
Important
• Apply sealing compound in the surface where
the camshaft will be seated.