21
Opening as escape route* Creating an escape route
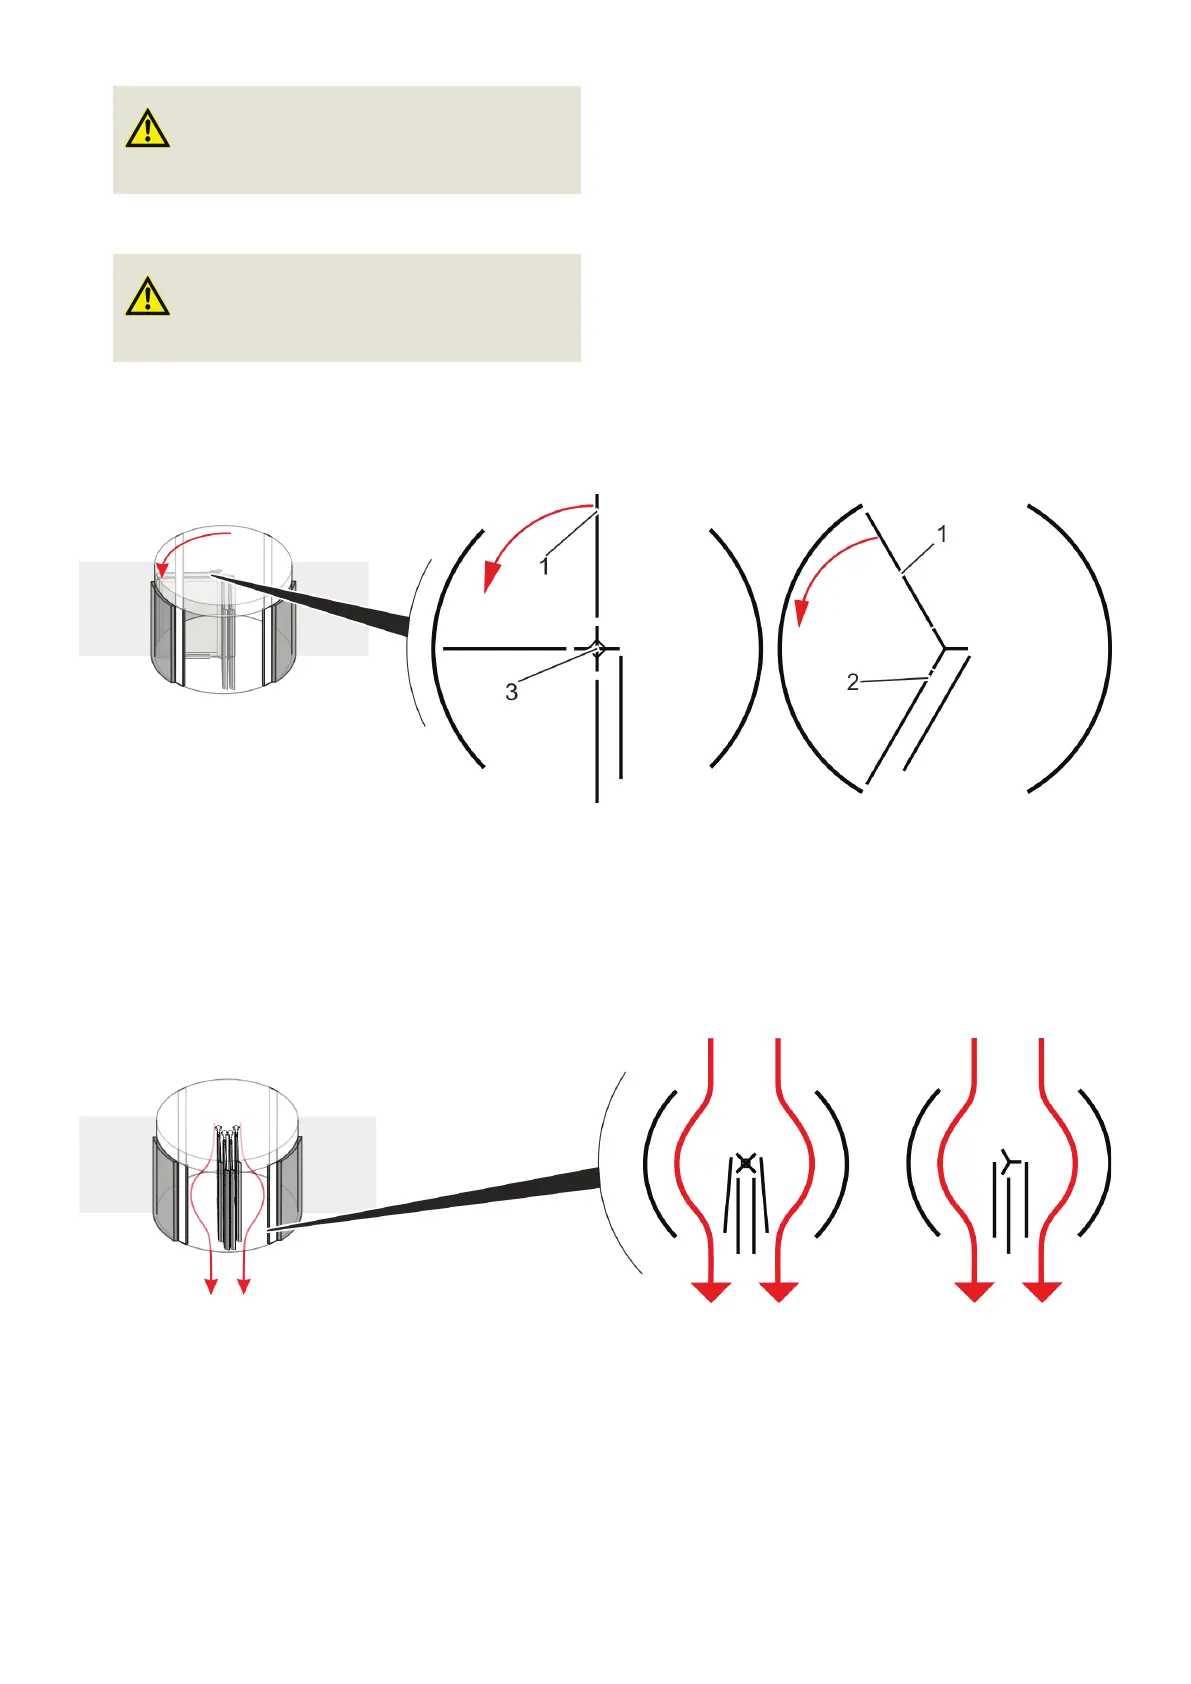
2.
Carefully orient the wing manually ( Fig. 14 /1), as
shown in Fig. 14 .
3.
Have one person hold the lower door wing at the
entrance ( Fig. 14 /3).
4. 1. Push the door wing ( Fig. 14 /1) in short bursts.
» The door wing folds to the side.
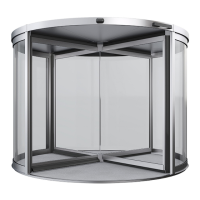
Fig. 15 Folding the next door wing to the side
(four and three wings)
5. Have one person hold the lower door wing ( Fig. 15 /2)
so that the next wing ( Fig. 15 /1) can be folded back.
6. Push the wing ( Fig. 15 /1) in short bursts.
7. Fold the other wings to the side by repeating steps
2-6.
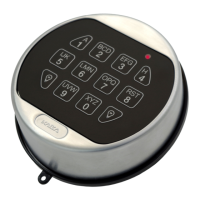
Fig. 16 Emergency exit position (4 and 3 wings)
8. Orient the folded door wings ( Fig. 16 ) at the exit, as
shown in Fig. 16 .
» The revolving door can be used as an emergency
exit ( Fig. 16 ).
WARNING!
Risk of crushed limbs at the closing edges!
WARNING!
Risk of injury if door is held onto inappropri-
ately!