INSTALL INSTRUCTIONS: POWER SEAT TRACK
924-073
Disclaimer:
Even though every attempt is made to ensure this information is complete and accurate, it is impossible to account for all possible circumstances or situations. Please consult with a quali ed auto technician
before attempting to perform any work you are not quali ed to do. Automobiles can be hazardous to work on; be sure to take all necessary safety precautions. Failure to do so may result in property damage
or personal injury. Certain motor vehicle standards and performance requirements may apply to your motor vehicle (such as Federal Motor Vehicle Safety Standards by the National Highway Tra c Safety
Administration). Be sure that your work is performed in accordance with such standards and that you do not disable any motor vehicle safety feature.
ATTENTION: Refer to the appropriate shop manual for your vehicle to obtain speci c service procedures for this part. If you do not have
a service manual or lack the skill to install this part, it is recommended that you seek the services of a quali ed technician. Pay special
attention to all cautions and warnings included in the shop manual. Read and follow all instructions carefully.
5
©2012 Dorman Products, Inc.
No reproductions in whole or in part without prior written approval.
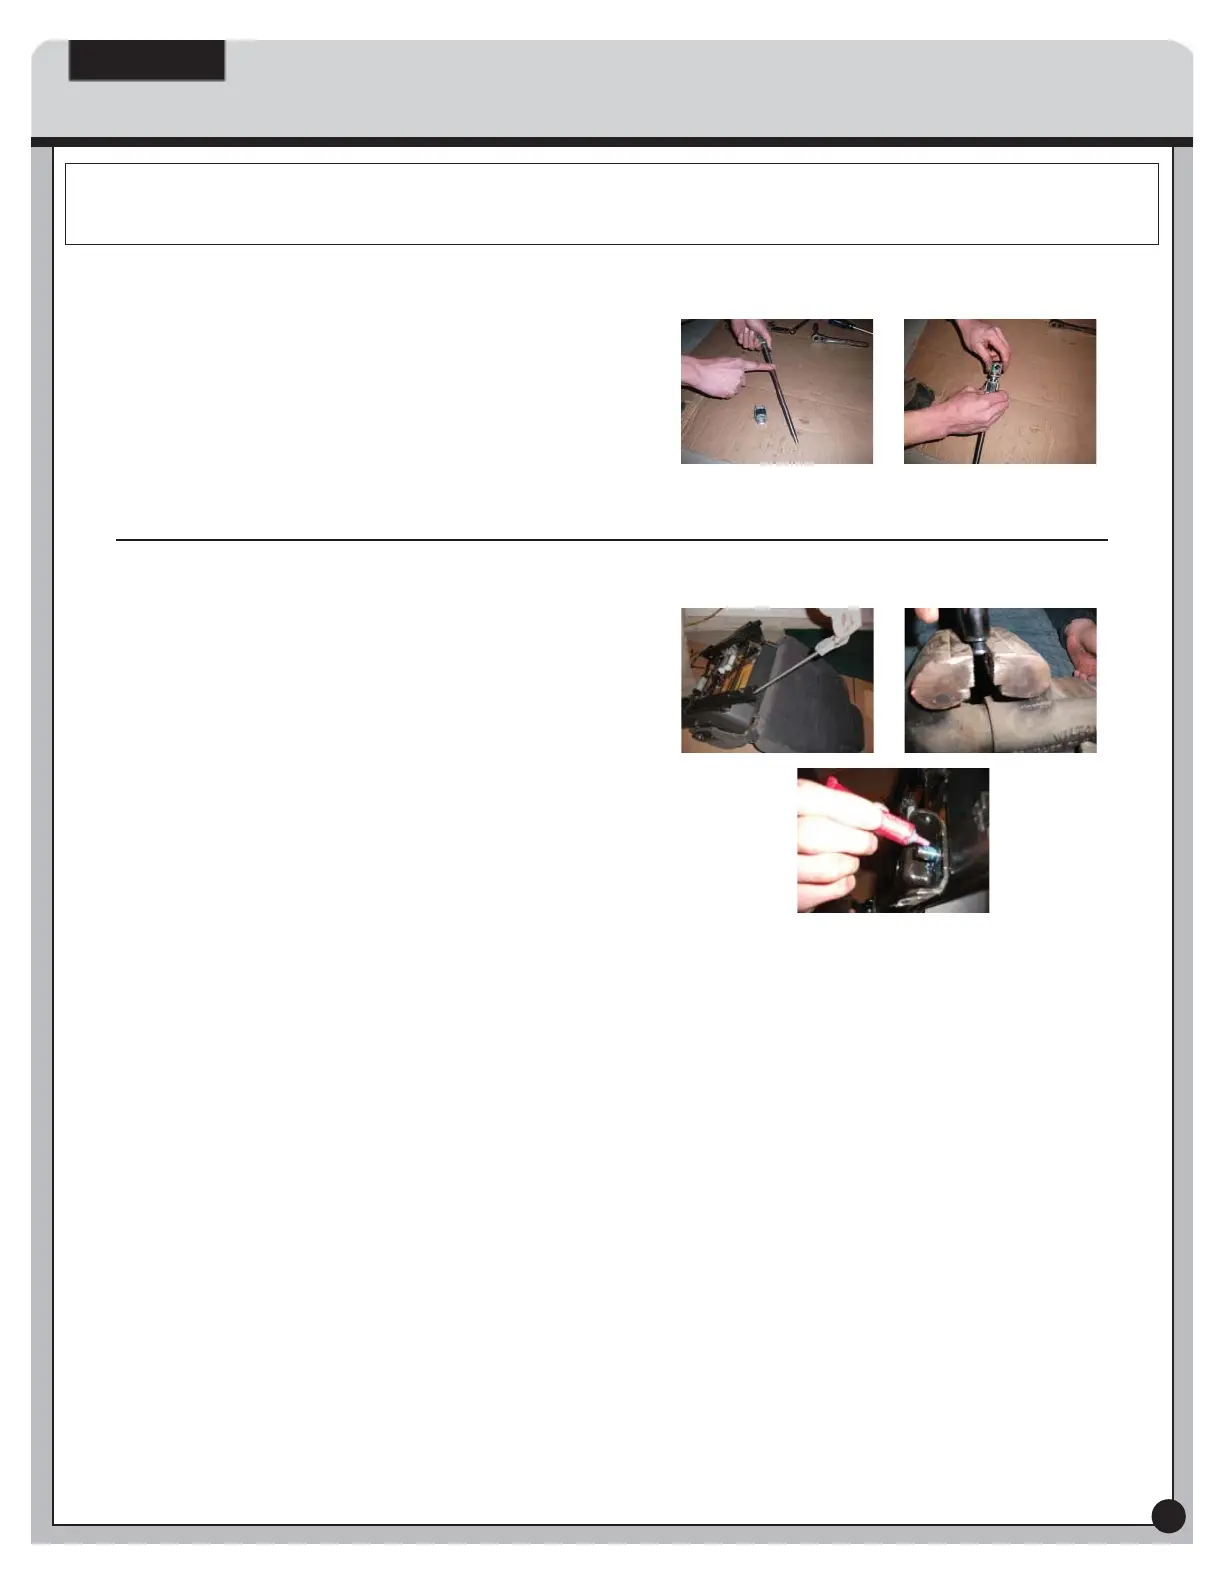
STEP 14: Wipe the grease o of the screw assembly
and lightly apply new grease, working it up and
down the screw. Afterwards, thread aluminum
block assembly back onto screw assembly (one
screw is left hand thread, one is right hand thread)
and continue to thread up the screw until it is fully
seated against the end of the screw as shown.
STEP 15: Finally, insert the screw and block
assembly back into the seat track and place the
stud that you tapped out of the rail in step 7 in a
suitable vice. Using the ange nut that you took o
the stud, work the nut back and forth on the bolt
numerous times until you can easily thread the nut
at least halfway up the block by hand to ensure stud
will not spin when you tighten the nut back up. For
re-assembly, reverse procedure starting with step 10
and working your way back to the beginning, being
sure that you use Loc-Tite on the bolts. You may
need the punch (and hammer) to re-seat the stud
removed in step 7.
 Loading...