English
www.doro.com 3
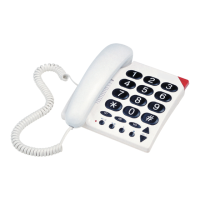
Operation
Connection
1. Connect the handset curly cord to the handset and the socket on the left-
hand side of the telephone.
2. Connect the telephone line cord to the socket at the rear of the telephone,
and to a telephone network wall socket.
3. You will hear a click when the modular plug is correctly in place.
4. Lift the handset and listen for the dial tone. Your telephone is now
operational.
Wall mounting
The telephone can be wall mounted using two screws positioned vertically at
a distance of 100 mm, the screws should t into the ‘keyholes’ on the back of
the telephone. Remove the hanger hook (please refer to diagram on page 2) by
pushing it upwards, then rotate it 180 degrees and replace it
Hearing Aid compatible
This telephone is hearing aid compatible. Select the T mode on your hearing
aid to enable this feature.
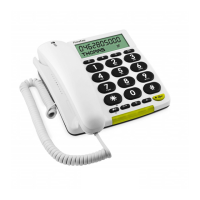
Mute button
Press and release
z
to mute the handset microphone during a call, the light next
to the button will ash while the microphone is muted. Press and release
z
again
to continue with your telephone conversation.
Redial button
If the number dialled is engaged or you wish to dial the last number called lift
the handset and press and release
r
. Redial will not work if the number dialled
was from memory (i.e. M1, M2, M3 or 0-9).
Recall
Access to additional network services can be gained by using the recall button
R
,
*
and
#
keys. Contact your network operator for more information.
Press the recall button
R
followed by the extension number to when connected
to a PBX (TBR only).