DR
®
TRIMMER/MOWER
™
Assembly & Operating Instructions4
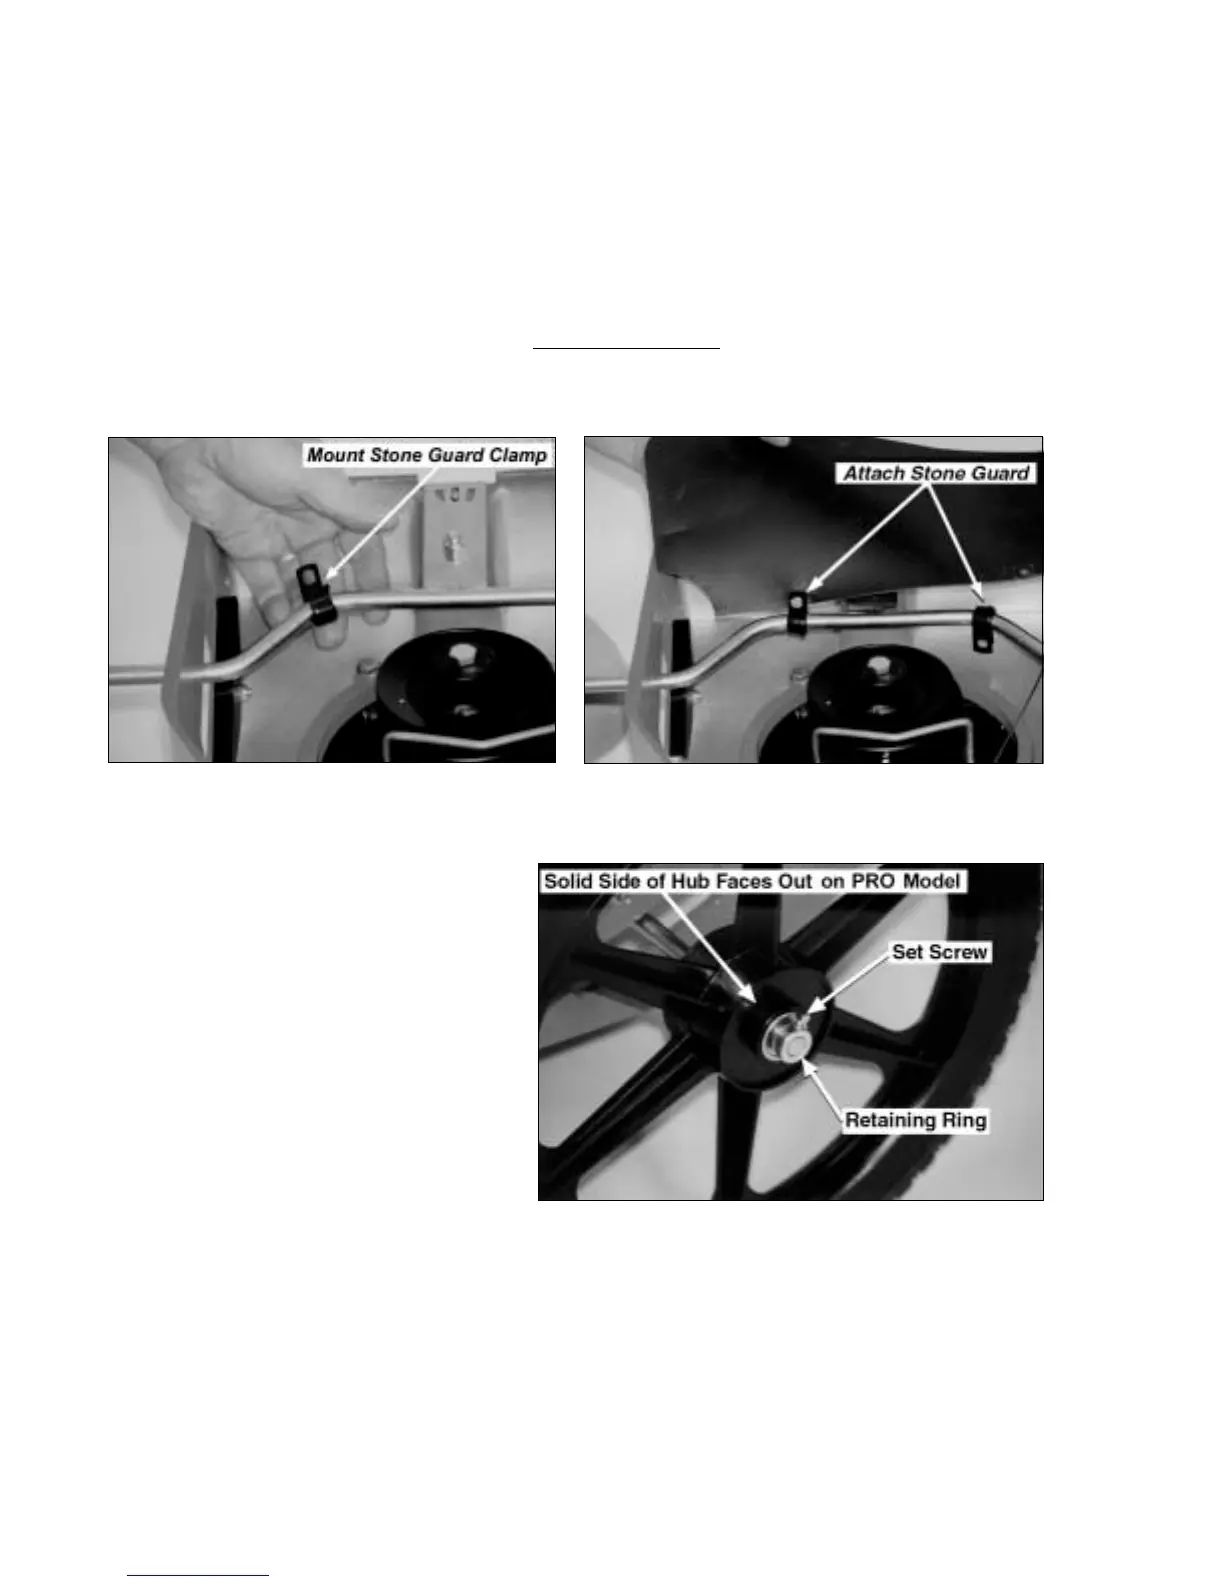
Step 2: Attach the Rubber Stone Guard
1. Take one of the two stone guard clamps and position it around the axle (Figure 4). Install the
second clamp midway along the opposite side of the axle in the same way. Turn the open
ends of the clamps upward.
2. Holding the rubber stone guard vertically over the axle, slip one side of the stone guard in
between the clamp end so that the hole in the guard is aligned with the holes in the clamp.
Insert a 5/8" long bolt and attach a lock nut (Figure 5). Tighten with a 3/8" wrench or socket
and screw driver until the threads show. Do not over tighten. Repeat on the other side. The
stone guard should swing freely from the axle.
Step 3: Install the Wheels
1. Mount each wheel on the axle. Push
the wheels firmly against the axle
stop.
2. Place a retaining ring on the axle,
against the wheel, and tighten the set
screw (Figure 6) with a wrench or
pliers. Repeat on the other side.
Step 4: Set the Machine
Upright
Note: Be careful not to kink, twist or
stretch the control cables.
1. Remove the packaging from the front
end.
2. Stand at one side of the machine, holding on to one wheel with one hand, and the nose of the
machine with the other. Lift the nose of the machine up and over until the Mow-Ball
™
Support is resting on the ground and the machine is upright (most of the weight is on the
wheels during this maneuver).
Figure 4
Figure 5
Figure 6