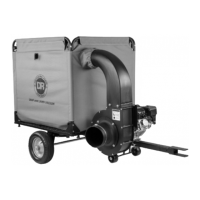
CONTACT US AT w w w .DRpow er.com 15
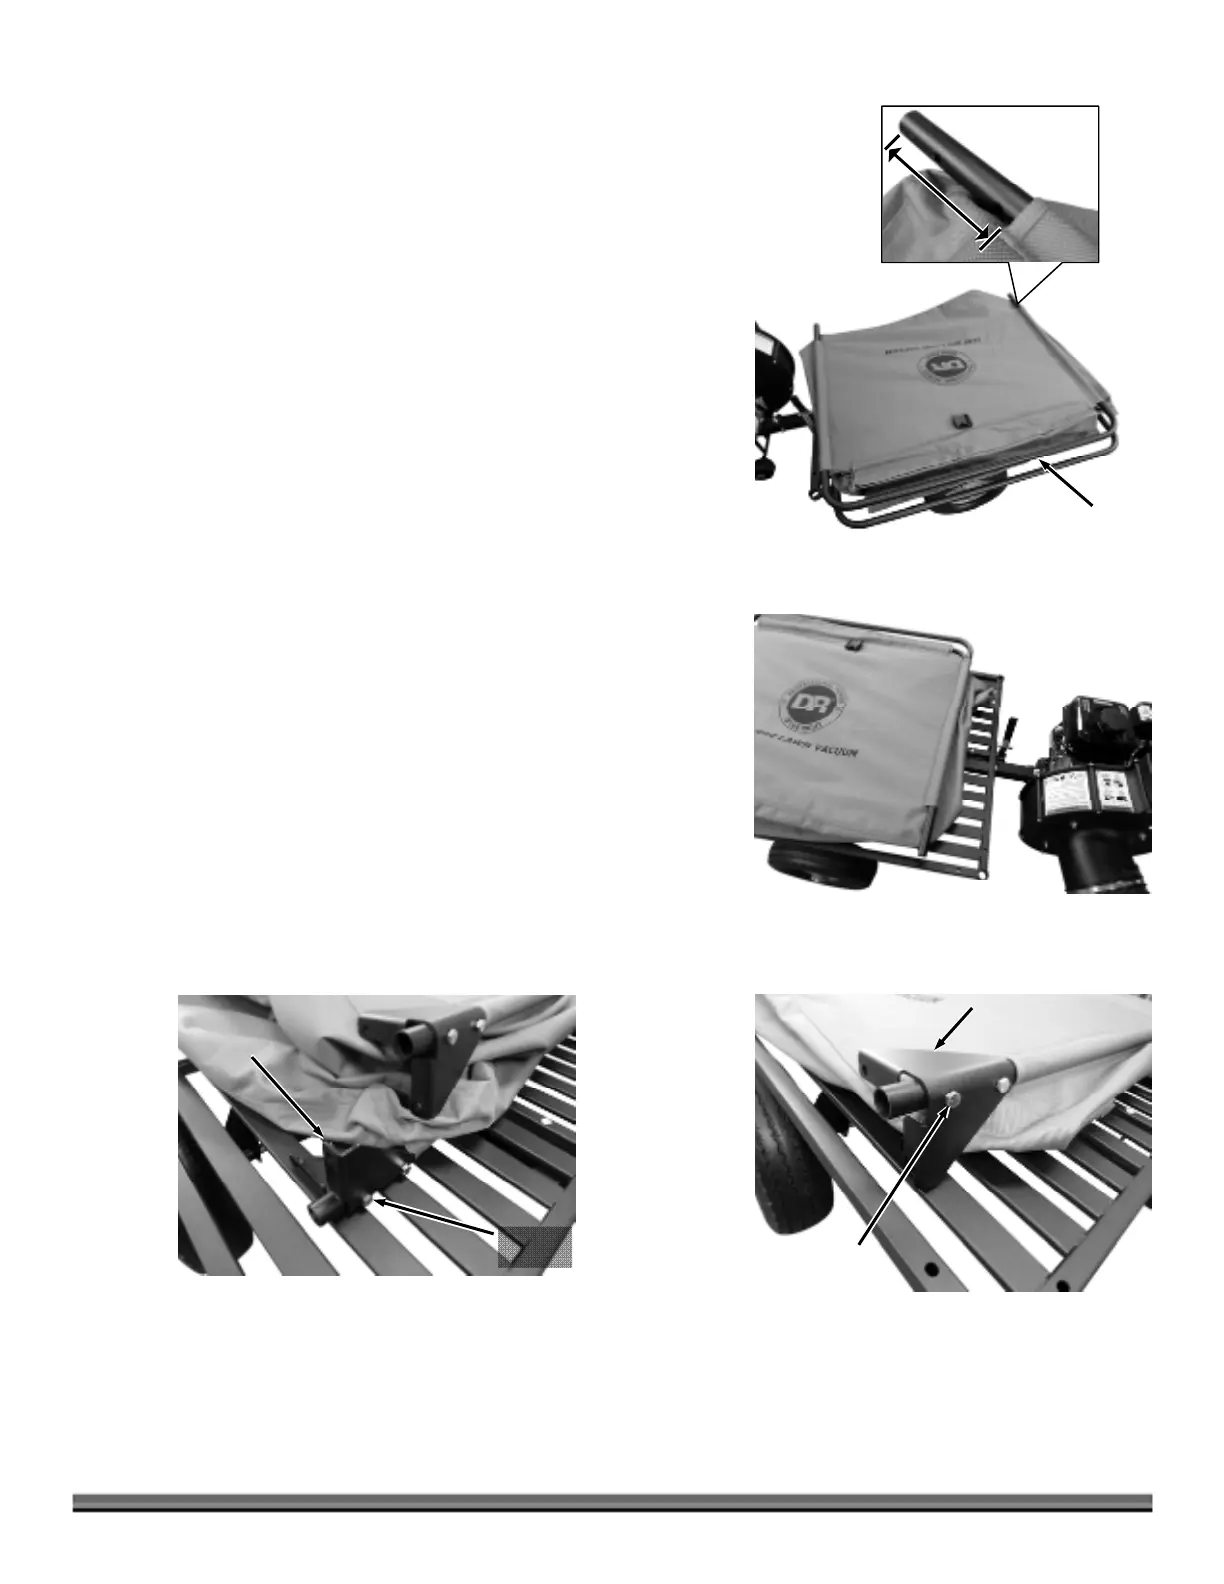
7. Push the Tubes through until the they stick out the other end approximately
5-1/2" (Figure 25).
8. Go to the right hand front corner of the machine (Figure 26). Confirm that
the Sleeve of the Fabric Enclosure is oriented as shown and the DR Logo is
oriented as shown.
Note: The right and left hand Front Tube Brackets must be mounted correctly at
the end of the Collector Tubes. Pay close attention to the orientation in the
Figures to verify that you have the correct Bracket.
9. Position the right hand (RH) Front Tube Bracket on the top Tube as shown
and secure with two Bolts and Locknuts using two 1/2" Wrenches (Figure
27). Do not fully tighten. Ensure the fabric doesn’t get pinched under the
Bracket.
10. Position the left hand (LH) Front Tube Bracket on the bottom Tube as
shown and secure with two Bolts and Locknuts using two 1/2" Wrenches
(Figure 28). Do not fully tighten. Ensure the fabric doesn’t get pinched
under the Bracket.
LH Front
Tube Bracke
Figure 28
Bolts and
Locknut
RH Front
Tube Bracke
Figure 27
Bolts and
Locknut
Figure 26
Right Hand
Front Corne
Collector
Tube
Figure 25
pproximately
5-1/2"