16 DR
®
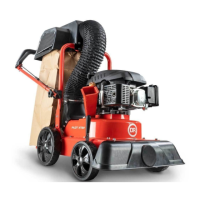
PILOT™ LEAF and LAWN VACUUM
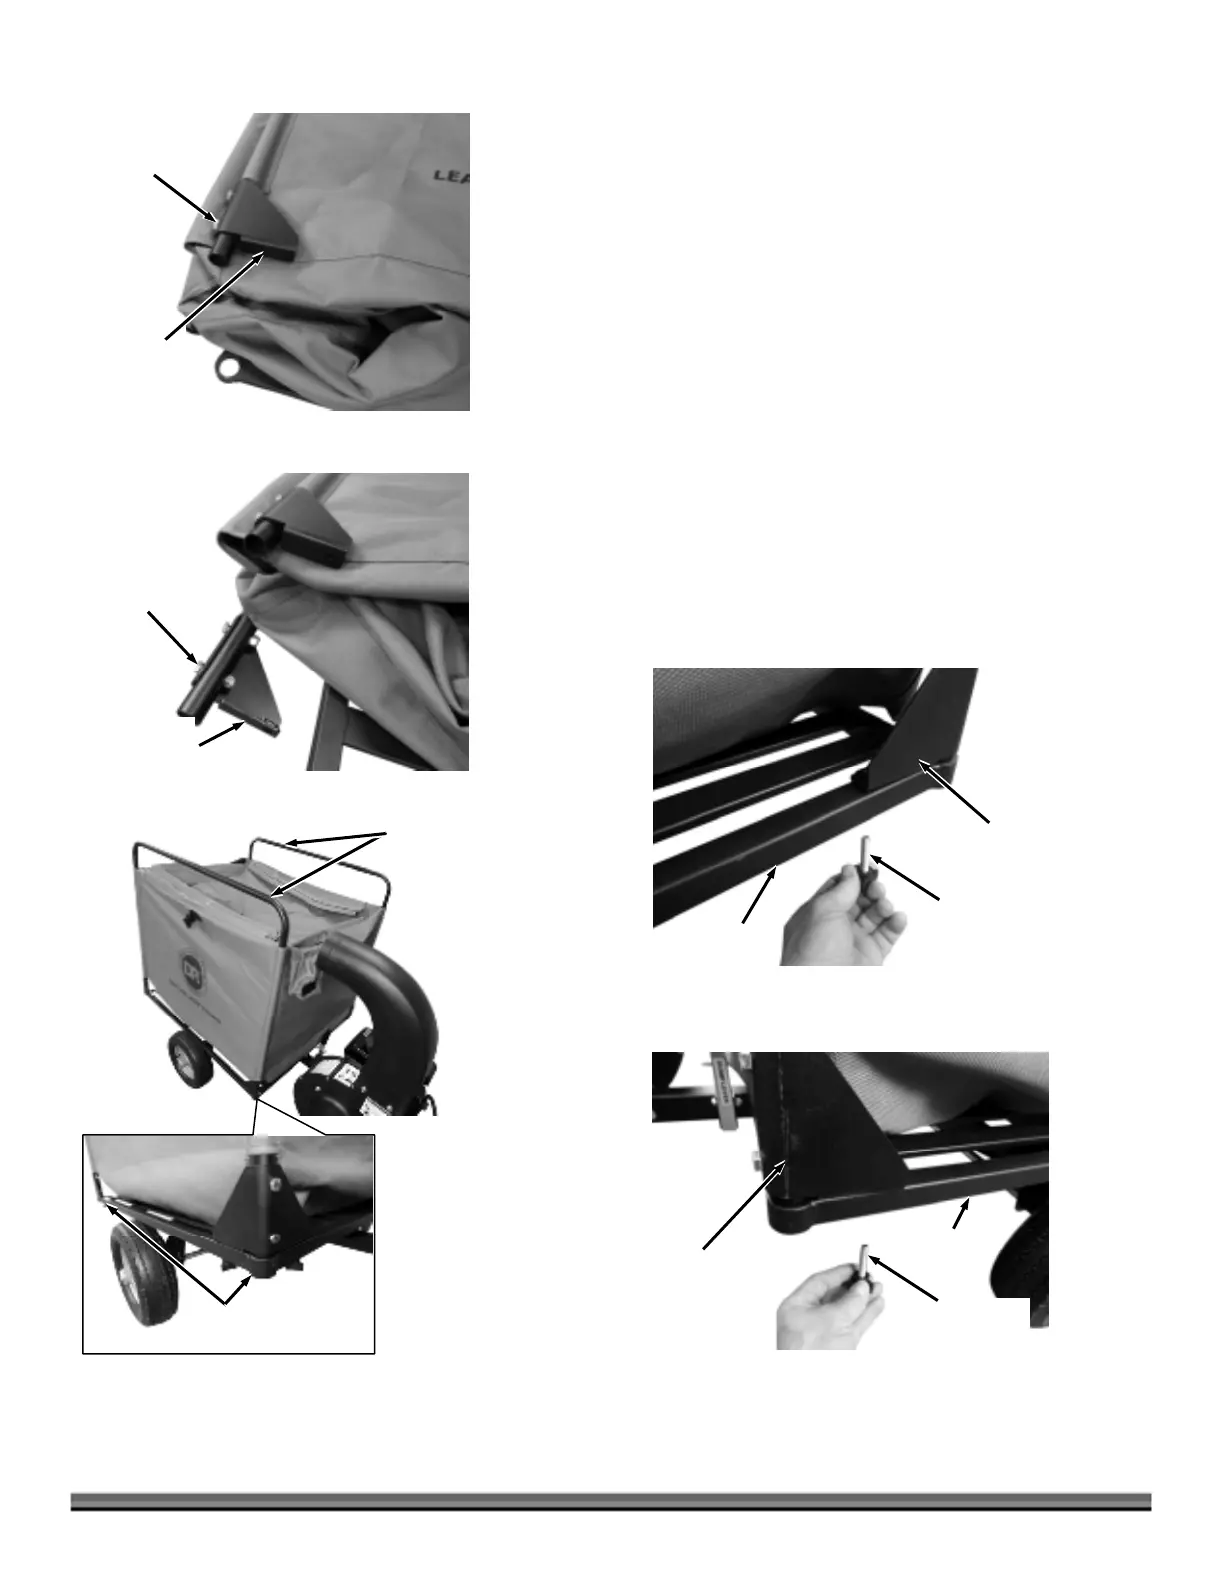
Note: The right and left hand Rear Tube Brackets must be mounted correctly at the
end of the Collector Tubes. Pay close attention to the orientation in the Figures to
verify that you have the correct Bracket.
11. At the rear of the Enclosure, position the right hand (RH) Rear Tube Bracket
on the top Tube as shown and secure with two Bolts and Locknuts using
two 1/2" Wrenches (Figure 29). Do not fully tighten. Ensure fabric doesn’t
get pinched under the Bracket.
12. Position the left hand (LH) Rear Tube Bracket on the bottom Tube as shown
and secure with two Bolts and Locknuts using two 1/2" Wrenches (Figure
30). Do not fully tighten. Ensure fabric doesn’t get pinched under the
Bracket.
13. Lift the Enclosure and insert the ends of the Collector Tubes into the holes
at the corners of the Collector Base (Figure 31).
14. Secure the rear Tube Brackets to the Collector Base with one Hand Knob
with Stud for each Bracket (Figure 32). Do not tighten fully.
15. Secure the front Tube Brackets to the Collector Base with two Hand Knobs
with Studs for each Bracket (Figure 33). Do not tighten fully.
Hand Knob
with Stud
Figure 33
Front Tube
Bracket
Collector
Base
Hand Knob
with Stud
Figure 32
Rear Tube
Bracket
Collector
Base
Holes in Corners
of Base
Figure 31
Collector
Tube
LH Rear
Tube Bracke
Figure 30
Bolts and
Locknut
RH Rear
Tube Bracket
Figure 29
Bolts and
Locknut