24 DR
®
POWERWAGON
Removing and Replacing the Belt
Tools needed:
Two Jack Stands
Flat Head Screwdriver
9/16" Socket with Ratchet and Extension
Pliers
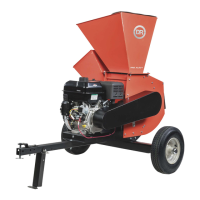
1. Position the machine on a level surface and support the front of the Frame
with Jack Stands to lift the Wheels off the ground (Figure 44).
Note: Ensure that the Jack Stands are not touching the Wheels.
2. Remove the Retaining Ring and Washer of both Wheels with a Flat Head
Screwdriver and remove the Wheels (Figure 45).
3. Tip the Bed forward for better access.
4. Remove the twelve (six per side) Skid Plate Bolts at the sides of the Frame
using a 9/16" Socket with Ratchet and Extension (Figure 46).
5. Remove the Skid Plate from the machine
.
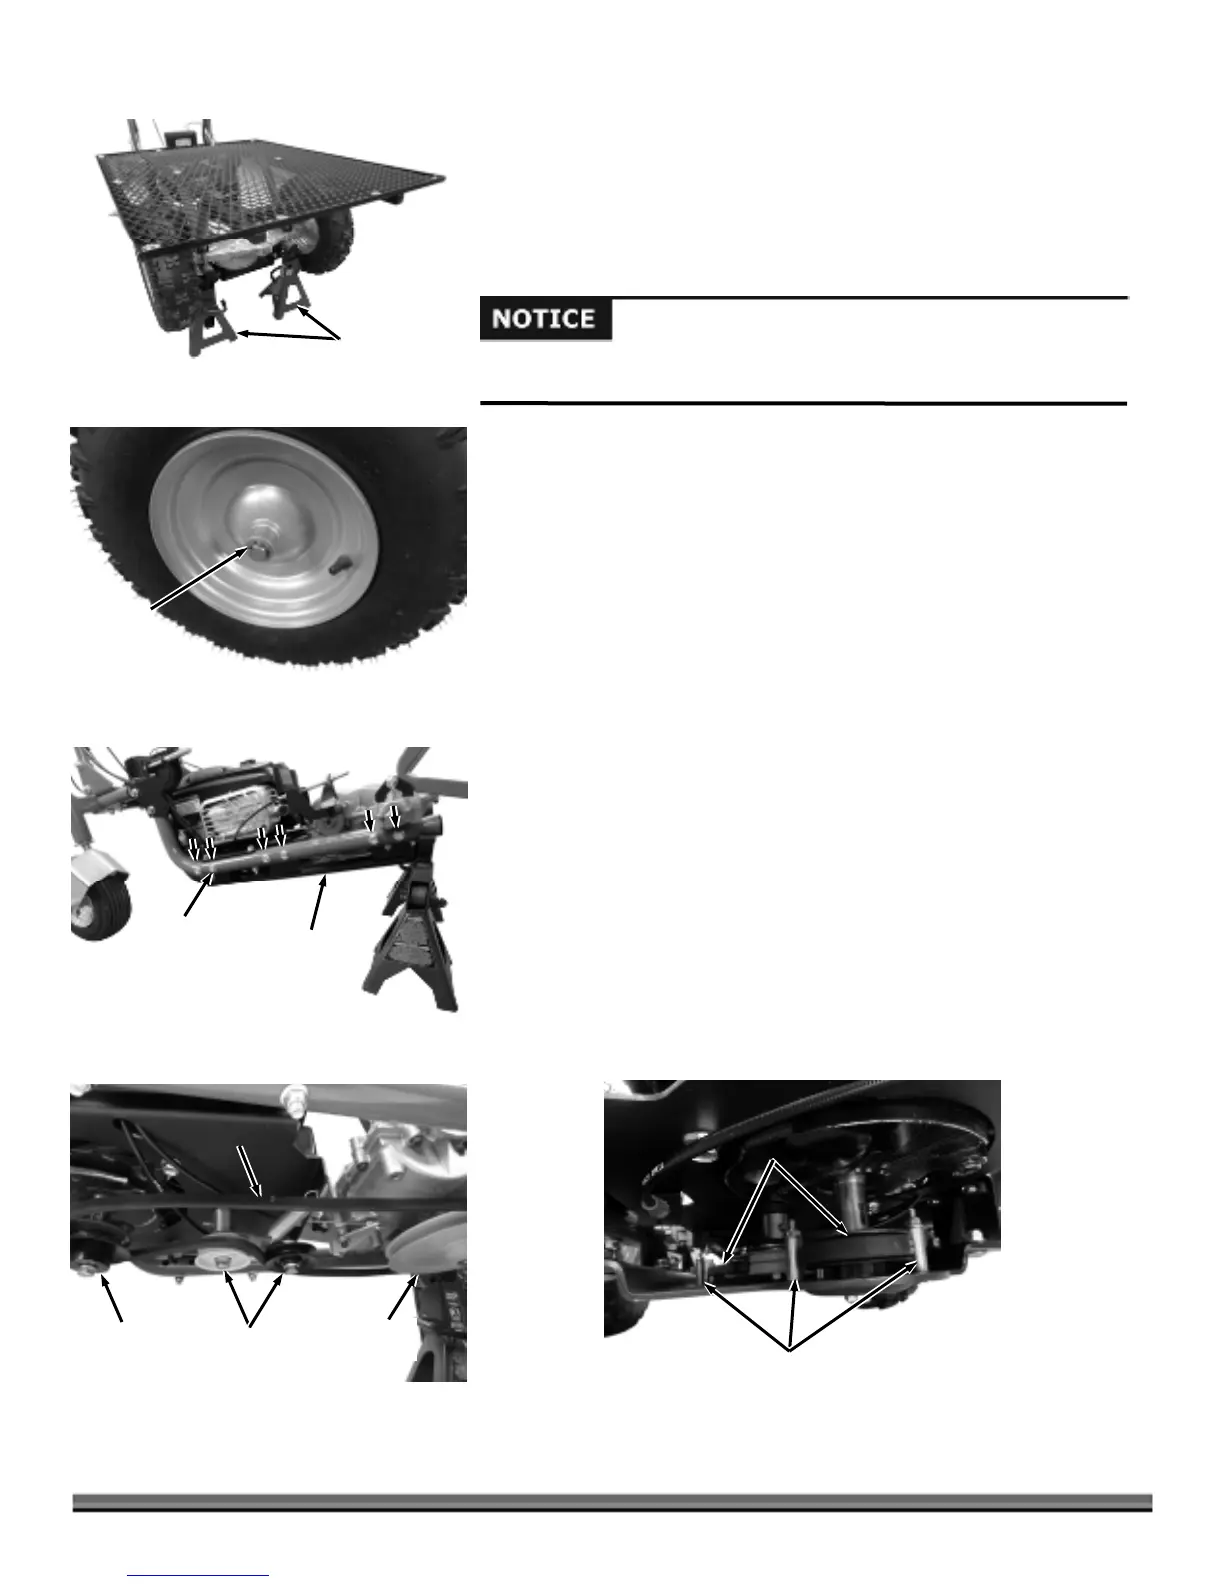
6. Remove the Belt from the Engine, Idler/Tensioner and Transaxle Pulleys
(Figure 47)
.
7. Install the new Belt on the Engine and Transaxle Pulleys.
8. Route the Belt between the Idler/Tensioner Pulleys as shown.
9. Reinstall the Skid Plate making sure that the Belt is on the inside of all Belt
Guides (Figure 48).
10. Reinstall the Wheels, making sure that the key is in position on the Transaxle
shafts.
Belt
Figure 48
Belt guides
Belt
Figure 47
Engine
Pulley
Transaxle
Pulley
Idler/Tensioner
Pulleys
Skid Plate
Bolt
Figure 46
Skid Plate
Retaining
Ring and
Washe
Figure 45
Wheel
Figure 44
ack Stand
Use only DR belts on your machine. They have been thoroughly tested and
proven for many hours of use.
 Loading...
